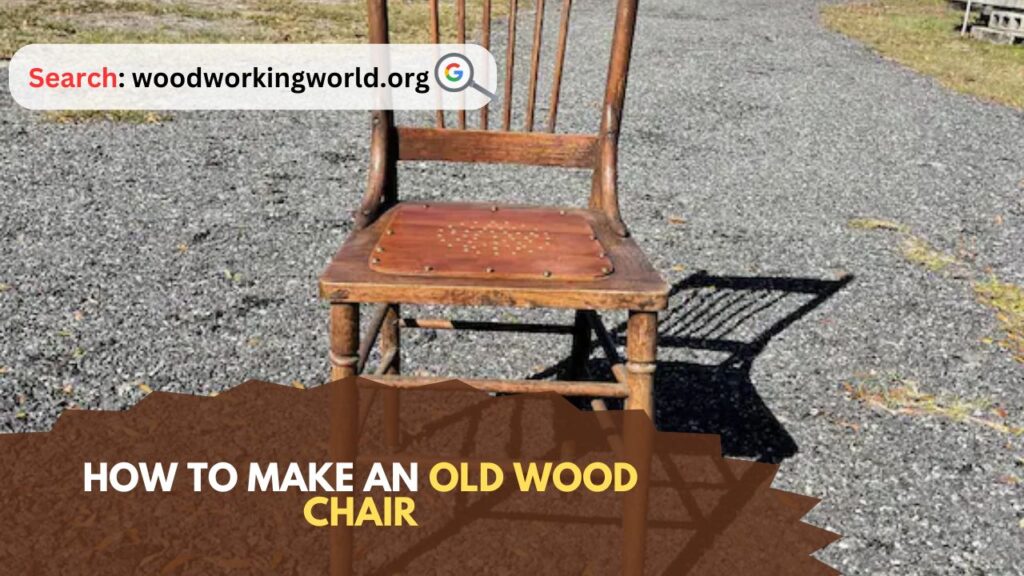
How to Make an Old Wood Chair: Old wood chairs possess a charm and character that modern furniture often lacks. Restoring an old chair is not only a satisfying project but also an eco-friendly way to furnish your home. This guide will take you through the steps to transform an old wood chair into a beautiful, functional piece of furniture. Whether you’re a seasoned woodworker or a novice, this project is achievable with some patience and attention to detail.
How to Make an Old Wood Chair
Materials and Tools You’ll Need to Make an Old Wood Chair
Before you start, gather the following materials and tools:
Materials:
- Old wood chair
- Wood glue
- Wood filler
- Sandpaper (80, 120, and 220 grit)
- Wood stain or paint
- Clear varnish or polyurethane
- Paintbrushes or rags
- Tack cloth
- Wood screws (if necessary)
Tools:
- Screwdriver
- Hammer
- Clamps
- Putty knife
- Orbital sander (optional)
- Paint scraper
- Drop cloths or newspapers
Step 1: Inspect and Disassemble the Chair
Start by examining the chair closely. Look for any damage, such as loose joints, cracks, or missing pieces. Take note of what needs repair or replacement.
Next, carefully disassemble the chair. This will make it easier to clean, sand, and repair each part. Use a screwdriver to remove screws and a hammer to gently tap apart any joints. Keep all screws and small pieces in a container so you don’t lose them.
Step 2: Clean the Wood
Old furniture often has layers of dirt, grime, and possibly old finishes that need to be removed. Use a paint scraper to remove any loose paint or varnish. Follow up with a gentle cleaner, like a mixture of warm water and mild dish soap, to wash the wood. For stubborn stains, you can use mineral spirits. Let the wood dry completely before proceeding.
Step 3: Repair Damage
Inspect each part of the chair for damage. Common issues include loose joints, cracks, and gouges. Here’s how to fix them:
- Loose Joints: Apply wood glue to loose joints, then clamp them together until the glue dries. Wipe off any excess glue with a damp cloth.
- Cracks and Gouges: Fill cracks and gouges with wood filler. Use a putty knife to press the filler into the damage, then smooth the surface. Let it dry completely, then sand it smooth.
- Missing Pieces: If any parts are missing, you might need to cut replacement pieces from similar wood. Attach them with wood glue and screws if necessary.
Step 4: Sand the Wood
Sanding is crucial for a smooth finish. Start with coarse-grit sandpaper (80 grit) to remove any remaining finish and smooth out rough spots. Progress to medium-grit (120 grit) and finish with fine-grit (220 grit) for a smooth surface.
Use an orbital sander for large, flat areas, and hand sand intricate parts. Always sand with the grain of the wood to avoid scratches.
After sanding, wipe down all surfaces with a tack cloth to remove dust.
Step 5: Apply Stain or Paint
Now it’s time to apply your chosen finish. You can either stain or paint the chair, depending on your desired look.
Staining:
- Apply wood stain with a brush or rag, following the grain of the wood.
- Let the stain penetrate for a few minutes, then wipe off the excess with a clean rag.
- Allow the stain to dry completely. You can apply additional coats for a deeper color, following the same process.
Painting:
- Apply a primer if the wood has never been painted.
- Once the primer is dry, apply paint with a brush, following the grain.
- Let the paint dry between coats, applying additional coats as needed for even coverage.
Step 6: Protect the Finish
To protect your newly finished chair and enhance its durability, apply a clear coat of varnish or polyurethane. This will also give the chair a polished look.
- Apply a thin, even coat with a brush, following the grain of the wood.
- Let the first coat dry completely, then lightly sand with fine-grit sandpaper (220 grit).
- Wipe off the dust with a tack cloth and apply a second coat.
- Repeat for a third coat if desired, sanding between each coat.
Step 7: Reassemble the Chair
Once all parts are finished and dry, it’s time to reassemble the chair. Follow these steps:
- Reattach Joints: Apply wood glue to the joints and clamp them together until the glue dries. Use a screwdriver to reinsert screws, ensuring everything is securely fastened.
- Check for Stability: Once assembled, check the chair for stability. If it wobbles, adjust the joints or add additional screws if necessary.
Step 8: Final Touches
For a professional touch, consider adding felt pads to the bottom of the chair legs to protect your floors. You can also add cushions or upholstery to the seat for extra comfort and style.
Tips for Success
- Take Your Time: Rushing through the process can lead to mistakes. Allow plenty of time for each step, especially for drying and curing.
- Work in a Well-Ventilated Area: When using chemicals like wood stain, paint, or varnish, ensure your workspace is well-ventilated.
- Use Quality Materials: High-quality wood glue, stain, paint, and varnish will yield better results and increase the longevity of your chair.
- Practice Patience with Sanding: Proper sanding is key to a smooth finish. Take your time to ensure all surfaces are thoroughly sanded.
- Test Stain/Paint on Scrap Wood: Before applying stain or paint to the chair, test it on a scrap piece of wood to ensure you like the color and finish.
Conclusion: Old Wood Chair
Restoring an old wood chair is a rewarding project that brings new life to a piece of furniture with history and character. By following these steps, you can create a beautiful and functional chair that will be cherished for years to come. Whether you choose to stain or paint, the effort you put into the restoration will result in a unique piece that adds warmth and style to your home.
Happy woodworking!
I hope this article on Old Wood Chair has been helpful. If you have any further questions, please feel free to leave a comment below.
Video
