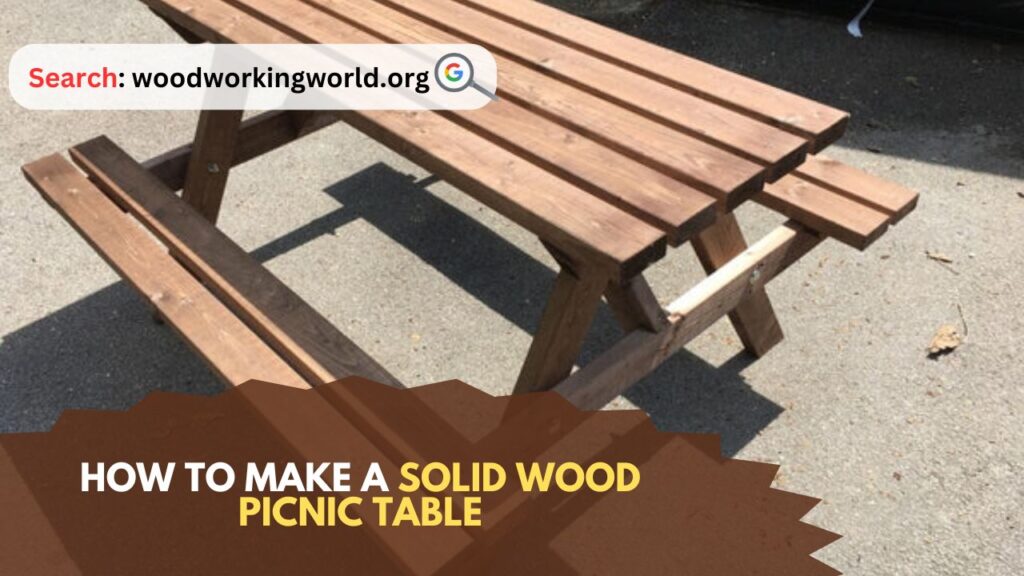
Solid Wood Picnic Table: Creating a solid wood picnic table can be a fulfilling project that provides a beautiful and functional piece of outdoor furniture. With a bit of planning, the right materials, and some basic woodworking skills, you can build a durable table that will serve you for years. This article will guide you through the process step-by-step, from gathering materials to finishing touches.
How to Make a Solid Wood Picnic Table
Materials and Tools You’ll Need to Make a Solid Wood Picnic Table
Before you begin, gather the necessary materials and tools. Here’s a list to get you started:
Materials:
- Lumber: Select high-quality, weather-resistant wood such as cedar, redwood, or pressure-treated pine.
- 2×6 boards for the tabletop and benches
- 2×4 boards for the frame and supports
- 4×4 posts for the legs
- Galvanized screws or bolts (to prevent rusting)
- Wood glue
- Sandpaper (various grits)
- Wood stain or outdoor paint
- Sealant or polyurethane (for added protection)
Tools:
- Tape measure
- Circular saw or miter saw
- Drill and bits
- Screwdriver
- Clamps
- Carpenter’s square
- Safety gear (gloves, safety glasses, hearing protection)
Step-by-Step Instructions
Step 1: Planning and Design
First, decide on the dimensions of your picnic table. A standard size is approximately 6 feet long, which comfortably seats six to eight people. Draw up a plan, including measurements for each component. Here’s a basic guideline:
Tabletop:
- Length: 72 inches
- Width: 30-36 inches (depending on preference)
Benches:
- Length: 72 inches
- Width: 12 inches
- Height: 17-18 inches from the ground
Legs and Frame:
- Legs: 4×4 posts, 30 inches long
- Frame: 2×4 boards
Step 2: Cutting the Lumber
Using your circular or miter saw, cut the lumber according to your plans. Ensure all pieces are cut accurately to the right length. Here’s a detailed breakdown of the cuts you’ll need:
Tabletop:
- 6 boards, each 72 inches long (2×6)
Benches:
- 4 boards, each 72 inches long (2×6)
Frame and Supports:
- 4 boards, each 30 inches long (2×4)
- 4 boards, each 29 inches long (2×4) for bench supports
- 2 boards, each 60 inches long (2×4) for the table’s lengthwise supports
Legs:
- 4 posts, each 30 inches long (4×4)
Step 3: Assembling the Tabletop and Benches
Lay out the 2×6 boards for the tabletop on a flat surface, ensuring they are evenly spaced and aligned. Apply wood glue to the edges and clamp them together. Reinforce with 2×4 cross supports on the underside, spaced evenly apart. Attach these supports using galvanized screws.
Repeat the process for the benches, using the 2×6 boards and attaching them to the 2×4 cross supports.
Step 4: Building the Frame
Construct the frame using the 2×4 boards. Assemble two rectangles, one for each end of the table, using the 30-inch and 60-inch boards. Secure the corners with screws, ensuring they are square and level.
Attach the 4×4 legs to the inside corners of the frames, using screws or bolts for added stability. For extra reinforcement, add diagonal braces from the legs to the frame.
Step 5: Attaching the Tabletop and Benches
Place the assembled tabletop on top of the frame, ensuring it is centered and level. Secure it to the frame using screws from underneath, through the 2×4 supports.
Attach the bench supports to the legs, ensuring they are level and at the desired height (about 17-18 inches from the ground). Place the assembled benches on the supports and secure them with screws.
Step 6: Sanding and Finishing
Sand the entire table and benches with coarse-grit sandpaper to remove any rough edges or splinters. Progress to finer grits for a smooth finish. Pay special attention to corners and edges.
Once sanding is complete, clean the surface of any dust or debris. Apply a wood stain or outdoor paint to protect the wood and enhance its appearance. Allow it to dry completely before applying a second coat, if desired.
Finally, seal the table and benches with a clear polyurethane or sealant to protect against weathering and moisture.
Additional Tips and Considerations
Choosing the Right Wood:
- Cedar and redwood are naturally resistant to decay and insects, making them excellent choices for outdoor furniture.
- Pressure-treated pine is a more affordable option but requires additional sealing and maintenance.
Safety Precautions:
- Always wear safety gear when cutting, drilling, and sanding wood.
- Work in a well-ventilated area, especially when applying finishes and sealants.
Maintenance:
- Regularly inspect your picnic table for signs of wear and tear.
- Reapply sealant or paint as needed to maintain its appearance and durability.
- Store the table in a sheltered area during extreme weather conditions to prolong its lifespan.
Conclusion: Solid Wood Picnic Table
Building a solid wood picnic table is a rewarding project that combines functionality with craftsmanship. By following these detailed steps, you can create a sturdy and attractive table that will be the centerpiece of many outdoor gatherings. Remember to take your time, measure accurately, and prioritize safety throughout the process. With the right materials and a bit of effort, you’ll have a beautiful picnic table that stands the test of time.
I hope this article on Solid Wood Picnic Table has been helpful. If you have any further questions, please feel free to leave a comment below.
Video
