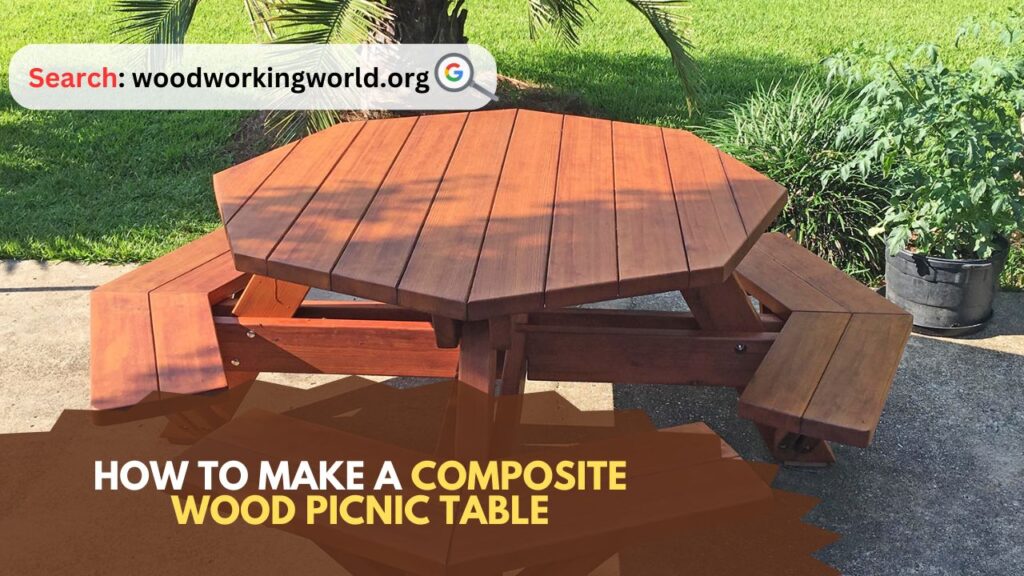
How to Make a Composite Wood Picnic Table
Composite Wood Picnic Table: Building a picnic table is a rewarding project that can provide you with a durable and attractive addition to your backyard or garden. Composite wood is an excellent choice for this project due to its durability, low maintenance, and eco-friendly properties. In this guide, we’ll walk you through the steps to create a composite wood picnic table that will last for years to come.
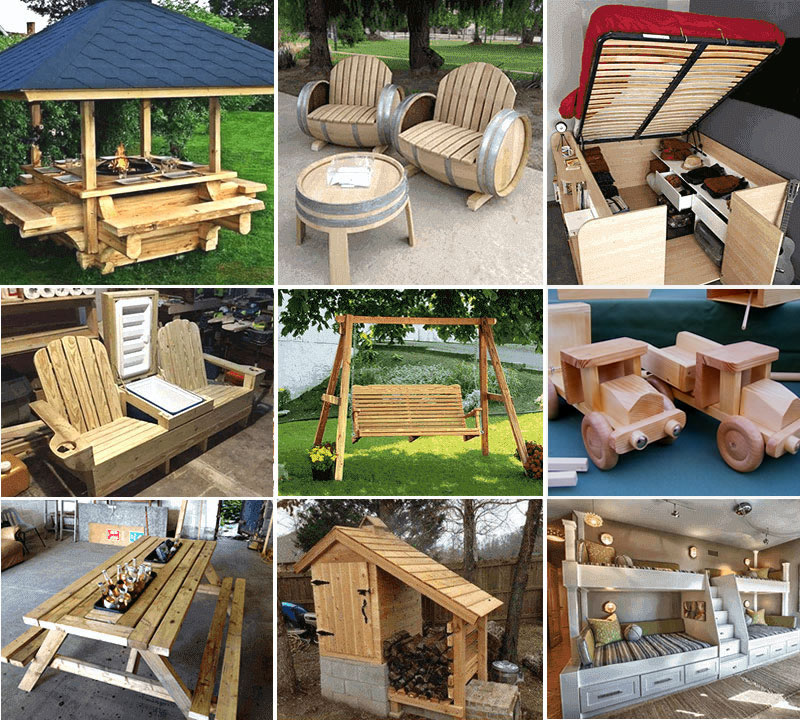
👉 Click here to unlock 16,000+ DIY woodworking plans now
How to Make a Composite Wood Picnic Table
Materials and Tools Needed to Make a Composite Wood Picnic Table
Before you start, gather the necessary materials and tools. Here’s what you’ll need:
Materials:
- Composite decking boards
- Pressure-treated lumber (for the frame)
- Stainless steel screws
- Bolts, nuts, and washers
- Wood glue
- Sandpaper
Tools:
- Measuring tape
- Circular saw or miter saw
- Drill and drill bits
- Screwdriver
- Clamps
- Square
- Level
- Safety goggles and gloves
Step-by-Step Guide
Step 1: Planning and Design
The first step is to decide on the size and design of your picnic table. A standard picnic table is typically around 6 to 8 feet long and 4 to 5 feet wide, but you can customize the dimensions to fit your space. Sketch out a design, including the tabletop, seats, and supporting structure.
Step 2: Cutting the Frame Pieces
Using pressure-treated lumber, cut the pieces for the table’s frame. You’ll need:
- 2 long beams for the table length
- 2 shorter beams for the table width
- 4 legs
- Support beams for the tabletop and seats
Measure and mark the lumber, then cut it to size using a circular saw or miter saw. Make sure to wear safety goggles and gloves to protect yourself.
Step 3: Assembling the Frame
Lay out the pieces of the frame on a flat surface. Begin by attaching the legs to the long beams using wood glue and screws. Use a square to ensure the legs are perpendicular to the beams. Attach the shorter beams to the ends of the long beams, forming a rectangular frame. Add support beams across the middle of the frame for added stability.
Step 4: Preparing the Composite Decking
Composite decking boards will form the tabletop and seats. Measure and cut the boards to the desired length. Sand the edges of the boards to remove any rough spots and ensure a smooth finish.
Step 5: Attaching the Tabletop
Lay the composite decking boards across the frame, ensuring they are evenly spaced. Use clamps to hold the boards in place. Drill pilot holes through the boards and into the frame to prevent splitting. Secure the boards with stainless steel screws, ensuring they are flush with each other.
Step 6: Building the Seats
Measure and cut the composite decking boards for the seats. Attach the boards to the frame using the same method as the tabletop. Make sure the seats are securely fastened and level.
Step 7: Adding the Support Braces
For added stability, attach diagonal support braces between the legs and the tabletop frame. Cut the braces to size and attach them using screws. Ensure the braces are evenly spaced and securely fastened.
Step 8: Finishing Touches
Inspect the table for any rough edges or uneven surfaces. Sand any rough spots and wipe down the table to remove dust and debris. Apply a weather-resistant sealant to the pressure-treated lumber to protect it from the elements.
Step 9: Enjoying Your Picnic Table
Your composite wood picnic table is now complete! Place it in your desired location and enjoy the fruits of your labor. This table will provide a durable and attractive addition to your outdoor space, perfect for family gatherings and outdoor meals.
Tips for Success
- Choose High-Quality Materials: Invest in high-quality composite decking and pressure-treated lumber for a durable and long-lasting table.
- Take Accurate Measurements: Accurate measurements are crucial for a sturdy and balanced table. Double-check your measurements before cutting.
- Use Stainless Steel Hardware: Stainless steel screws and bolts are resistant to rust and corrosion, making them ideal for outdoor furniture.
- Work Safely: Always wear safety goggles and gloves when cutting and assembling the table. Follow safety guidelines for using power tools.
- Maintain Your Table: While composite wood is low maintenance, it’s still important to clean your table regularly and reapply sealant as needed to protect the wood.
Benefits of Composite Wood
Composite wood, made from a blend of wood fibers and plastic, offers several advantages over traditional wood:
- Durability: Composite wood is resistant to rot, decay, and insect damage, making it ideal for outdoor furniture.
- Low Maintenance: Unlike traditional wood, composite wood does not require staining, sealing, or painting. It is easy to clean with soap and water.
- Eco-Friendly: Composite wood is often made from recycled materials, making it an environmentally friendly choice.
- Aesthetic Appeal: Composite wood comes in a variety of colors and textures, allowing you to choose a style that complements your outdoor space.
Conclusion: Composite Wood Picnic Table
Building a composite wood picnic table is a rewarding project that provides a durable and attractive addition to your outdoor space. By following this step-by-step guide, you can create a custom picnic table that will stand the test of time. Remember to choose high-quality materials, take accurate measurements, and work safely. With a little effort and attention to detail, you’ll have a beautiful picnic table to enjoy for years to come.
I hope this article on Composite Wood Picnic Table has been helpful. If you have any further questions, please feel free to leave a comment below
👉 Click here to unlock 16,000+ DIY woodworking plans now