How to Build a DIY Raised Planter Box Like a Pro
Creating your own raised planter box is a fantastic way to add style, organization, and functionality to your garden or patio. A well-built planter not only elevates your plants for better growth but also brings a professional, polished look to your outdoor space.
In this guide on how to build a DIY raised planter box like a pro, we’ll walk you through selecting the right materials, essential tools, step-by-step construction techniques, and finishing tips—so you can craft a durable, attractive planter that enhances any garden or balcony.
👉 CLICK HERE to Unlock 16,000+ DIY woodworking plans now
What Is a Raised Planter Box?
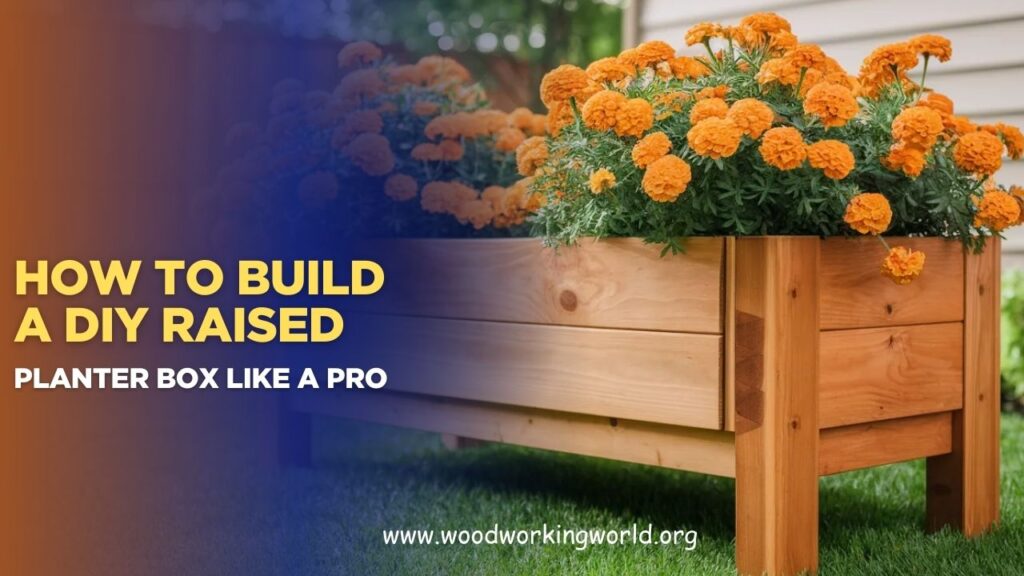
A raised planter box is an elevated gardening bed that provides excellent drainage, better soil quality, and ease of access. It’s ideal for people with limited outdoor space or those who prefer gardening without bending down.
Benefits of a Raised Planter Box
- Improved Drainage: Excess water flows out easily, preventing root rot.
- Pest Control: The elevated design keeps pests like slugs and snails at bay.
- Ease of Access: Perfect for gardeners with mobility issues.
- Customizable Design: Build a box to fit your space and style.
“Raised planter boxes are more than a garden addition—they’re a game-changer for urban and suburban gardening.” – Gardening Enthusiast
👉 CLICK HERE to Unlock 16,000+ DIY woodworking plans now
Materials and Tools Needed
| Materials | Tools |
|---|---|
| Cedar or redwood planks | Measuring tape |
| Galvanized screws or nails | Circular or hand saw |
| Landscape fabric | Drill |
| Wood stain or sealant | Sandpaper |
| Soil and plants | Screwdriver or hammer |
Step-by-Step Guide to Building a Raised Planter Box
Step 1: Plan Your Design
Before starting, decide on the size and shape of your planter box. Common dimensions for a raised planter box are 4 feet long, 2 feet wide, and 1–2 feet high, which provide ample growing space while being easy to reach.
Step 2: Cut the Wood
Measure and cut the wood planks to your desired dimensions. You’ll need pieces for the four sides and the base. Sand the edges for a smooth finish.
Step 3: Assemble the Frame
Using screws or nails, join the planks together to form a rectangular frame. Ensure the corners are square for stability.
Step 4: Attach the Bottom Panel
Secure the bottom panel to the frame, leaving small gaps or drilling holes for drainage. For extra durability, use exterior-grade screws.
Step 5: Line the Box
Line the interior with landscape fabric to prevent soil from leaking and to protect the wood from moisture.
Step 6: Apply a Protective Finish
To extend the life of your planter box, apply a weatherproof sealant or wood stain. This is especially important if you’re using untreated wood.
Step 7: Fill with Soil
Add a layer of gravel or small rocks for drainage, followed by high-quality potting soil or compost.
🛠️ Ted’s 16,000 Woodworking Plans – Why You’ll Love It


Pro Tips for Building Like a Professional
- Use Cedar or Redwood: These types of wood are naturally resistant to decay and insects.
- Reinforce the Corners: Add metal brackets for extra durability, especially for larger boxes.
- Consider Mobility: Attach caster wheels to the base for easy movement.
Creative Design Ideas for Raised Planter Boxes
- Two-Tiered Planter Box: Create a stepped design for growing plants with varying sunlight needs.
- Self-Watering Planter: Add a water reservoir system to reduce maintenance.
- Decorative Trim: Enhance the appearance by adding decorative molding or trim to the edges.
Planting and Maintenance Tips
- Choose the Right Plants: Select plants that thrive in your climate and suit the depth of your planter box.
- Water Smartly: Use a soaker hose or drip irrigation for consistent watering.
- Fertilize Regularly: Incorporate organic fertilizers for healthy, thriving plants.
Common Mistakes to Avoid
- Skipping Drainage Holes: Without proper drainage, your plants can suffer from waterlogging.
- Using Untreated Wood: If untreated wood is used, it may rot quickly in moist conditions.
- Overloading with Soil: Avoid filling your planter box too high to prevent spillage and stress on the structure.
👉 CLICK HERE to Unlock 16,000+ DIY woodworking plans now
Conclusion
Building a raised planter box like a pro doesn’t have to be complicated. By following this guide and incorporating a few creative ideas, you’ll have a functional, beautiful planter that will enhance your garden for years to come. Whether you’re a seasoned gardener or a beginner, this project is both rewarding and practical.
“The best thing about raised planter boxes? They elevate your gardening experience—literally and figuratively.” – DIY Enthusiast
FAQs
- What is the best wood for raised planter boxes?
Cedar and redwood are ideal due to their natural resistance to rot and insects. - How deep should a raised planter box be?
A depth of 12–18 inches is sufficient for most plants, though deeper boxes are better for root vegetables. - Do I need to treat the wood for outdoor use?
Yes, applying a waterproof sealant or stain will prolong the life of the wood. - How can I prevent weeds in my planter box?
Use landscape fabric or a thick layer of mulch to suppress weed growth. - Can I move a raised planter box after it’s built?
If mobility is a concern, consider adding caster wheels to the base for easy relocation.
👉 CLICK HERE to Unlock 16,000+ DIY woodworking plans now
