When to Harvest Birdhouse Gourds
Birdhouse gourds, also known as Lagenaria siceraria, are a fascinating plant grown not just for their ornamental appeal but also for practical purposes like crafting birdhouses. Knowing the right time to harvest these gourds is crucial to ensure they dry properly and become durable for long-term use. In this guide, we’ll explore the best harvesting practices, how to identify when your birdhouse gourds are ready, and post-harvest tips to get the most out of your crop.
Understanding the Growth Cycle of Birdhouse Gourds
Birdhouse gourds go through distinct growth stages:
- Germination: Seeds sprout and grow into vines.
- Flowering: Large white flowers bloom and are pollinated.
- Fruit Development: Gourds begin to form and grow.
- Maturation: Gourds harden and develop their final color and texture.
Tip: Birdhouse gourds require a long growing season, typically 120 to 140 days, to fully mature.
Signs That Birdhouse Gourds are Ready for Harvest
1. Hard Shell
The shell of a mature birdhouse gourd will be hard and tough to pierce with your fingernail. If the shell is still soft or easily indented, it is not ready.
2. Color Change
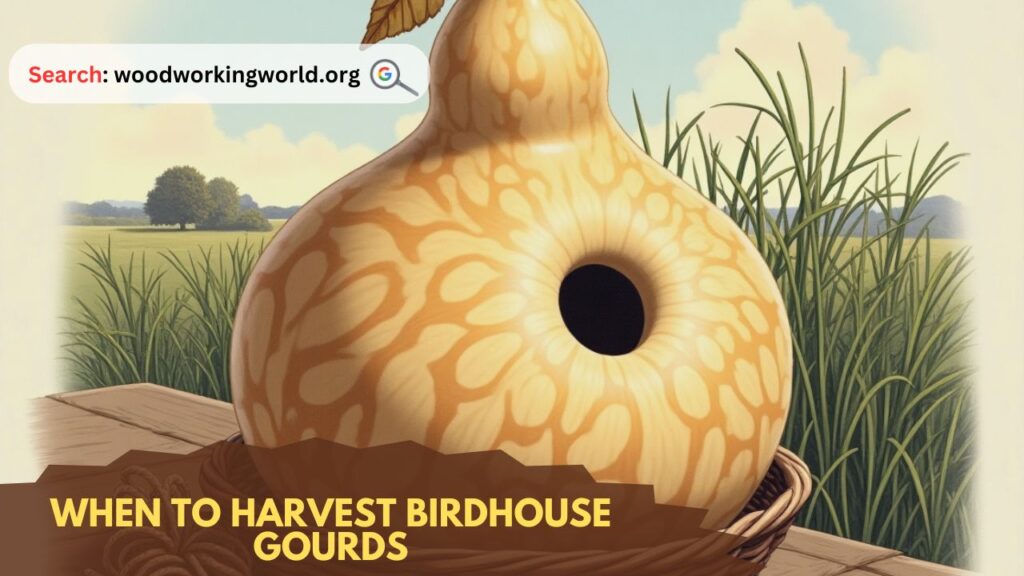
As they mature, the gourds will change color from green to a tan, brown, or mottled appearance.
3. Dried Stem
Check the stem attached to the gourd. A fully matured gourd will have a brown, dry, and woody stem. If the stem is still green, the gourd needs more time.
4. Lightweight Feel
Mature birdhouse gourds will feel noticeably lighter than immature ones due to water loss during the drying process.
Pro Tip: Leave the gourds on the vine until after the first light frost for best results, but ensure they are harvested before a heavy frost to avoid damage.
Start Your Next Project With Teds’ Archive Of 16,000 Plans!
Instant access to all 16,000 woodworking plans with step-by-step details, photos, materials lists and more
Monthly free plans with lifetime membership access – No renewals, recurring fees or other charges


How to Harvest Birdhouse Gourds
1. Use Sharp Tools
- Use a pair of sharp pruning shears or a knife to cut the gourd from the vine.
- Leave about 2-3 inches of stem attached to prevent rot during the drying process.
2. Handle with Care
- Avoid dropping or bruising the gourds as this can cause damage and affect their ability to dry properly.
3. Clean Off Debris
- Gently wipe off any dirt or debris from the surface without puncturing the skin.
Post-Harvest Drying and Curing
After harvesting, drying the gourds properly is essential for crafting or decorative purposes.
Step 1: Initial Drying
- Place the gourds in a warm, well-ventilated area.
- Avoid direct sunlight, which can cause uneven drying and cracking.
Step 2: Regular Rotation
- Rotate the gourds every few days to ensure even drying.
- Check for signs of mold. Light mold growth is normal; simply wipe it off with a cloth.
Step 3: Long-Term Curing
- Curing can take several months. The gourds are fully cured when they are completely lightweight and you can hear seeds rattling inside.
Tip: A dehumidifier can speed up the drying process in humid climates.
Table: Harvest and Post-Harvest Checklist
| Step | Action | Notes |
|---|---|---|
| Check Shell | Ensure it’s hard and tough | No soft spots |
| Stem Condition | Look for brown, woody stem | Avoid green stems |
| Cutting | Use sharp pruning shears | Leave 2-3 inches of stem |
| Initial Drying | Place in ventilated area | Avoid direct sunlight |
| Rotation | Turn gourds regularly | Check for mold |
| Curing Completion | Listen for seed rattle | Takes several months |

Common Mistakes to Avoid
1. Harvesting Too Early
Immature gourds will not cure properly and may rot instead.
2. Leaving Gourds on the Vine Too Long
While a light frost can help mature the gourd, a heavy frost will damage it.
3. Improper Drying Conditions
High humidity or poor ventilation can lead to mold issues.
4. Cutting Too Close to the Stem
Leaving no stem can make the gourd more susceptible to rot.
FAQs
1. How long does it take for birdhouse gourds to dry?
The drying and curing process can take anywhere from 1 to 6 months, depending on the size of the gourd and environmental conditions.
2. Can I speed up the drying process?
Using a dehumidifier or placing the gourds in a dry, warm environment can help speed up the process.
3. Is mold on drying gourds normal?
Yes, light mold growth is normal. Simply wipe it off with a cloth.
4. What should I do if a gourd starts to rot?
Dispose of it to prevent the spread of rot to other gourds.
5. Can I use birdhouse gourds for other crafts?
Absolutely! Birdhouse gourds can be used for bowls, decorative items, and even musical instruments.
6. How do I clean cured birdhouse gourds for crafting?
Soak the gourd in warm water and scrub with a brush to remove any remaining mold or dirt.
Conclusion
Knowing when to harvest birdhouse gourds and how to properly dry and cure them is essential for creating beautiful and durable birdhouses or other crafts. By following the tips in this guide, you can enjoy a successful harvest and creative projects for years to come.