Breathe new life into your weathered patio furniture! Learn how to restore outdoor wood furniture with a step-by-step guide. From cleaning and sanding to staining and sealing, get your deck and porch furniture looking its best again.
How to Restore Outdoor Wood Furniture: Outdoor wood furniture adds a touch of elegance and natural beauty to your garden, patio, or backyard. However, exposure to the elements can take a toll on its appearance and structural integrity over time. Restoring outdoor wood furniture is a rewarding project that can bring new life to your cherished pieces, extending their lifespan and maintaining their beauty. Here is a step-by-step guide on how to restore outdoor wood furniture.
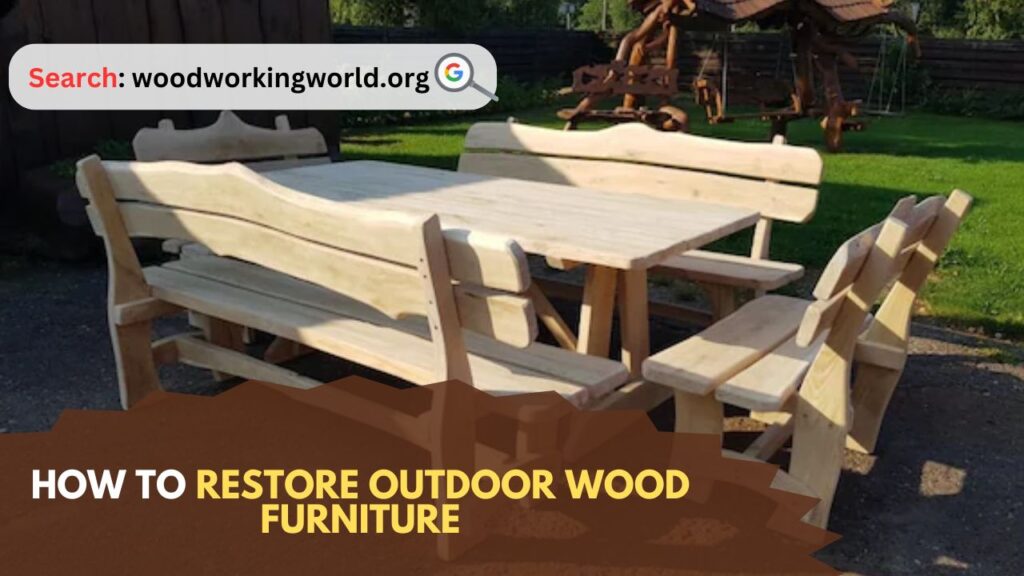
How to Restore Outdoor Wood Furniture
Step 1: Assess the Condition of the Furniture
Before beginning the restoration process, thoroughly inspect the furniture to assess its condition. Look for signs of:
- Cracks and Splits: Check for any cracks, splits, or breaks in the wood that may need repair.
- Fading and Discoloration: Examine the wood for areas that have faded or discolored due to sun exposure.
- Rot and Decay: Identify any sections that show signs of rot or decay, particularly in joints and legs.
- Mold and Mildew: Look for mold or mildew growth, which is common in humid environments.
Step 2: Gather Your Supplies
To restore your outdoor wood furniture, you will need the following supplies:
- Safety goggles and gloves
- Dust mask
- Mild detergent
- Bucket
- Sponge or soft brush
- Sandpaper (coarse, medium, and fine grit)
- Wood filler
- Putty knife
- Wood glue and clamps (if necessary)
- Paint or stain stripper (if applicable)
- Scraper
- Wood sealer or outdoor finish
- Paintbrushes
- Clean rags
Step 3: Clean the Furniture
Start the restoration process by thoroughly cleaning the furniture to remove dirt, grime, and mildew. Follow these steps:
- Mix a Cleaning Solution: In a bucket, mix a solution of mild detergent and water.
- Scrub the Furniture: Use a sponge or soft brush to scrub the furniture with the cleaning solution. Pay special attention to areas with heavy dirt buildup or mold.
- Rinse Thoroughly: Rinse the furniture with clean water to remove any soap residue. Use a garden hose for a thorough rinse.
- Dry Completely: Allow the furniture to dry completely before moving on to the next step. This may take a few hours to a day, depending on the weather.
Step 4: Remove Old Finish (If Necessary)
If your furniture has an old finish, paint, or stain that is peeling or deteriorating, you will need to remove it before proceeding with restoration. Follow these steps:
- Apply Paint or Stain Stripper: Using a paintbrush, apply a paint or stain stripper to the surface of the furniture according to the manufacturer’s instructions.
- Wait for the Stripper to Work: Allow the stripper to sit for the recommended time to soften the old finish.
- Scrape Off the Old Finish: Use a scraper to gently remove the softened finish. Be careful not to gouge the wood.
- Clean the Surface: Once the old finish is removed, clean the surface with a damp rag to remove any residue. Allow the furniture to dry completely.
Step 5: Sand the Furniture
Sanding is a crucial step in restoring outdoor wood furniture, as it smooths the surface and prepares it for refinishing. Here’s how to do it:
- Begin with Coarse Grit Sandpaper: Start by sanding the furniture with coarse grit sandpaper (60-80 grit) to remove any remaining finish and smooth out rough areas.
- Move to Medium Grit Sandpaper: Switch to medium grit sandpaper (120 grit) to further smooth the surface and remove any remaining imperfections.
- Finish with Fine Grit Sandpaper: Use fine grit sandpaper (220 grit) to achieve a smooth, even surface.
- Wipe Away Dust: After sanding, wipe down the furniture with a clean rag to remove all dust and debris.
Step 6: Repair Damaged Areas
Inspect the furniture for any cracks, splits, or holes that need repair. Here’s how to address these issues:
- Fill Small Cracks and Holes: Use wood filler to fill small cracks and holes. Apply the filler with a putty knife, pressing it into the cracks and smoothing the surface. Allow the filler to dry completely.
- Repair Large Cracks and Splits: For larger cracks and splits, use wood glue to bond the broken pieces together. Apply glue to the crack, clamp the pieces together, and let the glue dry according to the manufacturer’s instructions.
- Sand Repaired Areas: Once the repairs are dry, sand the repaired areas to ensure they are smooth and flush with the surrounding wood.
Step 7: Apply a New Finish
Applying a new finish is essential to protect the wood from the elements and enhance its appearance. You can choose between paint, stain, or a clear sealer, depending on your preference. Here’s how to apply each type of finish:
Painting:
- Prime the Wood: Apply a primer designed for outdoor use to help the paint adhere and provide additional protection.
- Paint the Furniture: Use a paintbrush to apply outdoor paint in thin, even coats. Allow each coat to dry before applying the next.
- Apply Multiple Coats: Apply at least two coats of paint for a durable finish. Make sure the final coat is smooth and even.
Staining:
- Choose a Stain: Select an outdoor stain that provides UV protection and enhances the wood grain.
- Apply the Stain: Use a paintbrush or clean rag to apply the stain in long, even strokes, following the direction of the wood grain.
- Wipe Off Excess: After a few minutes, wipe off any excess stain with a clean rag to achieve an even finish.
- Apply Additional Coats: For a deeper color, apply additional coats of stain, allowing each coat to dry before applying the next.
Clear Sealer:
- Select a Sealer: Choose a clear wood sealer designed for outdoor use to protect the wood without changing its natural color.
- Apply the Sealer: Use a paintbrush to apply the sealer in thin, even coats, following the direction of the wood grain.
- Allow to Dry: Let the sealer dry completely between coats. Apply at least two coats for maximum protection.
Step 8: Reassemble and Inspect
If you disassembled the furniture for restoration, carefully reassemble it once all the components are dry and finished. Check that all joints are secure and the furniture is stable. Inspect the finished piece to ensure all areas are evenly coated and there are no missed spots.
Step 9: Regular Maintenance
To keep your restored outdoor wood furniture looking its best, perform regular maintenance:
- Clean Regularly: Wipe down the furniture regularly to remove dirt and debris. Use a mild detergent solution for more thorough cleaning.
- Inspect for Damage: Periodically check for signs of damage, such as cracks, splits, or peeling finish. Address any issues promptly to prevent further deterioration.
- Reapply Finish as Needed: Depending on the level of exposure to the elements, you may need to reapply the finish every 1-2 years to maintain protection and appearance.
- Cover or Store: When not in use, cover the furniture with outdoor furniture covers or store it in a sheltered area to protect it from harsh weather.
Conclusion: How to Restore Outdoor Wood Furniture
How to Restore Outdoor Wood Furniture: Restoring outdoor wood furniture is a fulfilling project that can revive the beauty and functionality of your cherished pieces. By following these steps, you can effectively clean, repair, and refinish your furniture, ensuring it remains a stunning feature of your outdoor space for years to come. Regular maintenance and protection will keep your restored furniture looking its best, allowing you to enjoy its natural charm and elegance throughout the seasons.
I hope this article on How to Restore Outdoor Wood Furniture has been helpful. If you have any further questions, please feel free to leave a comment below.
Video
