Fall Wood Signs: Fall is a wonderful time of year, filled with cozy sweaters, pumpkin spice lattes, and the beautiful colors of changing leaves. One of the best ways to bring that autumnal charm into your home is by creating your own fall wood signs. Not only do these signs add a rustic touch to your decor, but they are also a fun and creative project you can enjoy. Whether you’re a seasoned DIY enthusiast or a beginner, this guide will take you through the steps to create your very own fall wood signs.
How to Make Fall Wood Signs
Materials You Will Need to Make Fall Wood Signs
Before you get started, gather all the materials you will need for this project. Here is a list of essentials:
- Wooden boards or planks
- Sandpaper (medium and fine grit)
- Wood stain or paint (in fall colors)
- Paintbrushes or foam brushes
- Stencils or vinyl letters
- Acrylic paint (various colors)
- Painter’s tape
- Clear sealant or varnish
- Saw (if cutting your own wood)
- Gloves and protective eyewear
- Drop cloth or newspaper (to protect your work surface)
Step 1: Choosing and Preparing Your Wood
The first step in making your fall wood sign is selecting the wood you will use. You can purchase pre-cut wooden boards from a craft store or hardware store, or you can cut your own wood to size if you have the tools. When selecting your wood, consider the size and shape of the sign you want to create.
Once you have your wood, it’s time to prepare it. Start by sanding the surface with medium-grit sandpaper to remove any rough spots or splinters. Follow up with fine-grit sandpaper to create a smooth surface. Wipe away any dust with a damp cloth and let the wood dry completely.
Step 2: Staining or Painting the Wood
Next, you need to decide whether you want to stain or paint your wood. Staining allows the natural grain of the wood to show through, giving your sign a rustic look, while painting provides a more solid and vibrant color.
If you choose to stain your wood, apply the stain with a brush or cloth, following the direction of the grain. Let the stain sit for a few minutes before wiping off any excess with a clean cloth. Allow the stain to dry completely before moving on to the next step.
If you prefer to paint your wood, use a paint brush or foam brush to apply an even coat of paint. Depending on the look you want, you may need to apply multiple coats, allowing each coat to dry before applying the next. Once your paint is dry, lightly sand the edges and surface to create a distressed look, if desired.
Step 3: Designing Your Sign
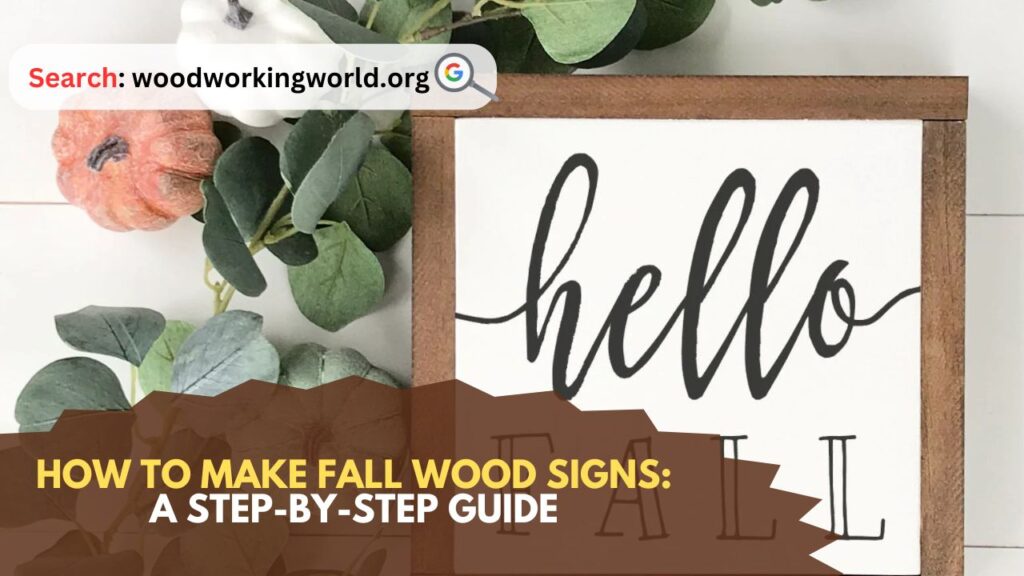
Now comes the fun part – designing your sign! Decide what you want your sign to say. Popular fall phrases include “Welcome Fall,” “Hello Pumpkin,” “Happy Harvest,” or simply “Autumn.” You can use stencils or vinyl letters to create your design, or you can freehand it if you’re confident in your painting skills.
If using stencils, secure them to your wood with painter’s tape. Use a pencil to lightly trace the outline of your letters onto the wood. If using vinyl letters, position them on the wood and press down firmly to adhere.
Step 4: Painting Your Design
With your design in place, it’s time to paint. Use acrylic paint and a small brush to fill in your letters and any other designs you have included. Be careful to stay within the lines for a neat and professional look. If you make any mistakes, you can touch them up with a small brush and some background paint once the design is dry.
Allow the paint to dry completely before moving on to the next step. This may take a few hours, depending on the thickness of the paint.
Step 5: Adding Decorative Elements
To give your fall wood sign an extra touch of charm, consider adding some decorative elements. You can use leaves, pumpkins, acorns, or other fall-themed items to embellish your sign. These can be painted directly onto the wood or attached using hot glue.
If you want to add a three-dimensional element, consider using wooden cutouts or appliqués. These can be painted and glued onto the surface of your sign for added depth and interest.
Step 6: Sealing Your Sign
To protect your sign and ensure it lasts for many fall seasons to come, apply a clear sealant or varnish. This will help protect the wood and paint from moisture and wear. Use a brush to apply an even coat of sealant over the entire surface of your sign. Allow it to dry completely according to the manufacturer’s instructions.
Step 7: Displaying Your Sign
Once your sign is complete and the sealant is dry, it’s time to display your creation! There are many ways to showcase your fall wood sign. You can hang it on a wall, prop it up on a mantel, or place it in your front yard or porch. If you plan to display your sign outdoors, make sure it is properly sealed to withstand the elements.
Tips for Success
- Plan Ahead: Before you start, sketch out your design on paper. This will help you visualize the final product and make any necessary adjustments before you begin painting.
- Take Your Time: Rushing through the steps can lead to mistakes. Allow each layer of paint and sealant to dry completely before moving on to the next step.
- Experiment with Techniques: Don’t be afraid to try different painting and staining techniques to achieve the look you want. Dry brushing, sponging, and distressing are all great ways to add texture and interest to your sign.
- Use Quality Materials: Investing in good quality paint, brushes, and sealant will make a big difference in the final appearance and durability of your sign.
- Protect Your Work Area: Lay down a drop cloth or newspaper to protect your work surface from paint and stain spills.
Conclusion: Fall Wood Signs
Creating your own fall wood sign is a rewarding and enjoyable project that adds a personal touch to your seasonal decor. With a few basic materials and some creativity, you can craft a beautiful and unique sign that celebrates the beauty of autumn. Whether you choose to display your sign indoors or out, it will surely bring warmth and charm to your home. So gather your supplies, roll up your sleeves, and get ready to welcome fall with your own handmade masterpiece!
I hope this article on Fall Wood Signs has been helpful. If you have any further questions, please feel free to leave a comment below.
Video
