Outdoor Wood Picnic Table: Creating your own outdoor wood picnic table is a rewarding woodworking project that not only enhances your backyard but also provides a durable and functional piece of outdoor furniture. Whether you’re a seasoned woodworker or a novice looking to tackle a new project, this step-by-step guide will walk you through the process of building a sturdy and attractive picnic table that will last for years.
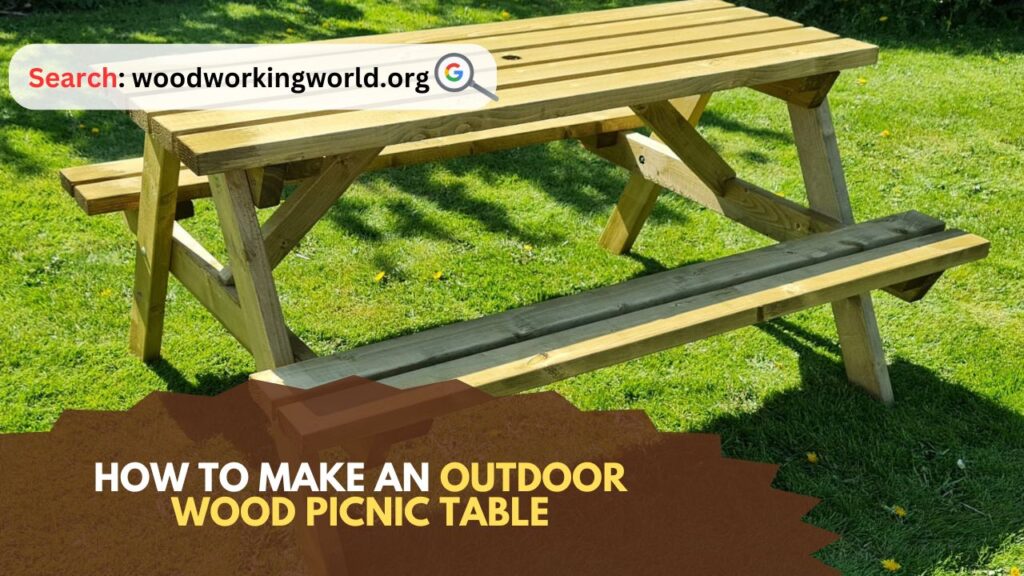
How to Make an Outdoor Wood Picnic Table
Tools and Materials Needed to Make an Outdoor Wood Picnic Table
Before diving into the construction process, gather all the necessary tools and materials. Here’s a comprehensive list to get you started:
Tools:
- Tape measure
- Speed square
- Circular saw or miter saw
- Power drill
- Drill bits
- Screwdriver bits
- Socket wrench or ratchet set
- Clamps
- Sandpaper or power sander
- Paint Brushes or rollers
Materials:
- Pressure-treated lumber (for durability against the elements)
- 2x4s for the frame
- 2x6s for the tabletop and bench seats
- 4x4s for the legs
- Galvanized screws or bolts (3-inch and 2 1/2-inch)
- Wood glue
- Wood stain or outdoor paint (optional)
- Clear wood sealant
Step-by-Step Instructions
Step 1: Cutting the Lumber
Start by cutting the lumber to the required sizes. Here’s a breakdown of what you’ll need:
- Tabletop: 5 pieces of 2×6 lumber, each 72 inches long
- Bench Seats: 4 pieces of 2×6 lumber, each 72 inches long
- Table Frame: 2 pieces of 2×4 lumber, each 68 inches long; 3 pieces of 2×4 lumber, each 27 inches long
- Bench Frames: 4 pieces of 2×4 lumber, each 68 inches long; 4 pieces of 2×4 lumber, each 10 inches long
- Legs: 4 pieces of 4×4 lumber, each 28 1/2 inches long
Ensure all cuts are precise to guarantee the stability and symmetry of your table.
Step 2: Assembling the Tabletop Frame
Construct the tabletop frame using the 2x4s. Lay out the two 68-inch pieces parallel to each other and space the three 27-inch pieces evenly between them. Use wood glue and 3-inch galvanized screws to secure the joints. This frame will support the tabletop planks.
Step 3: Attaching the Tabletop Planks
Place the five 72-inch 2×6 planks on top of the frame, spacing them evenly. Use clamps to hold the planks in place while you drill pilot holes through the planks into the frame. Secure each plank with 2 1/2-inch galvanized screws. Ensure the screws are countersunk to create a smooth surface.
Step 4: Building the Bench Frames
Construct the bench frames similarly to the tabletop frame. Use the 68-inch and 10-inch 2x4s to create two rectangular frames. Secure the joints with wood glue and 3-inch galvanized screws.
Step 5: Attaching the Bench Seats
Lay the 72-inch 2×6 planks on top of the bench frames. Clamp them in place and drill pilot holes before securing them with 2 1/2-inch galvanized screws. Again, make sure the screws are countersunk.
Step 6: Preparing the Legs
Cut the ends of the 4×4 legs at a 45-degree angle for a more stable base. This will allow the legs to sit flat on the ground and provide better support for the table and benches.
Step 7: Attaching the Legs to the Table
Position the 4×4 legs at each corner of the tabletop frame. Drill pilot holes through the frame into the legs and secure them with 3-inch galvanized screws or bolts. For extra stability, use metal corner brackets.
Step 8: Attaching the Bench Legs
Attach the 4×4 legs to each corner of the bench frames, following the same procedure as with the table legs. Ensure the legs are firmly secured and that the benches sit level.
Step 9: Final Assembly
Position the benches parallel to the table. The bench legs should line up with the table legs, creating a cohesive and balanced look. Drill pilot holes and secure the benches to the table legs using 3-inch galvanized screws or bolts.
Step 10: Sanding and Finishing
Once the table and benches are fully assembled, sand all surfaces to remove any rough edges or splinters. Start with coarse-grit sandpaper and work your way to finer grits for a smooth finish. After sanding, wipe the surfaces clean to remove dust.
Step 11: Staining or Painting
Apply a wood stain or outdoor paint to enhance the appearance of your picnic table and protect the wood from the elements. Use a paint brush or roller to apply an even coat, following the manufacturer’s instructions for drying times and additional coats. If desired, finish with a clear wood sealant for added protection.
Step 12: Maintenance and Care
To ensure the longevity of your outdoor wood picnic table, follow these maintenance tips:
- Regular Cleaning: Clean the table regularly to remove dirt and debris. Use a mild soap and water solution and a soft brush or cloth. Avoid using harsh chemicals that can damage the wood.
- Resealing: Depending on your climate and usage, you may need to reseal the table every year or two. Inspect the table for signs of wear, such as peeling paint or fading stain, and apply a fresh coat of sealant as needed.
- Protection: Cover the table during extreme weather conditions or when not in use for extended periods. A durable outdoor furniture cover can help protect the wood from rain, snow, and UV rays.
Tips for a Successful Build
- Measure Twice, Cut Once: Accurate measurements are crucial for a sturdy and balanced picnic table. Double-check all measurements before cutting.
- Use Quality Materials: Invest in pressure-treated lumber and galvanized hardware to ensure your picnic table withstands the elements.
- Safety First: Wear appropriate safety gear, such as goggles and ear protection, when using power tools. Work in a well-ventilated area and follow all safety guidelines for your tools and materials.
- Ask for Help: If you’re new to woodworking, don’t hesitate to seek advice or assistance from more experienced woodworkers. Local woodworking clubs or online forums can be valuable resources.
Conclusion: Outdoor Wood Picnic Table
Building your own outdoor wood picnic table is a fulfilling project that adds both functionality and charm to your outdoor space. With careful planning, precise measurements, and attention to detail, you can create a beautiful and durable picnic table that will be the centerpiece of many gatherings and family meals for years to come. Enjoy the process and take pride in your craftsmanship as you build a piece of furniture that will stand the test of time.
I hope this article on Outdoor Wood Picnic Table has been helpful. If you have any further questions, please feel free to leave a comment below.
Video
