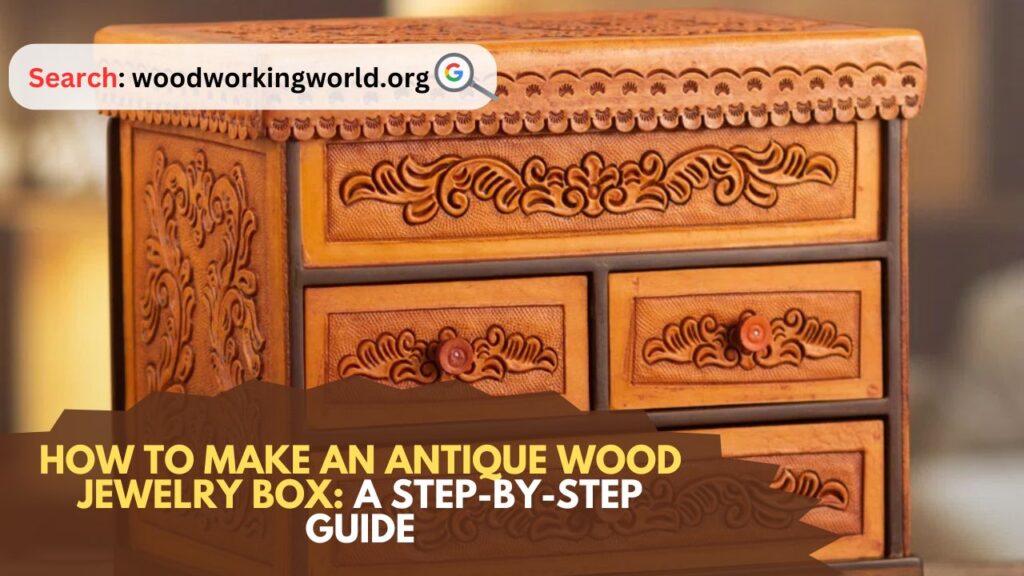
Antique Wood Jewelry Box: Creating an antique wood jewelry box is a rewarding woodworking project that combines craftsmanship with creativity. This guide will walk you through the process, from selecting materials to finishing touches, ensuring that your jewelry box becomes a cherished heirloom.
How to Make an Antique Wood Jewelry Box
Materials and Tools Needed to Make an Antique Wood Jewelry Box
Before you begin, gather the following materials and tools:
Materials:
- Hardwood (e.g., oak, cherry, walnut)
- Plywood for the base
- Wood glue
- Hinges
- Screws
- Sandpaper (various grits)
- Wood stain or paint
- Varnish or wood finish
- Velvet or felt for lining
Tools:
- Table saw or handsaw
- Router with a dovetail jig
- Clamps
- Drill and drill bits
- Screwdriver
- Paintbrushes or cloths for applying finish
Step 1: Designing Your Jewelry Box
Start by sketching your design. Decide on the dimensions, style, and features of your box. A common size for a jewelry box is 10 inches wide, 6 inches deep, and 4 inches high. Include compartments or drawers in your design if desired.
Step 2: Selecting and Preparing the Wood
Choose a hardwood that matches the antique look you want. Oak, cherry, and walnut are excellent choices for their durability and beautiful grain patterns.
- Cutting the Wood:
- Measure and mark the wood pieces according to your design.
- Use a table saw or handsaw to cut the wood to size. You’ll need four pieces for the sides, one for the base, and one for the lid.
- Preparing the Edges:
- Use a router with a dovetail jig to create dovetail joints on the corners of the box. Dovetail joints are strong and give an antique appearance.
Step 3: Assembling the Box
- Dry Fit:
- Before gluing, dry fit all the pieces together to ensure they align properly.
- Gluing and Clamping:
- Apply wood glue to the dovetail joints and clamp the pieces together. Wipe off any excess glue with a damp cloth.
- Let the glue dry for at least 24 hours.
- Adding the Base:
- Cut a piece of plywood to fit the bottom of the box.
- Attach it using wood glue and small finishing nails or screws.
Step 4: Creating the Lid
- Cutting the Lid:
- Measure and cut the lid to match the dimensions of the box top.
- If you want a beveled edge, use a router to shape the edges.
- Attaching Hinges:
- Position the hinges on the back of the box and the lid.
- Mark and drill pilot holes, then screw the hinges into place.
Step 5: Sanding
- Initial Sanding:
- Start with a coarse grit sandpaper (80-100 grit) to smooth out any rough edges and surfaces.
- Progressive Sanding:
- Progress to finer grits (120, 220) for a smoother finish. Make sure to sand with the grain to avoid scratches.
Step 6: Staining and Finishing
- Staining:
- Choose a wood stain that enhances the natural grain and gives an antique look.
- Apply the stain with a brush or cloth, following the manufacturer’s instructions. Allow it to penetrate the wood for a few minutes, then wipe off any excess.
- Finishing:
- Apply a coat of varnish or wood finish to protect the wood. Use a brush or cloth to apply evenly.
- Let it dry, then sand lightly with a fine grit sandpaper (320) before applying a second coat. Repeat for a third coat if desired.
Step 7: Lining the Box
- Cutting the Fabric:
- Measure and cut velvet or felt to fit the inside of the box and any compartments.
- Attaching the Lining:
- Use a spray adhesive or fabric glue to attach the lining to the inside surfaces of the box.
Step 8: Adding Decorative Elements
To give your jewelry box an authentic antique feel, consider adding decorative elements such as:
- Carvings or Inlays:
- Use a Dremel tool to carve designs or inlay contrasting wood or mother-of-pearl.
- Hardware:
- Choose antique-style hardware for the hinges, latch, and feet. Brass or bronze fittings add a vintage touch.
Step 9: Final Touches
- Polishing:
- Once all the components are in place and the finish is dry, polish the box with a soft cloth.
- Inspecting:
- Check all joints, hinges, and lining for any imperfections and make necessary adjustments.
Conclusion: How to Make an Antique Wood Jewelry Box
Creating an antique wood jewelry box is a fulfilling project that combines skill, patience, and creativity. With careful attention to detail and quality materials, you can craft a beautiful, functional piece that will be cherished for generations. Whether as a gift or a personal keepsake, an antique wood jewelry box is a testament to timeless craftsmanship.
I hope this article on How to Make an Antique Wood Jewelry Box has been helpful. If you have any further questions, please feel free to leave a comment below.
Video
