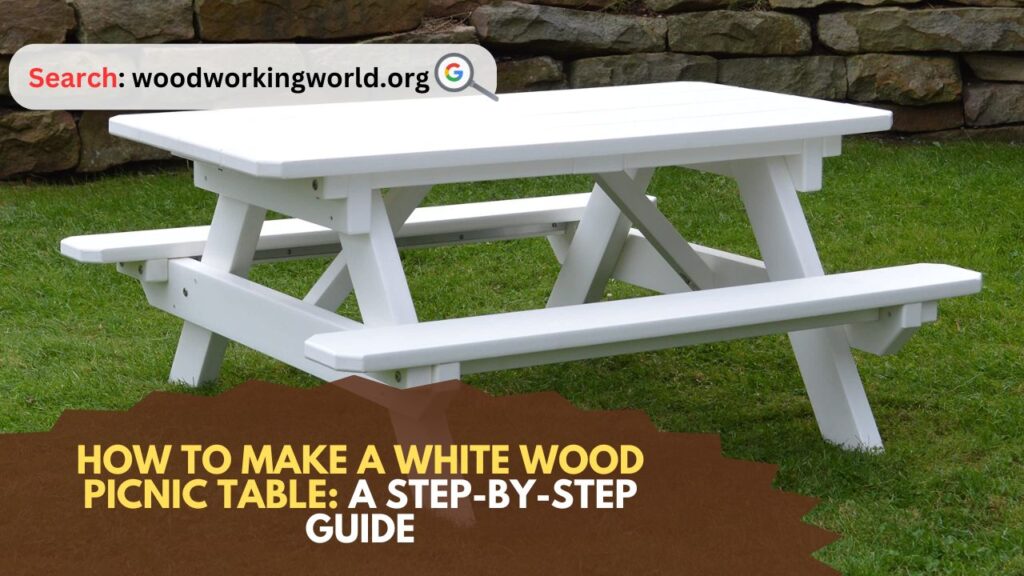
White Wood Picnic Table: A white wood picnic table is a classic addition to any backyard or garden, offering a perfect spot for outdoor dining, family gatherings, or simply enjoying a sunny day. Building your own picnic table can be a rewarding project that not only saves money but also gives you the satisfaction of creating something with your own hands. In this guide, we’ll walk you through the steps to make a sturdy and stylish white wood picnic table.
How to Make a White Wood Picnic Table
Materials and Tools You’ll Need to Make a White Wood Picnic Table
Materials:
- Wood: You’ll need quality lumber for the table. Here’s a basic list:
- 2x4s for the frame and supports
- 2x6s for the tabletop and bench seats
- 4x4s for the legs
- Fasteners:
- 2.5-inch wood screws
- 3-inch wood screws
- 3/8-inch carriage bolts, nuts, and washers
- Paint: Outdoor white paint and primer
- Wood filler: For smoothing out imperfections
- Sandpaper: Medium and fine grit
- Wood glue
- Clear sealant: Optional, for extra protection
Tools:
- Circular saw or miter saw
- Drill and drill bits
- Socket wrench
- Measuring tape
- Speed square
- Clamps
- Paintbrushes and rollers
- Safety gear: Gloves, safety glasses, and hearing protection
Step-by-Step Instructions
Step 1: Cutting the Wood
Start by cutting all the wood pieces to the required lengths. Use a circular saw or miter saw for precise cuts. Here are the dimensions for a standard picnic table:
- Tabletop:
- 5 pieces of 2×6 lumber, each 6 feet long
- Seats:
- 4 pieces of 2×6 lumber, each 6 feet long
- Legs:
- 4 pieces of 4×4 lumber, each 29 inches long
- Table supports:
- 2 pieces of 2×4 lumber, each 28.5 inches long
- Seat supports:
- 2 pieces of 2×4 lumber, each 72 inches long
- Diagonal braces:
- 2 pieces of 2×4 lumber, each 60 inches long
Step 2: Assembling the Tabletop
Lay out the five 2×6 pieces side by side to form the tabletop. Ensure they are evenly spaced and aligned. Use wood glue along the edges and clamp them together. Once the glue is dry, reinforce the tabletop by attaching two 2×4 pieces perpendicular to the 2×6 boards. Place these supports about 12 inches from each end of the tabletop. Secure them with 2.5-inch wood screws.
Step 3: Building the Legs
Take the 4×4 pieces and cut one end of each at a 45-degree angle. This will allow the legs to sit flush on the ground. Drill holes through the top of each leg for the carriage bolts. Attach the legs to the tabletop supports using 3-inch wood screws and the carriage bolts. Make sure the legs are positioned at a slight outward angle for stability.
Step 4: Attaching the Seats
Next, attach the seat supports to the legs. These are the 72-inch long 2×4 pieces. Secure them about 17 inches from the ground, ensuring they are level. Use 3-inch wood screws to attach the seat supports to the legs. Then, place the 2×6 seat boards on top of the supports and secure them with 2.5-inch wood screws.
Step 5: Adding Diagonal Braces
For added stability, attach the diagonal braces. These will run from the bottom of the legs to the underside of the tabletop. Position the braces so they form a triangle with the legs and the tabletop supports. Secure them with 2.5-inch wood screws at both ends.
Step 6: Sanding
Once the table is fully assembled, it’s time to sand it down. Start with medium-grit sandpaper to remove any rough spots and splinters. Finish with fine-grit sandpaper for a smooth surface. Pay special attention to the edges and corners to ensure they are not sharp.
Step 7: Applying Primer and Paint
Before painting, apply a coat of outdoor primer to the entire table. This will help the paint adhere better and last longer. Once the primer is dry, apply the first coat of white paint. Use a paintbrush for the edges and corners and a roller for the larger surfaces. Let the first coat dry completely before applying a second coat. Depending on the type of paint and the desired finish, you might need to apply a third coat.
Step 8: Finishing Touches
After the paint has dried, inspect the table for any areas that need touch-ups. Fill any gaps or holes with wood filler and sand them smooth. If desired, apply a clear sealant to add an extra layer of protection against the elements. This is especially important if the table will be exposed to rain or direct sunlight.
Tips for Success
- Choose the right wood: Opt for pressure-treated lumber or cedar for outdoor use, as they are resistant to rot and insects.
- Measure twice, cut once: Accurate measurements are crucial for a well-fitting and stable picnic table.
- Use quality fasteners: Stainless steel or galvanized screws and bolts will resist rust and corrosion.
- Take your time with painting: Multiple thin coats are better than one thick coat. Allow each coat to dry thoroughly.
- Safety first: Always wear safety gear when cutting, sanding, or painting.
Maintenance and Care
To keep your white wood picnic table looking its best, follow these maintenance tips:
- Clean regularly: Wipe down the table with a damp cloth to remove dirt and debris. For tougher stains, use a mild soap solution.
- Inspect for damage: Periodically check for loose screws, cracks, or other signs of wear. Tighten screws and repair any damage promptly.
- Repaint as needed: Over time, the paint may chip or fade. Sand down any rough spots and apply a fresh coat of paint as needed.
- Cover during harsh weather: If possible, cover the table during extreme weather conditions to prolong its lifespan.
Conclusion: White Wood Picnic Table
Building a white wood picnic table is a gratifying project that enhances your outdoor space and provides a functional piece of furniture for years to come. By following these detailed steps and using the right materials and tools, you can create a beautiful and durable picnic table that will be the centerpiece of many memorable gatherings. Enjoy your new picnic table and the satisfaction of having built it yourself!
I hope this article on White Wood Picnic Table has been helpful. If you have any further questions, please feel free to leave a comment below.
Video
