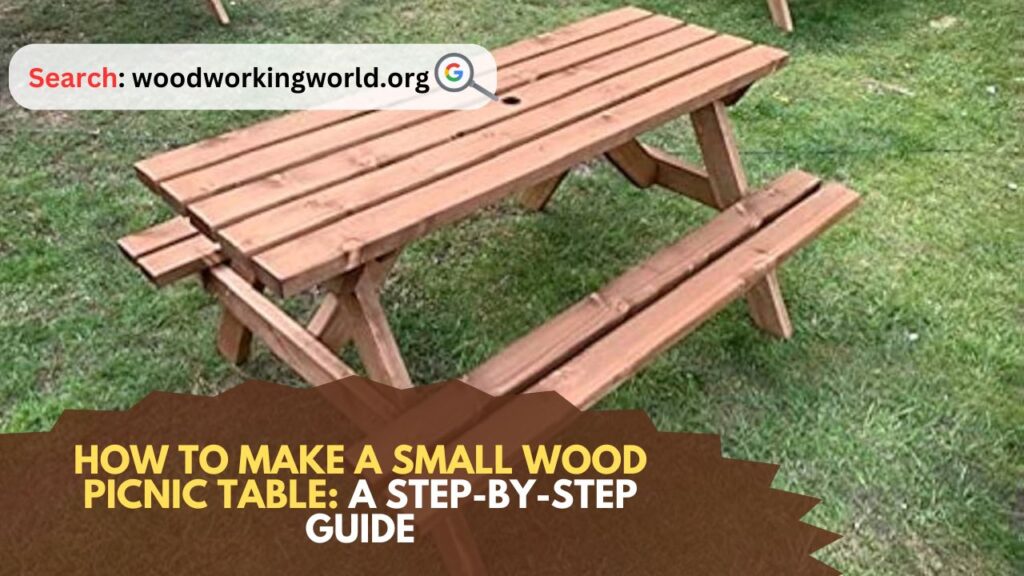
Small Wood Picnic Table: Building a small wood picnic table is a rewarding and practical woodworking project. Whether you’re a beginner looking to develop your skills or an experienced woodworker seeking a quick project, a small picnic table can be both a functional addition to your outdoor space and a showcase of your craftsmanship. This guide will walk you through the process of making a small wood picnic table, from gathering materials to finishing touches.
How to Make a Small Wood Picnic Table
Materials and Tools Needed to Make a Small Wood Picnic Table
Materials:
- Lumber:
- 2×4 boards (for the table frame and legs)
- 1×4 boards (for the tabletop and bench seats)
- 2×6 board (for the tabletop support)
- Fasteners:
- 2.5-inch wood screws
- 1.5-inch wood screws
- Wood glue
- Sandpaper (120 and 220 grit)
- Wood stain or paint (optional)
- Sealant (polyurethane or outdoor sealant)
Tools:
- Tape measure
- Pencil
- Speed square
- Circular saw or miter saw
- Drill/driver
- Clamps
- Orbital sander
- Paintbrushes or rags (for stain/sealant)
Step-by-Step Instructions
Step 1: Plan and Measure
Before you start cutting any wood, it’s essential to plan your picnic table. A typical small picnic table for children or a compact space might have the following dimensions:
- Tabletop: 36 inches long by 24 inches wide
- Bench seats: 36 inches long by 10 inches wide
- Table height: 24 inches
- Bench height: 12 inches
Sketch out your table with these dimensions, noting where each piece of wood will go. This plan will serve as your guide throughout the project.
Step 2: Cut the Lumber
Using your tape measure, pencil, and saw, cut the following pieces from your lumber:
- Tabletop slats: 1×4 boards, cut to 36 inches (5 pieces)
- Bench seat slats: 1×4 boards, cut to 36 inches (4 pieces)
- Table frame:
- 2×4 boards, cut to 36 inches (2 pieces)
- 2×4 boards, cut to 21 inches (2 pieces)
- Table legs: 2×4 boards, cut to 24 inches (4 pieces)
- Bench legs: 2×4 boards, cut to 12 inches (4 pieces)
- Bench supports: 2×4 boards, cut to 10 inches (4 pieces)
- Tabletop support: 2×6 board, cut to 24 inches (1 piece)
Ensure all cuts are precise and clean. Use a speed square to check that your cuts are straight.
Step 3: Assemble the Table Frame
Lay out the 36-inch and 21-inch 2x4s to form a rectangular frame. Use wood glue at the joints and secure with 2.5-inch wood screws. Pre-drill holes to prevent splitting.
Step 4: Attach the Table Legs
Attach the 24-inch 2x4s to the inside corners of the table frame. Ensure the legs are flush with the top of the frame. Secure each leg with wood glue and 2.5-inch screws, pre-drilling holes to avoid splitting.
Step 5: Add the Tabletop Slats
Lay the 36-inch 1×4 boards across the table frame, leaving a small gap between each slat for drainage and wood expansion. Secure each slat with 1.5-inch wood screws, pre-drilling holes and using wood glue for added stability.
Step 6: Install the Tabletop Support
Center the 24-inch 2×6 board underneath the tabletop slats. This support will add strength to the middle of the table. Secure with 2.5-inch screws, making sure it is flush with the bottom of the tabletop.
Step 7: Assemble the Bench Frames
Lay out the 36-inch and 10-inch 2x4s to form two rectangular frames for the benches. Use wood glue and 2.5-inch screws to secure the joints, pre-drilling holes.
Step 8: Attach the Bench Legs
Attach the 12-inch 2x4s to the inside corners of each bench frame. Ensure the legs are flush with the top of the frame. Secure each leg with wood glue and 2.5-inch screws, pre-drilling holes.
Step 9: Add the Bench Seat Slats
Lay the 36-inch 1×4 boards across each bench frame, leaving a small gap between each slat. Secure each slat with 1.5-inch wood screws, pre-drilling holes and using wood glue for added stability.
Step 10: Sand the Table and Benches
Using an orbital sander and 120-grit sandpaper, sand the entire table and benches to smooth out any rough edges or splinters. Follow up with 220-grit sandpaper for a finer finish.
Step 11: Apply Finish
Depending on your preference, you can either stain or paint your picnic table. Staining will enhance the natural beauty of the wood, while paint can add a pop of color and extra protection.
- Staining: Apply wood stain with a brush or rag, following the manufacturer’s instructions. Allow the stain to penetrate the wood for the recommended time before wiping off any excess. Let it dry completely.
- Painting: Apply an outdoor-grade paint with a brush, using even strokes. Multiple thin coats will provide better coverage and durability than a single thick coat. Let each coat dry thoroughly before applying the next.
Step 12: Seal the Table and Benches
After the stain or paint has dried, apply a coat of polyurethane or an outdoor sealant to protect the wood from the elements. Use a brush to apply the sealant in thin, even coats, following the manufacturer’s instructions. Allow the sealant to dry completely between coats, and apply at least two coats for optimal protection.
Tips and Tricks
- Choosing Lumber: Select weather-resistant lumber, such as cedar or redwood, for outdoor furniture. Treated lumber can also be used but requires proper handling and sealing.
- Pre-Drilling Holes: Pre-drilling screw holes prevents wood from splitting, especially near the edges.
- Consistent Gaps: Use spacers to ensure consistent gaps between the tabletop and bench slats.
- Weather Protection: Regularly reapply sealant to maintain the table’s appearance and durability, especially if it is exposed to the elements.
Conclusion: Small Wood Picnic Table
Building a small wood picnic table is a fulfilling project that combines practicality with creativity. By following this step-by-step guide, you can create a sturdy, attractive picnic table perfect for any outdoor space. Whether for family gatherings, children’s activities, or simply enjoying a meal outside, your handcrafted picnic table will be a cherished addition to your home. Happy woodworking!
I hope this article on Small Wood Picnic Table has been helpful. If you have any further questions, please feel free to leave a comment below.
Video
