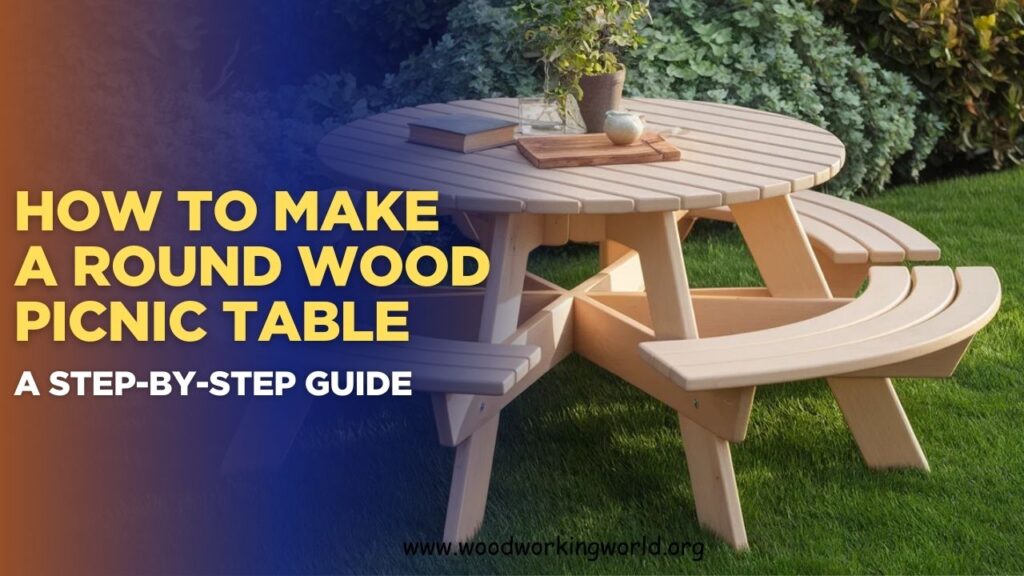
How to Make a Round Wood Picnic Table: A Step-by-Step Guide
Planning a standout addition to your outdoor space? Building a round wood picnic table is a rewarding project that combines functionality, durability, and visual appeal. Its circular design encourages conversation and makes it a perfect gathering spot for family meals, backyard parties, or weekend relaxation.
In this step-by-step guide, we’ll walk you through everything you need to know—from choosing the right wood and tools to cutting, assembling, and finishing your round picnic table—so you can create a sturdy, attractive piece that’s built to last.
👉 CLICK HERE to Unlock 16,000+ DIY woodworking plans now
How to Make a Round Wood Picnic Table
Materials and Tools Needed to Make a Round Wood Picnic Table
Materials:
- Pressure-treated lumber or cedar (for outdoor durability)
- Wood screws (galvanized or stainless steel)
- Wood glue
- Sandpaper (various grits)
- Wood stain or paint (optional)
- Polyurethane or exterior-grade sealant
Tools:
- Circular saw or table saw
- Jigsaw
- Power drill and bits
- Tape measure
- Carpenter’s square
- Clamps
- Orbital sander
- Paint Brushes or rollers
- Safety gear (gloves, goggles, ear protection)
👉 CLICK HERE to Unlock 16,000+ DIY woodworking plans now
Step 1: Designing Your Table
Start by designing your table. Decide on the dimensions, such as the diameter of the tabletop and the height of the table. A common diameter for a picnic table is around 48 inches, and a standard height is about 30 inches.
Sketch a detailed plan, including the tabletop, legs, supports, and any additional features you want. This blueprint will serve as your guide throughout the project.
Step 2: Preparing the Lumber
Once you have your design, purchase the necessary lumber. Pressure-treated wood or cedar is recommended for outdoor furniture due to its resistance to rot and insects.
Measure and mark your lumber according to the dimensions specified in your plan. Use a circular saw or table saw to make precise cuts. For the round tabletop, you can use a jigsaw to cut a perfect circle. One method to achieve a perfect circle is to use a trammel, which is a simple jig that holds the jigsaw steady while cutting.
Step 3: Assembling the Tabletop
To assemble the tabletop, lay out the boards for the top on a flat surface. Arrange them so that the wood grain patterns are visually appealing and the edges align properly. Apply wood glue to the edges of the boards and clamp them together. Allow the glue to dry according to the manufacturer’s instructions.
Once the glue is dry, use screws to reinforce the joints. Drill pilot holes to prevent the wood from splitting, and countersink the screws for a smooth finish.
Step 4: Shaping the Tabletop
With the boards securely glued and screwed together, it’s time to shape the tabletop. If you haven’t already cut the circle, use your jigsaw and trammel to do so. Sand the edges of the tabletop with coarse sandpaper to smooth out any rough spots, then finish with a finer grit to achieve a smooth edge.
Step 5: Building the Base
The base of the table consists of the legs and supports. Typically, a round picnic table has four legs connected by cross supports. Cut the legs to the desired height and angle, usually 30 degrees, for stability.
Next, cut the cross supports to fit between the legs. These supports add strength and stability to the table. Attach the legs to the tabletop using screws and wood glue. Ensure they are evenly spaced and level.
Attach the cross supports between the legs, forming an X-shape. This will further stabilize the legs and provide a solid foundation for the tabletop.


Step 6: Adding the Seats
For a picnic table, seats are essential. You can build separate benches or attach seats directly to the table. If you choose to attach seats, measure and cut the seat boards to the desired length.
Attach the seat boards to the legs using screws and wood glue. Ensure they are level and evenly spaced from the tabletop. The seats should be sturdy enough to support the weight of several people.
Step 7: Sanding and Finishing
With the table fully assembled, it’s time to sand the entire surface. Use an orbital sander with coarse sandpaper to smooth out any rough spots, then switch to a finer grit for a polished finish. Pay special attention to the edges and corners to avoid splinters.
After sanding, wipe down the table with a damp cloth to remove any dust. If you choose to stain or paint the table, apply the finish according to the manufacturer’s instructions. Allow the finish to dry completely between coats.
For added protection, especially for outdoor use, apply a coat of polyurethane or an exterior-grade sealant. This will protect the wood from moisture, UV rays, and other elements, extending the life of your picnic table.
Step 8: Final Assembly and Inspection
Once the finish is dry, inspect the table for any loose screws or rough spots. Tighten any loose screws and give the table a final sanding if necessary. Your round wood picnic table is now ready for use.
Tips for Success
- Safety First: Always wear appropriate safety gear, including gloves, goggles, and ear protection when using power tools.
- Choose Quality Lumber: High-quality lumber will not only look better but will also be more durable and easier to work with.
- Measure Twice, Cut Once: Accurate measurements are crucial for a well-built table. Double-check your measurements before making any cuts.
- Dry Fit Before Assembly: Before applying glue or screws, dry fit the pieces together to ensure everything fits properly.
- Take Your Time: Rushing through the project can lead to mistakes. Take your time to ensure each step is done correctly.
👉 CLICK HERE to Unlock 16,000+ DIY woodworking plans now
Conclusion: Round Wood Picnic Table
Building a round wood picnic table is a satisfying project that can enhance your outdoor living space. By following this step-by-step guide, you can create a beautiful and durable table that will provide years of enjoyment. Whether you use it for family gatherings, outdoor dining, or as a focal point in your garden, your handmade picnic table will be a testament to your woodworking skills and creativity. Happy building!
I hope this article on Round Wood Picnic Table has been helpful. If you have any further questions, please feel free to leave a comment below.
👉 CLICK HERE to Unlock 16,000+ DIY woodworking plans now
