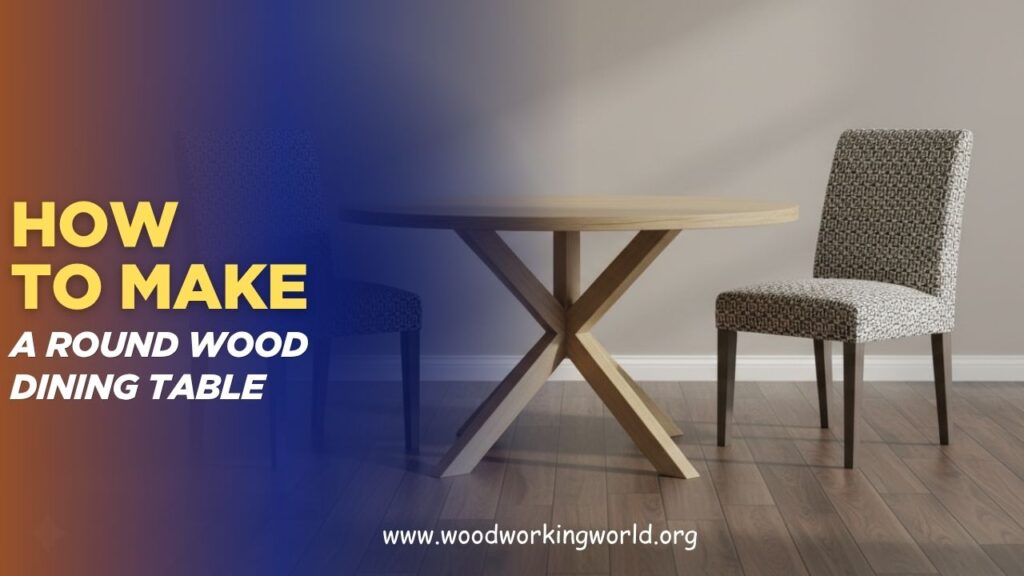
How to Make a Round Wood Dining Table
Transforming your dining space starts with a project that’s both functional and visually striking—learning how to make a round wood dining table. A round table brings warmth, balance, and a welcoming feel to any room, making it perfect for family meals or cozy gatherings with friends.
In this guide, you’ll explore the essential steps, tools, and materials needed to build a sturdy and stylish round wood dining table, along with tips to achieve a smooth finish and long-lasting durability—even if you’re new to woodworking.
👉 CLICK HERE to Unlock 16,000+ DIY woodworking plans now
Why Choose a Round Dining Table?
Round tables are popular for several reasons:
- Encourages conversation: Everyone faces each other, creating a more intimate dining experience.
- Safety: No sharp corners, reducing injury risk in homes with children.
- Space efficiency: Works well in small or oddly-shaped rooms.
- Aesthetic appeal: Softens angular lines in a room and creates a focal point.
👉 CLICK HERE to Unlock 16,000+ DIY woodworking plans now
Step 1: Planning Your Round Table
Before cutting any wood, determine the size, style, and base design.
1. Table Diameter
- 4–6 people: 42–48 inches (107–122 cm)
- 6–8 people: 54–60 inches (137–152 cm)
- 8–10 people: 72 inches (183 cm) or larger
2. Table Height
- Standard dining height: 28–30 inches (71–76 cm)
3. Base Type
- Pedestal: Single central support, allows maximum legroom.
- Trestle: Two supports with a crossbeam; adds stability for larger tables.
- Four legs: Classic and simple, but may limit seating near corners.
Pro Tip: A pedestal base is ideal for round tables because it maximizes legroom and seating flexibility.
Step 2: Gather Materials and Tools
Materials
- Hardwood boards (oak, maple, walnut, or pine for a budget-friendly option)
- Wood glue and screws
- Sandpaper (medium and fine grit)
- Wood stain, oil, or polyurethane for finish
- Optional: wood filler for knots or gaps
Tools
- Circular saw or jigsaw
- Router (for smooth edges)
- Drill and drill bits
- Clamps
- Measuring tape, pencil, and compass (or string for large circles)
- Orbital sander or sanding block
Pro Tip: Choose solid wood planks that are at least 1–1.5 inches thick for durability.
Step 3: Cutting the Round Tabletop
- Draw a perfect circle:
- Use a compass or tie a string to a pencil to mark the circle on the board.
- Ensure the circle is centered and fits your intended diameter.
- Cut the circle:
- Use a jigsaw or router with circle-cutting jig for a smooth edge.
- Cut slowly and steadily to avoid splintering.
- Smooth edges:
- Use a router or sandpaper to round off the edges slightly for safety and a professional look.
Pro Tip: Test the circle size on the floor with tape before cutting to ensure it fits your space.
Step 4: Building the Base
1. Pedestal Base
- Cut a central column to the standard height (28–30 inches).
- Attach a cross base for stability (usually a plus-shaped or four-pointed support).
- Ensure the pedestal is centered on the tabletop.
2. Trestle Base
- Cut two vertical supports and a horizontal crossbeam.
- Attach the supports to the tabletop edges using screws and wood glue.
3. Four-Leg Base
- Cut four equal-length legs.
- Attach legs at slight angles for stability or use corner brackets.
Pro Tip: Use clamps during assembly to keep all pieces square and aligned.
Step 5: Attaching the Top to the Base
- Position the base: Center it under the tabletop.
- Drill pilot holes: Prevent wood from splitting when inserting screws.
- Secure the base: Use screws from underneath or brackets depending on base design.
- Check stability: Make sure the table doesn’t wobble and sits level.
Pro Tip: Consider using figure-eight fasteners or tabletop brackets to allow wood movement from expansion and contraction.
Step 6: Sanding and Finishing
- Sand the tabletop: Start with medium grit, then finish with fine grit for a smooth surface.
- Fill knots or cracks: Use wood filler to ensure a uniform finish.
- Apply finish: Options include:
- Stain: Enhances the wood grain and adds color.
- Oil (e.g., tung or linseed oil): Natural look, nourishes wood.
- Polyurethane: Provides strong protection against spills and scratches.
- Let it dry: Follow manufacturer instructions for drying times.
- Optional second coat: Adds durability and depth to the finish.
Pro Tip: Sand lightly between coats for a smooth, professional finish.
🛠️ Ted’s 16,000 Woodworking Plans – Why You’ll Love It


Step 7: Maintenance Tips
- Clean spills immediately to prevent staining.
- Dust regularly with a soft cloth.
- Use coasters, placemats, or tablecloths to protect the surface.
- Reapply oil or polyurethane every 1–2 years for protection and shine.
Pro Tip: Avoid direct sunlight to prevent fading or warping over time.
Pros and Cons of DIY Round Wood Tables
Pros
✔ Promotes social dining and conversation
✔ Smooth edges reduce injury risk
✔ Flexible seating arrangement
✔ Customizable size, wood type, and finish
Cons
❌ More challenging to cut a perfect circle compared to rectangular tables
❌ Pedestal bases must be very sturdy for larger tables
❌ Can be heavier and harder to move than flat tables
Common Mistakes to Avoid
❌ Skipping measurement checks for diameter and height
❌ Using thin or weak wood for large tables
❌ Attaching base without pilot holes, causing splitting
❌ Not sanding edges, leaving rough surfaces
❌ Ignoring wood movement (seasonal expansion/contraction)
FAQs: Round Wood Dining Tables
1. What diameter is ideal for 6 people?
- A 48–54 inch (122–137 cm) round table comfortably seats six people.
2. Can I make a round table from plywood?
- Yes, but solid hardwood is stronger and more durable for daily use.
3. What type of wood is best for a dining table?
- Oak, maple, cherry, or walnut are durable, attractive, and easy to finish.
4. How do I prevent wobbling?
- Ensure the base is square and use screws and wood glue for secure attachment.
5. Can I add an extendable leaf to a round table?
- Yes, but it requires additional joinery and careful planning.
👉 CLICK HERE to Unlock 16,000+ DIY woodworking plans now
Final Verdict: Craft Your Perfect Round Wood Dining Table
Making your own round wood dining table is a rewarding project that blends craftsmanship with functionality. From careful planning to finishing, this DIY project allows you to customize size, wood type, and style while creating a centerpiece for family gatherings and everyday meals.
Key Takeaways:
✔ Plan dimensions and base type before cutting
✔ Use solid, durable wood for longevity
✔ Cut and sand the tabletop carefully for smooth, rounded edges
✔ Assemble the base securely and attach the tabletop with precision
✔ Finish with stain, oil, or polyurethane for protection and beauty
Pro Tip: Take your time during the planning and cutting stages—precision now ensures a stable, beautiful, and long-lasting table.
👉 CLICK HERE to Unlock 16,000+ DIY woodworking plans now
