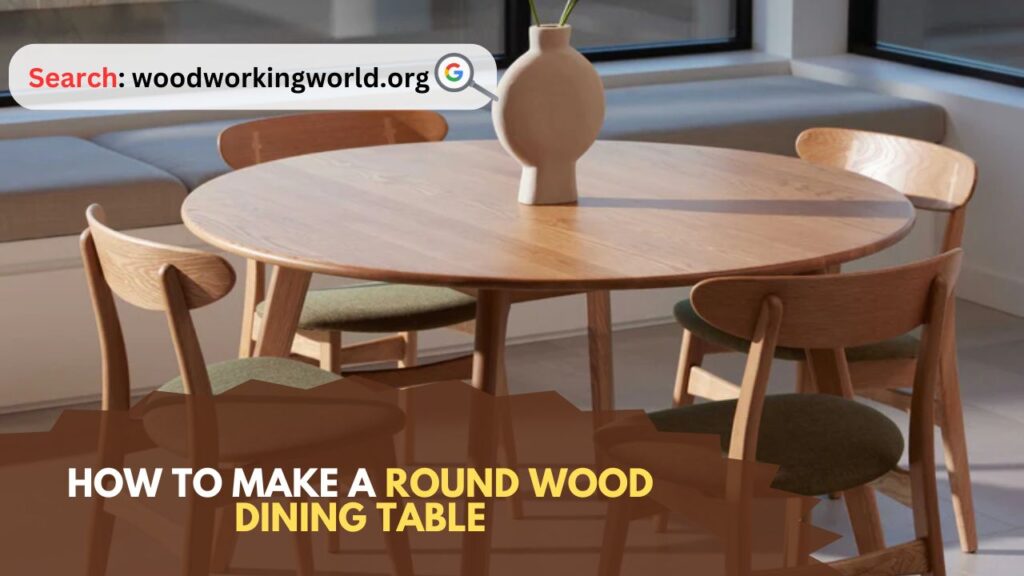
Round Wood Dining Table: Creating a round wood dining table is a rewarding woodworking project that combines both functionality and beauty. Whether you’re a seasoned woodworker or a novice, this guide will walk you through the steps to craft your own round wood dining table. Follow these detailed instructions to create a stunning piece that will be the centerpiece of your dining room.
How to Make a Round Wood Dining Table
Materials and Tools Needed to Make a Round Wood Dining Table
Before you begin, gather the necessary materials and tools:
Materials:
- Hardwood boards (oak, maple, or walnut) for the tabletop
- Hardwood boards for the legs and apron
- Wood glue
- Screws and bolts
- Sandpaper (various grits)
- Wood stain or paint
- Wood finish (polyurethane or lacquer)
- Wood filler
- Dowels (optional)
Tools:
- Table saw or circular saw
- Jigsaw
- Router with a round-over bit
- Clamps
- Power drill
- Orbital sander
- Measuring tape
- Carpenter’s square
- Pencil
- Safety gear (gloves, goggles, mask)
Step 1: Designing Your Table
Begin by determining the size of your table. A standard round dining table is typically 42-60 inches in diameter. Choose a size that fits your space and meets your needs. Sketch out your design, including the tabletop, legs, and apron.
Step 2: Preparing the Wood
Select high-quality hardwood boards for the tabletop. The boards should be straight and free of knots or defects. Cut the boards to length, ensuring they are slightly longer than the final diameter of the table. This will allow you to trim them down to size later.
Step 3: Gluing the Tabletop
Arrange the boards edge-to-edge to form a rough tabletop. Apply wood glue to the edges and clamp the boards together tightly. Allow the glue to dry for at least 24 hours. Once the glue is dry, use a table saw or circular saw to trim the tabletop to the desired diameter.
Step 4: Cutting the Round Table Top
To create a perfect circle, use a router with a circle-cutting jig or a large compass. Measure and mark the center of the tabletop. Attach the jig or compass to the center point and cut the tabletop into a circle. Sand the edges smooth with an orbital sander.
Step 5: Creating the Apron
The apron is the horizontal support structure that connects the legs to the tabletop. Cut four hardwood boards to form a square or octagonal apron, depending on your design. The length of the boards should match the diameter of the tabletop minus the thickness of the legs. Use a table saw to create a 45-degree bevel on each end of the boards for a square apron, or cut straight ends for an octagonal apron.
Step 6: Assembling the Apron
Join the apron boards using wood glue and screws or dowels for added strength. Clamp the joints and allow the glue to dry. Once dry, sand the apron to remove any rough edges.
Step 7: Attaching the Apron to the Tabletop
Position the apron on the underside of the tabletop, centering it carefully. Use wood glue and screws to secure the apron to the tabletop. Drill pilot holes to prevent the wood from splitting. Fill any gaps or holes with wood filler and sand smooth.
Step 8: Making the Legs
Cut the hardwood boards to the desired length for the table legs. A standard dining table height is around 30 inches, so your legs should be about 29 inches long to account for the thickness of the tabletop. Taper the legs if desired, using a table saw or bandsaw, for a more elegant look.
Step 9: Attaching the Legs
Drill holes in the apron at each corner for the legs. Use bolts and wood glue to secure the legs to the apron. Ensure the legs are straight and even by checking with a carpenter’s square. Allow the glue to dry completely.
Step 10: Sanding and Finishing
Sand the entire table, starting with coarse-grit sandpaper and progressing to finer grits. Pay special attention to the tabletop and edges to achieve a smooth finish. Wipe away dust with a damp cloth.
Step 11: Staining or Painting
Apply wood stain or paint to the table, following the manufacturer’s instructions. Use a brush or cloth to apply the stain evenly, and wipe away excess with a clean cloth. Allow the stain to dry, then apply additional coats if desired. For a painted finish, apply primer first, then paint in thin, even layers.
Step 12: Applying the Finish
Once the stain or paint is dry, apply a protective finish such as polyurethane or lacquer. This will protect the wood and enhance its natural beauty. Apply multiple thin coats, sanding lightly between each coat for a smooth finish. Allow the final coat to dry completely.
Step 13: Final Assembly
Ensure all parts are securely attached and the table is stable. Check for any rough spots or imperfections and sand them smooth. Your round wood dining table is now complete and ready to be enjoyed!
Tips and Tricks
- Wood Selection: Choose hardwoods like oak, maple, or walnut for durability and aesthetic appeal. Avoid softwoods as they may not withstand daily use.
- Joinery: For added strength, consider using dowels, biscuits, or pocket screws in addition to wood glue.
- Safety: Always wear safety gear, including gloves, goggles, and a mask, when working with power tools and wood finishes.
- Finishing: Test your stain or paint on a scrap piece of wood before applying it to the table to ensure you achieve the desired color.
- Maintenance: Regularly clean and maintain your table to preserve its finish. Use coasters and placemats to prevent scratches and stains.
Conclusion: Round Wood Dining Table
Crafting a round wood dining table is a project that combines skill, patience, and creativity. By following these detailed steps and using high-quality materials, you can create a beautiful and functional piece that will serve as the heart of your dining space. Enjoy the process and the satisfaction of building a table that will be cherished for years to come.
I hope this article on Round Wood Dining Table has been helpful. If you have any further questions, please feel free to leave a comment below.
Video
