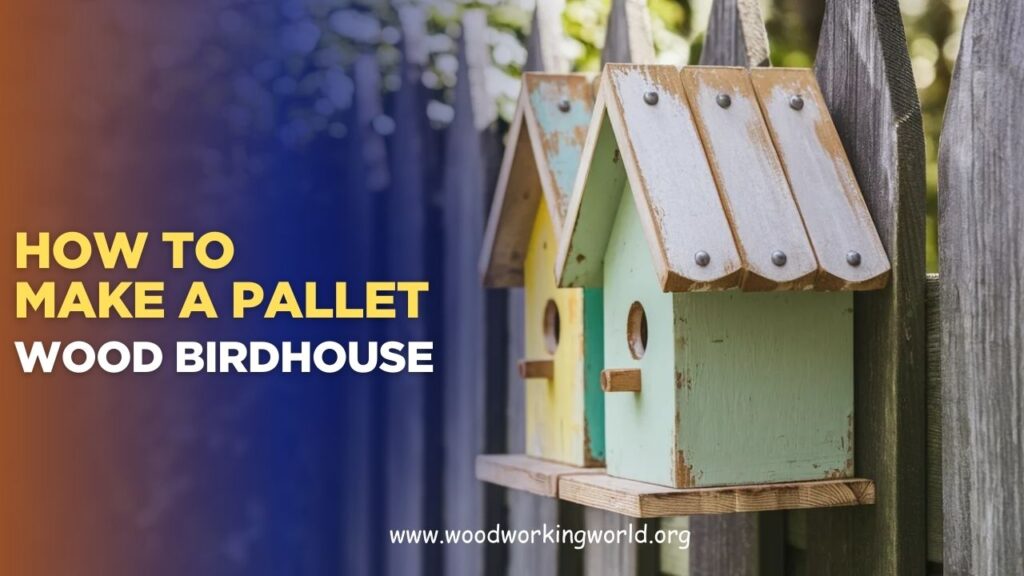
How to Make a Pallet Wood Birdhouse
Interested in a hands-on DIY project that adds charm and purpose to your outdoor space? Learning how to make a pallet wood birdhouse is a smart and eco-friendly way to reuse old materials while creating a safe haven for birds. This project is simple, budget-friendly, and perfect for beginners who enjoy crafting with wood.
In this guide, you’ll learn how to select the right pallet wood, assemble the structure correctly, and build a durable birdhouse that looks great and lasts through the seasons.
👉 CLICK HERE to Unlock 16,000+ DIY woodworking plans now
Why Build a Pallet Wood Birdhouse?
- Eco-friendly: Repurposes old pallet wood instead of buying new lumber.
- Budget-friendly: Pallets are often free or inexpensive.
- Creative freedom: Customize the size, shape, and finish.
- Educational: Great for teaching kids about woodworking and wildlife.
- Attracts birds: Adds charm and life to your garden, balcony, or backyard.
👉 CLICK HERE to Unlock 16,000+ DIY woodworking plans now
Step 1: Gather Your Materials and Tools
Materials
- Pallet wood (choose untreated, chemical-free pallets)
- Wood screws or nails
- Wood glue (optional, for extra strength)
- Sandpaper (medium and fine grit)
- Hinges or latch (optional, for easy cleaning)
- Outdoor paint or sealant (optional, for weatherproofing)
Tools
- Handsaw or circular saw
- Hammer or screwdriver
- Drill with drill bits (for entrance hole)
- Measuring tape or ruler
- Pencil for marking
Pro Tip: Check the pallet wood carefully. Avoid any pieces with nails, cracks, or mold.
Step 2: Plan Your Birdhouse Design
Before cutting wood, plan the birdhouse dimensions. Typical beginner-friendly size:
- Base: 6” x 6” (15 cm x 15 cm)
- Height: 8–10” (20–25 cm)
- Entrance hole: 1 1/4” (3 cm) diameter for small birds like wrens or chickadees
Optional adjustments:
- Make larger holes for bigger birds
- Add a slanted roof for rain runoff
- Include a removable back panel for easy cleaning
Pro Tip: Sketch your design on paper to visualize dimensions and angles before cutting.
Step 3: Prepare the Pallet Wood
- Disassemble the pallet:
- Use a crowbar or hammer to carefully remove planks.
- Remove any nails or staples.
- Cut the wood to size:
- Base: one square piece
- Walls: four pieces (two sides, front, and back)
- Roof: two angled pieces or one flat piece
- Sand each piece:
- Smooth edges and surfaces to prevent splinters.
- Start with medium grit and finish with fine grit.
Pro Tip: Keep the rustic charm by sanding lightly instead of over-polishing.
Step 4: Drill the Entrance Hole
- Mark the center of the front wall piece.
- Use a drill bit that matches the desired bird size.
- Drill carefully, keeping the hole clean and smooth.
Optional: Drill a small drainage hole in the bottom to prevent water accumulation.
Step 5: Assemble the Birdhouse
- Attach walls to the base:
- Apply wood glue along the edges for extra strength.
- Secure with screws or nails, ensuring corners are square.
- Attach the front and back:
- Drill pilot holes to prevent splitting the wood.
- Use screws or nails to secure firmly.
- Add the roof:
- Place angled roof pieces so water drains off.
- Secure with screws or nails.
- Optional: Attach a small hinge to one side of the roof or back for easy cleaning access.
Pro Tip: Ensure all edges are flush and there are no gaps where rain could enter


Step 6: Finishing Touches
- Sand any rough edges again for safety.
- Apply outdoor-safe paint, stain, or sealant if desired.
- Use non-toxic finishes if birds will be nesting inside.
- Let the birdhouse dry completely before placing it outside.
Pro Tip: Natural wood finishes are attractive and blend well in gardens, but a splash of color can make it a decorative accent.
Step 7: Mounting Your Birdhouse
- Tree mounting: Use a strap or bracket to attach the birdhouse to a tree trunk.
- Post mounting: Secure to a wooden post in your yard.
- Wall mounting: Attach to a fence or wall, ensuring it’s stable.
Placement tips:
- Place the birdhouse 5–10 feet off the ground for safety from predators.
- Face the entrance hole away from prevailing winds.
- Avoid areas with heavy foot traffic or pets.
Step 8: Maintaining Your Birdhouse
- Regular cleaning: Open the roof or back panel annually to remove old nests.
- Inspect for damage: Check for loose screws, cracks, or wood rot.
- Reapply sealant: Protect the wood from moisture and prolong its life.
Pro Tip: Clean the birdhouse in late fall or early winter when birds are less active.
Benefits of a DIY Pallet Wood Birdhouse
- Recycling: Makes use of pallet wood that would otherwise be discarded.
- Cost-effective: Pallets are inexpensive, and small screws or nails are all you need.
- Customizable: Size, color, and style can be tailored to your backyard.
- Educational: Great for teaching kids about bird habitats and woodworking.
- Attracts wildlife: Encourages birds to nest, adding life and activity to your garden.
Common Mistakes to Avoid
❌ Using treated or painted pallet wood that may contain harmful chemicals
❌ Skipping sanding, leading to splinters and injury
❌ Making the entrance hole too large for your target birds
❌ Placing the birdhouse in unsafe locations (low to the ground or in direct wind)
❌ Forgetting to clean the birdhouse yearly
Avoiding these mistakes ensures your birdhouse is safe, durable, and attractive to birds.
FAQs: Pallet Wood Birdhouses
1. Can I use painted pallets?
- Avoid painted or chemically treated pallets. Look for untreated, clean pallets to keep birds safe.
2. What birds will use a 1 1/4” entrance hole?
- Small birds like wrens, chickadees, nuthatches, and titmice.
3. How do I prevent pests?
- Elevate the birdhouse and clean it annually.
- Avoid placing near feeders that attract predators.
4. Can I make multiple birdhouses from one pallet?
- Yes! A single pallet can yield 3–5 small birdhouses depending on the size.
5. How long will a pallet birdhouse last outdoors?
- With proper finishing and maintenance, 3–5 years or more.
👉 CLICK HERE to Unlock 16,000+ DIY woodworking plans now
Final Verdict: Craft Your Pallet Wood Birdhouse
A pallet wood birdhouse is an eco-friendly, beginner-friendly woodworking project that combines creativity, craftsmanship, and sustainability. With simple tools, basic materials, and step-by-step assembly, you can create a charming and functional home for birds in your garden or backyard.
Key Takeaways:
✔ Use untreated pallet wood for safety
✔ Sand thoroughly to prevent splinters
✔ Drill the entrance hole according to bird size
✔ Assemble carefully, ensuring stability and a slanted roof
✔ Finish with outdoor-safe, non-toxic paint or sealant
Pro Tip: Add your personal flair with color, decorative carvings, or unique roof designs—your birdhouse can be both functional and a beautiful garden accent.
👉 CLICK HERE to Unlock 16,000+ DIY woodworking plans now
