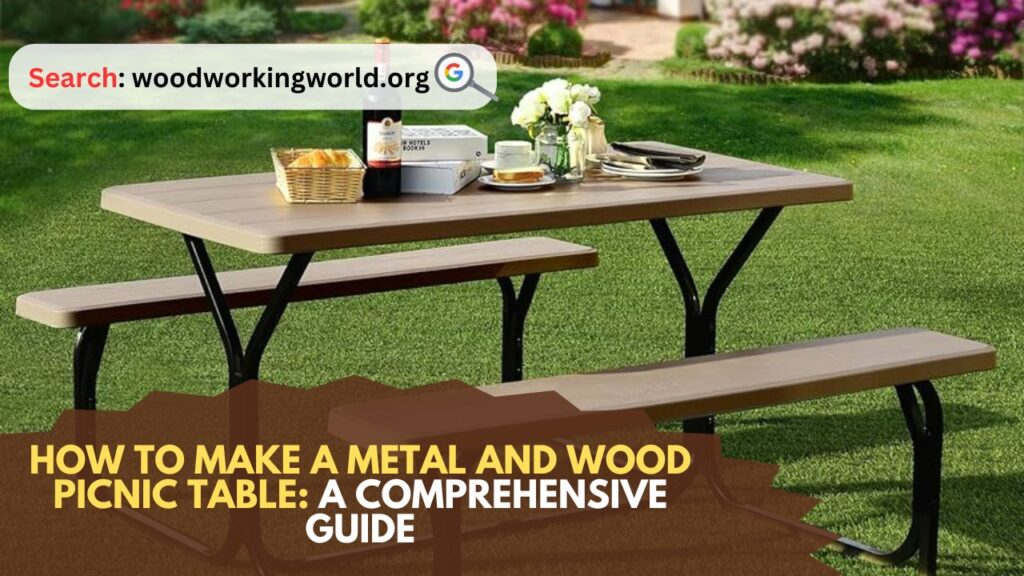
Metal and Wood Picnic Table: Creating your own metal and wood picnic table can be a fulfilling and practical woodworking project. Not only does it provide a sturdy and durable piece of outdoor furniture, but it also combines the sleek modernity of metal with the warm, rustic charm of wood. This guide will walk you through the steps of building a robust picnic table that will serve as a centerpiece for outdoor gatherings for years to come.
How to Make a Metal and Wood Picnic Table
Materials and Tools You Will Need to Make a Metal and Wood Picnic Table
Before you start, gather the following materials and tools:
Materials:
- Wood:
- 4 pieces of 2×6 lumber, 72 inches long (tabletop)
- 2 pieces of 2×4 lumber, 29 inches long (tabletop support)
- 2 pieces of 2×4 lumber, 57 inches long (seat support)
- 4 pieces of 2×6 lumber, 72 inches long (seats)
- 2 pieces of 2×4 lumber, 32 inches long (bench legs)
- 2 pieces of 2×4 lumber, 32 inches long (table legs)
- Metal:
- 4 metal legs, 28 inches high (table legs)
- 4 metal legs, 18 inches high (bench legs)
- Metal brackets and screws
- Additional Materials:
- Outdoor wood screws (3 inches and 2.5 inches)
- Wood glue
- Sandpaper (80, 120, and 220 grit)
- Outdoor wood stain or paint
- Polyurethane sealant
Tools:
- Tape measure
- Carpenter’s square
- Circular saw or miter saw
- Drill with bits
- Screwdriver
- Clamps
- Paint Brushes or rollers
- Safety goggles and gloves
Step-by-Step Instructions
Step 1: Preparing the Wood
- Cut the Wood:
- Using your circular saw or miter saw, cut the lumber to the required lengths. Ensure the cuts are straight and clean.
- Sand the Wood:
- Sand all wooden pieces starting with 80 grit, then 120 grit, and finally 220 grit sandpaper. This ensures a smooth finish and prepares the wood for staining or painting.
- Apply Wood Stain or Paint:
- If you prefer a natural wood look, apply a stain. For a colorful finish, use outdoor paint. Apply evenly and allow it to dry completely. Follow up with a coat of polyurethane sealant for protection against the elements.
Step 2: Assembling the Tabletop
- Arrange the Tabletop Boards:
- Lay the four 2×6 boards side by side, ensuring they align properly.
- Attach the Tabletop Supports:
- Position the two 29-inch 2×4 boards perpendicular to the tabletop boards, about 12 inches from each end. These will serve as supports to hold the tabletop together.
- Apply wood glue to the areas where the supports will be placed. Secure with outdoor wood screws (3 inches).
Step 3: Assembling the Benches
- Attach Seat Supports:
- Lay the four 2×6 boards side by side for each bench. Place the 57-inch 2×4 boards across the ends of the bench boards. Secure with wood glue and 3-inch screws.
- Attach Bench Legs:
- Attach the metal bench legs to the bench supports using metal brackets and screws. Ensure they are evenly spaced and secured tightly.
Step 4: Assembling the Table Legs
- Attach Table Legs:
- Position the metal table legs on the underside of the tabletop. Attach them using metal brackets and screws, ensuring they are placed at the corners for stability.
- Secure the Table Legs:
- For added stability, you can attach diagonal supports between the legs. Cut two pieces of 2×4 lumber at a 45-degree angle and secure them between each pair of legs.
Step 5: Final Assembly
- Position the Table and Benches:
- Place the table in your desired location. Position the benches on either side of the table, ensuring they are evenly spaced.
- Check for Stability:
- Ensure all screws are tight and the table and benches are stable. Adjust as necessary.
- Apply Final Coat:
- Apply a final coat of polyurethane sealant to the entire table and benches to protect against weather and wear.
Tips and Tricks
- Choose Quality Materials:
- Selecting high-quality wood and metal will ensure the longevity and durability of your picnic table.
- Proper Sanding:
- Take your time sanding the wood. A smooth surface not only looks better but also helps the finish adhere properly.
- Use Clamps:
- Clamps are invaluable for holding pieces together while you drill and screw. They ensure everything stays in place and aligned.
- Pre-Drill Holes:
- Pre-drill holes for the screws to prevent the wood from splitting, especially near the edges.
- Weatherproofing:
- Make sure to use outdoor-rated screws and metal parts to prevent rust and deterioration.
- Regular Maintenance:
- Periodically check the table and benches for any signs of wear or damage. Reapply sealant as needed to keep them in good condition.
Conclusion: Metal and Wood Picnic Table
Building a metal and wood picnic table is a rewarding project that combines woodworking and metalworking skills. The result is a sturdy, attractive piece of outdoor furniture that will provide countless hours of enjoyment for family and friends. By following this guide and taking your time with each step, you can create a picnic table that not only meets your needs but also showcases your craftsmanship. Happy building!
I hope this article on Metal and Wood Picnic Table has been helpful. If you have any further questions, please feel free to leave a comment below.
Video
