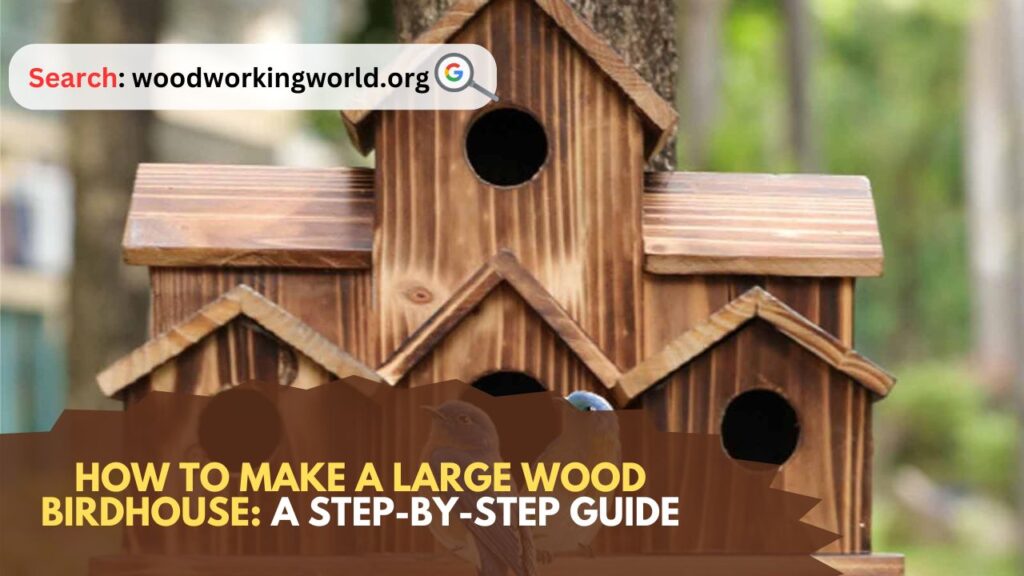
Large Wood Birdhouse: Birdhouses are not only delightful additions to any garden or yard, but they also provide essential shelter for our feathered friends. Building a large wood birdhouse can be a rewarding woodworking project that combines functionality with creativity. In this article, we will guide you through the process of making a spacious and durable birdhouse that will attract various bird species to your backyard.
How to Make a Large Wood Birdhouse
Materials and Tools Needed
Before we begin, gather the following materials and tools:
Materials:
- Exterior-grade plywood (1/2 inch thick)
- Cedar or pine wood (1×6 boards)
- Galvanized screws or nails
- Wood glue
- Sandpaper (medium and fine grit)
- Wood stain or paint (optional)
- Hinges (for roof access)
- Mesh (for ventilation)
Tools:
- Tape measure
- Pencil
- Circular saw or jigsaw
- Drill with various bit sizes
- Screwdriver or hammer
- Clamps
- Paintbrush (if staining or painting)
Step 1: Design and Dimensions
First, decide on the dimensions of your birdhouse. A large birdhouse should accommodate bigger bird species like bluebirds, wrens, or even small owls. Here’s a recommended size guide:
- Base: 10 x 10 inches
- Height: 18-24 inches
- Entrance Hole: 2.5 inches in diameter, positioned about 8 inches from the bottom
Sketch your design on paper, including the front, back, sides, base, and roof. Ensure you include proper ventilation and drainage.
Step 2: Cut the Wood
Using your tape measure and pencil, mark the dimensions on the plywood and wood boards. Carefully cut the pieces with a circular saw or jigsaw. You should have the following pieces:
- Front and Back Panels: 10 x 18 inches (2 pieces)
- Side Panels: 10 x 24 inches (2 pieces)
- Base: 10 x 10 inches (1 piece)
- Roof Panels: 12 x 12 inches (2 pieces, to allow for overhang)
Sand all edges smoothly with medium grit sandpaper to avoid splinters and ensure a snug fit.
Step 3: Drill the Entrance and Ventilation Holes
On the front panel, measure 8 inches from the bottom and mark the center for the entrance hole. Drill a 2.5-inch diameter hole. Ensure the hole is smooth and free of splinters.
For ventilation, drill several small holes (1/4 inch in diameter) near the top of each side panel. These holes will help regulate temperature and prevent moisture buildup inside the birdhouse.
Step 4: Assemble the Panels
Begin assembling the birdhouse by attaching the side panels to the back panel using wood glue and galvanized screws or nails. Ensure the panels are flush at the edges. Use clamps to hold the pieces together while the glue dries.
Next, attach the front panel in the same manner, making sure the entrance hole is positioned correctly. Finally, attach the base to the bottom of the structure. Double-check that all panels are securely fastened and square.
Step 5: Attach the Roof
To create a sloped roof, attach the two roof panels at an angle. Apply wood glue along the top edges of the front and back panels, then position the roof panels so they meet at the top and overhang the sides. Secure the roof with screws or nails.
For easy cleaning and maintenance, consider attaching one of the roof panels with hinges. This will allow you to open the roof and access the inside of the birdhouse.
Step 6: Add Finishing Touches
Sand the entire birdhouse with fine grit sandpaper to smooth out any rough spots. If you want to add color or protect the wood from the elements, apply a coat of exterior-grade wood stain or paint. Choose non-toxic, bird-safe products to ensure the safety of the avian occupants.
Allow the stain or paint to dry completely before proceeding to the next step.
Step 7: Install the Birdhouse
Choose a suitable location for your birdhouse, ideally in a quiet area with some shade and protection from strong winds. Mount the birdhouse on a sturdy post, tree trunk, or wall, at least 6-10 feet above the ground. Ensure the entrance hole faces away from prevailing winds and direct sunlight.
Secure the birdhouse using brackets or straps to keep it stable and prevent it from swaying in the wind.
Step 8: Maintain the Birdhouse
Regular maintenance will ensure your birdhouse remains a safe and welcoming habitat for birds. Clean the birdhouse at the end of each nesting season by opening the hinged roof and removing old nesting materials. Check for any signs of damage and make necessary repairs.
Tips for Success
- Choosing Wood: Opt for durable, weather-resistant wood like cedar or pine. Avoid pressure-treated wood, as it can contain chemicals harmful to birds.
- Entrance Hole Size: Tailor the entrance hole size to attract specific bird species. Smaller holes (1-1.5 inches) are ideal for smaller birds like chickadees, while larger holes (2-2.5 inches) suit bigger birds.
- Predator Protection: To protect birds from predators, consider adding a metal guard around the entrance hole.
- Ventilation and Drainage: Proper ventilation and drainage are crucial to prevent the birdhouse from becoming too hot or damp.
- Avoid Perches: Birds don’t need perches, and they can make it easier for predators to access the birdhouse.
Conclusion: Large Wood Birdhouse
Building a large wood birdhouse is a fulfilling project that benefits both you and the local bird population. By following this step-by-step guide, you’ll create a sturdy and attractive birdhouse that provides a safe haven for various bird species. Enjoy the process of woodworking, and look forward to the joy of watching birds make your creation their home. Happy birdhouse building!
I hope this article on Large Wood Birdhouse has been helpful. If you have any further questions, please feel free to leave a comment below.
Video
