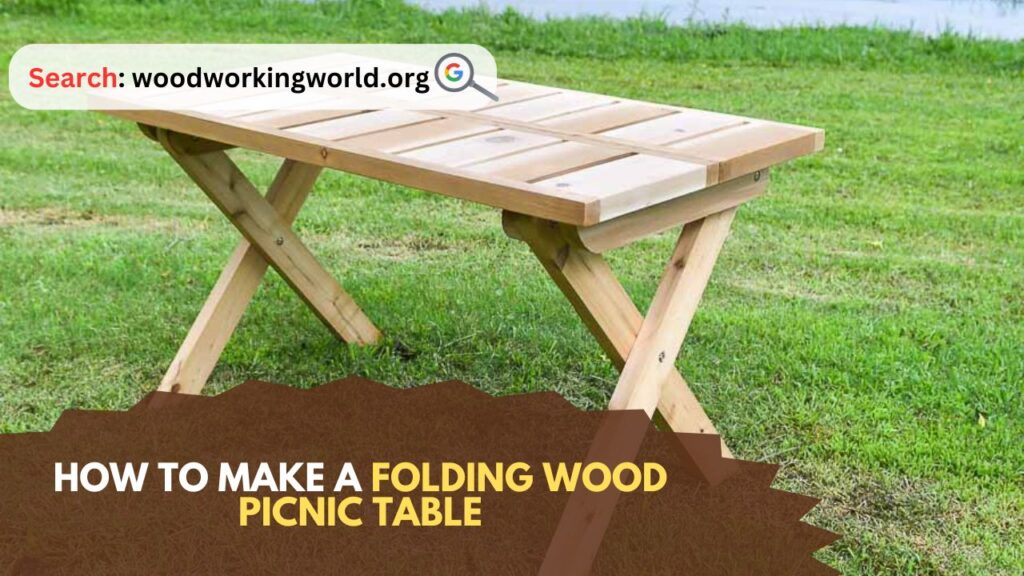
Folding Wood Picnic Table: A folding wood picnic table is a versatile and practical addition to any outdoor space. It provides a convenient and portable surface for dining, working, or enjoying the outdoors with family and friends. Whether you have a small backyard, a spacious garden, or enjoy camping, a folding picnic table can enhance your outdoor experience. In this guide, we’ll walk you through the steps to build your own folding wood picnic table, from selecting materials to the final touches.
How to Make a Folding Wood Picnic Table
Materials and Tools Needed to Make a Folding Wood Picnic Table
Before you start, gather all the necessary materials and tools. Here’s a list of what you’ll need:
Materials:
- Pressure-treated lumber or cedar (for durability)
- Four 2×4 boards (8 feet long)
- Four 2×6 boards (8 feet long)
- One 1×4 board (8 feet long)
- Outdoor wood screws (3-inch and 1.5-inch)
- Hinges (four heavy-duty)
- Wood glue
- Sandpaper (medium and fine grit)
- Wood finish or outdoor paint
Tools:
- Measuring tape
- Carpenter’s square
- Circular saw or miter saw
- Drill with various bits
- Screwdriver
- Clamps
- Safety goggles
- Dust mask
Step-by-Step Instructions
Step 1: Plan and Measure
Before cutting any wood, it’s essential to plan your picnic table’s dimensions. A standard picnic table height is about 30 inches, with a bench height of 17-19 inches. The table length can vary, but 6 feet is a common choice.
- Sketch Your Design: Draw a rough sketch of your picnic table, noting the dimensions.
- Measure and Mark: Use your measuring tape and carpenter’s square to mark the lengths on the lumber.
Step 2: Cut the Lumber
With your measurements marked, it’s time to cut the lumber to size.
- Cut the Tabletop and Benches:
- Tabletop: Cut three 2×6 boards to 6 feet each.
- Benches: Cut two 2×6 boards to 6 feet each.
- Cut the Legs and Supports:
- Table Legs: Cut four 2×4 boards to 30 inches each.
- Bench Legs: Cut four 2×4 boards to 18 inches each.
- Table Supports: Cut two 2×4 boards to 30 inches each (for stability).
- Bench Supports: Cut two 2×4 boards to 24 inches each.
- Cut the Folding Mechanism Supports:
- Cut two 1×4 boards to 24 inches each.
Step 3: Assemble the Tabletop
- Arrange the Planks: Lay out the three 2×6 boards side by side to form the tabletop.
- Attach Supports: Place the 2×4 support boards across the underside of the tabletop, one near each end. Ensure they are flush with the edges.
- Secure with Screws: Drill pilot holes and use 3-inch wood screws to attach the supports to the tabletop boards.
Step 4: Assemble the Benches
- Arrange the Bench Planks: Lay out the two 2×6 boards for each bench.
- Attach Supports: Place the 2×4 support boards across the underside of each bench, one near each end.
- Secure with Screws: Drill pilot holes and use 3-inch wood screws to attach the supports to the bench boards.
Step 5: Attach the Legs
- Attach Table Legs:
- Position the 30-inch table legs at each corner of the tabletop, flush with the edges.
- Secure the legs to the tabletop supports with wood screws and wood glue for extra strength.
- Attach Bench Legs:
- Position the 18-inch bench legs at each corner of the benches, flush with the edges.
- Secure the legs to the bench supports with wood screws and wood glue.
Step 6: Install the Folding Mechanism
- Attach Hinges to Table Legs:
- Attach a hinge to the top of each table leg, ensuring it’s aligned correctly to allow the leg to fold inward.
- Secure the hinges with screws.
- Attach Hinges to Bench Legs:
- Attach a hinge to the top of each bench leg, ensuring it’s aligned correctly to allow the leg to fold inward.
- Secure the hinges with screws.
- Install Folding Supports:
- Attach the 1×4 folding mechanism supports to the inside of each table and bench leg, just below the hinges. These will help keep the legs stable when folded.
Step 7: Sand and Finish
- Sand the Surfaces: Use medium-grit sandpaper to smooth all surfaces, edges, and corners of the table and benches. Follow up with fine-grit sandpaper for a smoother finish.
- Apply Wood Finish: Choose a wood finish or outdoor paint suitable for your climate. Apply according to the manufacturer’s instructions, ensuring even coverage.
Final Touches
- Check Stability: Once the finish is dry, set up your picnic table and benches to ensure they are stable and the folding mechanisms work smoothly.
- Make Adjustments: If necessary, tighten any screws and make minor adjustments to improve stability and functionality.
Tips for Maintenance
- Regular Cleaning: Clean your picnic table regularly with mild soap and water to remove dirt and debris.
- Reapply Finish: Depending on the weather conditions, you may need to reapply the wood finish or paint every couple of years to protect the wood from the elements.
- Store During Harsh Weather: If possible, store your folding picnic table indoors during harsh weather conditions to extend its lifespan.
Conclusion: Folding Wood Picnic Table
Building a folding wood picnic table is a rewarding project that can enhance your outdoor space. By following these steps, you can create a durable, functional, and attractive piece of furniture that will serve you and your family for years to come. Whether you use it for family gatherings, outdoor dining, or simply enjoying nature, your handmade picnic table will be a source of pride and enjoyment.
Remember to prioritize safety throughout the project, using appropriate protective gear and caution when working with tools. With patience and attention to detail, you’ll have a beautiful folding picnic table that showcases your craftsmanship and provides a versatile addition to your outdoor living area. Happy building!
I hope this article on Folding Wood Picnic Table has been helpful. If you have any further questions, please feel free to leave a comment below.
Video
