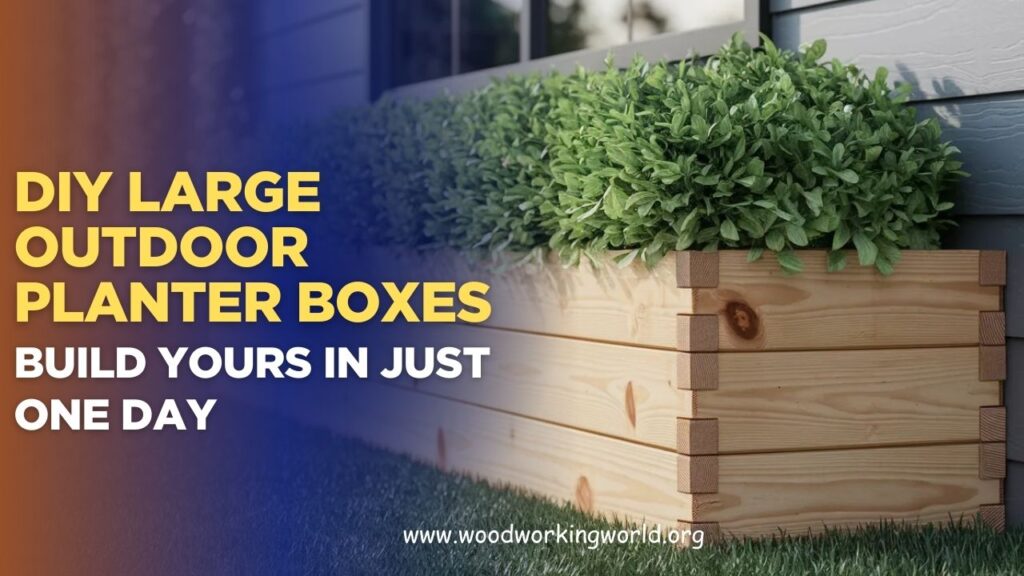
DIY Large Outdoor Planter Boxes – Build Yours in Just One Day
Transforming your outdoor space with greenery is easier than you think, and DIY large outdoor planter boxes offer the perfect solution. Not only do they provide a stylish home for plants, but they also add structure and charm to patios, gardens, or balconies—all while giving you a satisfying hands-on project.
In this complete guide on DIY Large Outdoor Planter Boxes – Build Yours in Just One Day, we’ll walk you through materials, tools, step-by-step construction, and finishing tips so you can create durable, eye-catching planters quickly and efficiently. By the end, you’ll have everything you need to craft beautiful planter boxes that elevate your outdoor space in just a single day.
👉 CLICK HERE to Unlock 16,000+ DIY woodworking plans now
Why Build Your Own Planter Box?
- Customization: Choose the size, wood type, and finish that fit your outdoor decor.
- Cost Savings: DIY projects can be significantly cheaper than store-bought options.
- Satisfaction: Building something with your own hands brings a sense of achievement.
- Durability: Choose high-quality materials to ensure your planter box lasts for years.
👉 CLICK HERE to Unlock 16,000+ DIY woodworking plans now
Materials and Tools Needed
Materials:
- Pressure-treated lumber or cedar (resistant to rot and insects)
- Exterior wood screws (2.5 to 3 inches)
- Wood glue (waterproof for outdoor use)
- Lining material (landscape fabric or plastic liner)
- Outdoor wood stain or sealant
- Soil and plants of your choice
Tools:
- Saw (circular saw or handsaw)
- Drill and drill bits
- Measuring tape
- Clamps
- Sandpaper or sander
- Paintbrush (for stain/sealant)
Choosing the Right Wood
The type of wood you select is crucial for durability. Below is a comparison of common wood choices for outdoor planters:
| Wood Type | Durability | Cost | Maintenance |
|---|---|---|---|
| Cedar | High (naturally rot-resistant) | Medium | Low |
| Redwood | High | High | Low |
| Pressure-Treated Pine | Medium (chemical-treated for longevity) | Low | Medium |
| Teak | Very High | Very High | Low |
Step-by-Step Instructions
Step 1: Cut the Wood
Measure and cut the wood to the following dimensions (adjust if you need a custom size):
- Four side panels (two long, two short)
- Bottom panel (for base support)
- Four corner posts (for structure reinforcement)
Step 2: Assemble the Frame
- Attach the side panels to the corner posts using screws and wood glue.
- Secure the bottom panel inside the frame.
- Reinforce the structure by adding an extra support beam in the middle (optional for extra strength).
Step 3: Sand and Finish
- Sand all surfaces to remove splinters and rough edges.
- Apply an outdoor sealant or stain to protect the wood from weather damage.
Step 4: Add Liner and Soil
- Line the inside of the box with landscape fabric to allow drainage while preventing soil from escaping.
- Fill with a high-quality potting mix.
- Plant your favorite flowers, herbs, or vegetables.


Quote to Inspire Your Project
“The best way to predict the future is to create it.” – Peter Drucker
Tips for a Successful Build
- Pre-drill holes before inserting screws to prevent splitting.
- Use clamps to hold pieces in place for better alignment.
- Choose weather-resistant screws to avoid rusting over time.
- Elevate the planter with feet or casters to improve drainage and prevent wood rot.
👉 CLICK HERE to Unlock 16,000+ DIY woodworking plans now
FAQs
1. How big should my planter box be?
This depends on your space and what you want to grow. A standard large planter is around 36 inches long, 18 inches wide, and 18 inches deep.
2. Do I need drainage holes?
Yes! Proper drainage prevents waterlogging. You can drill small holes in the bottom panel or elevate the box with spacers.
3. What is the best type of wood for outdoor planter boxes?
Cedar and redwood are the best natural choices due to their durability and resistance to decay. If budget is a concern, pressure-treated pine is a more affordable option.
4. Can I build this planter box without power tools?
Yes! You can use a handsaw and screwdriver, but it will take more time and effort compared to using power tools.
5. How do I maintain my planter box?
- Reapply sealant every 1-2 years.
- Check for signs of rot or insect damage and address them immediately.
- Rotate plants to keep the soil fresh and nutrient-rich.
Conclusion
Building your own large outdoor planter box is a fulfilling and practical DIY project. With basic materials and tools, you can complete this in just one day and enjoy a customized, long-lasting planter for your garden. Start today and enhance your outdoor space with a touch of creativity and craftsmanship!
👉 CLICK HERE to Unlock 16,000+ DIY woodworking plans now
