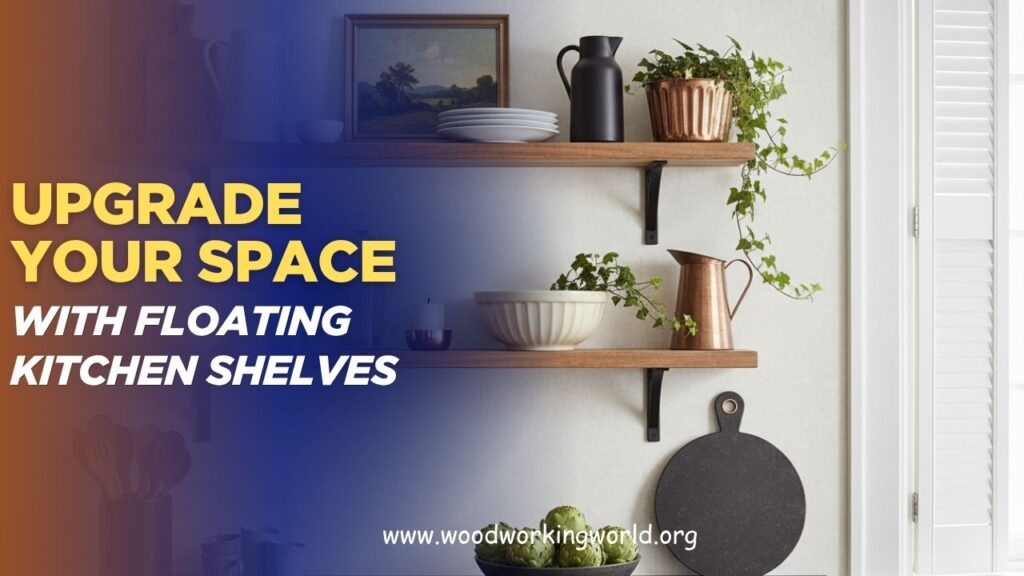
Upgrade Your Space with Floating Kitchen Shelves
Want to give your kitchen a modern, open, and stylish makeover without a major renovation? Floating kitchen shelves are one of the easiest and most impactful upgrades you can make. They instantly create a clean, airy look while giving you practical storage and a beautiful way to display your everyday essentials.
In this guide, we’ll show you how floating kitchen shelves can upgrade your space, what styles work best, how to install them securely, and smart design tips to get that magazine-worthy look. If you’re ready to refresh your kitchen with a simple but stunning change, you’re in the right place.
👉 CLICK HERE to Unlock 16,000+ DIY woodworking plans now
Benefits of Floating Kitchen Shelves
Floating kitchen shelves offer a myriad of advantages that can elevate both the functionality and aesthetics of your kitchen:
- Enhanced Visual Appeal: Floating shelves create an open and airy feel, making the kitchen appear more spacious and inviting.
- Versatility in Design: Available in various materials and finishes, these shelves can complement any kitchen style, from rustic to modern.
- Improved Organization: They provide easy access to frequently used items and allow for creative displays of dishware, cookbooks, and decorative pieces.
- Cost-Effective Upgrade: Compared to traditional cabinetry, floating shelves are often more affordable and easier to install.
👉 CLICK HERE to Unlock 16,000+ DIY woodworking plans now
Step-by-Step Guide to Installing Floating Kitchen Shelves
Installing floating kitchen shelves is a manageable DIY project. Follow these steps to ensure a successful installation:
1. Planning and Measurement
- Determine Shelf Placement: Identify the wall space where you want to install the shelves. Consider proximity to work areas and ensure there’s enough clearance from appliances and countertops.
- Measure the Space: Use a tape measure to determine the length, depth, and height of the shelves. Ensure they fit well within the designated area without obstructing movement or other fixtures.
2. Selecting Materials
- Choose Shelf Material: Common materials include wood, glass, and metal. Your choice should align with your kitchen’s design and your personal preferences.
- Select Brackets or Supports: While the term “floating” implies hidden supports, some designs incorporate visible brackets for added style and support.
3. Gathering Tools and Supplies
Ensure you have the following tools and materials on hand:
- Tools: Drill, level, stud finder, screwdriver, measuring tape, pencil.
- Materials: Shelves, brackets (if needed), screws, wall anchors (appropriate for your wall type).
4. Installation Process
- Locate Wall Studs: Use a stud finder to identify studs in the wall where the shelves will be mounted. Mark their locations lightly with a pencil.
- Mark Drill Holes: Hold the shelf or bracket against the wall at the desired height. Use a level to ensure it’s straight, then mark the positions for the screws.
- Drill Pilot Holes: Drill holes at the marked spots. If you’re not drilling into studs, insert appropriate wall anchors to provide necessary support.
- Attach Brackets or Supports: Secure the brackets or mounting hardware to the wall using screws. Ensure they’re firmly attached and level.
- Mount the Shelves: Place the shelves onto the brackets or supports. Secure them in place according to the manufacturer’s instructions, ensuring they are stable and level.
5. Finishing Touches
- Inspect Stability: Gently apply pressure to ensure the shelves are securely mounted and can support the intended weight.
- Style Your Shelves: Arrange your kitchen items and decorative pieces on the shelves, balancing functionality with aesthetics.


Comparison of Shelf Materials
Choosing the right material for your floating shelves is crucial for both functionality and design. Here’s a comparison of common materials:
| Material | Pros | Cons | Best For |
|---|---|---|---|
| Wood | – Warm and classic appearance – Sturdy and durable – Can be painted or stained to match decor | – Susceptible to moisture damage if not sealed properly – May require regular maintenance | Traditional and rustic kitchen designs |
| Glass | – Sleek and modern look – Reflects light, enhancing space – Easy to clean | – Can be prone to chipping or breaking – Requires sturdy mounting hardware | Contemporary and minimalist kitchens |
| Metal | – Industrial aesthetic – Highly durable – Resistant to moisture and heat | – Can be heavy – Limited color options | Modern and industrial-style kitchens |
Inspirational Quote
“Design is not just what it looks like and feels like. Design is how it works.” – Steve Jobs
👉 CLICK HERE to Unlock 16,000+ DIY woodworking plans now
Frequently Asked Questions (FAQs)
Q1: How much weight can floating kitchen shelves support?
The weight capacity of floating shelves depends on the materials used and the quality of installation. Properly installed shelves can typically support between 30 to 75 pounds. It’s essential to consult the manufacturer’s guidelines and ensure that shelves are mounted into wall studs or use appropriate anchors for maximum support.
Q2: Are floating shelves suitable for small kitchens?
Yes, floating shelves are an excellent choice for small kitchens. They create an open feel, making the space appear larger. By eliminating bulky cabinets, floating shelves provide storage without overwhelming the room.
Q3: How do I maintain and clean floating kitchen shelves?
Maintenance depends on the shelf material. For wood shelves, dust regularly and wipe with a damp cloth; avoid harsh chemicals that can damage the finish. Glass shelves can be cleaned with standard glass cleaners, while metal shelves require only a damp cloth to remove dust and prevent tarnishing.
Q4: Can I install floating shelves on tiled kitchen walls?
Yes, floating shelves can be installed on tiled walls. The process requires special drill bits designed for tile to prevent cracking. It’s crucial to ensure that anchors are securely placed, and, if possible, mount brackets into wall studs behind the tile for added support.
Q5: What are some styling tips for floating kitchen shelves?
- Mix Practicality with Aesthetics: Combine everyday items like plates and glasses with decorative pieces such as plants or artwork.
👉 CLICK HERE to Unlock 16,000+ DIY woodworking plans now
