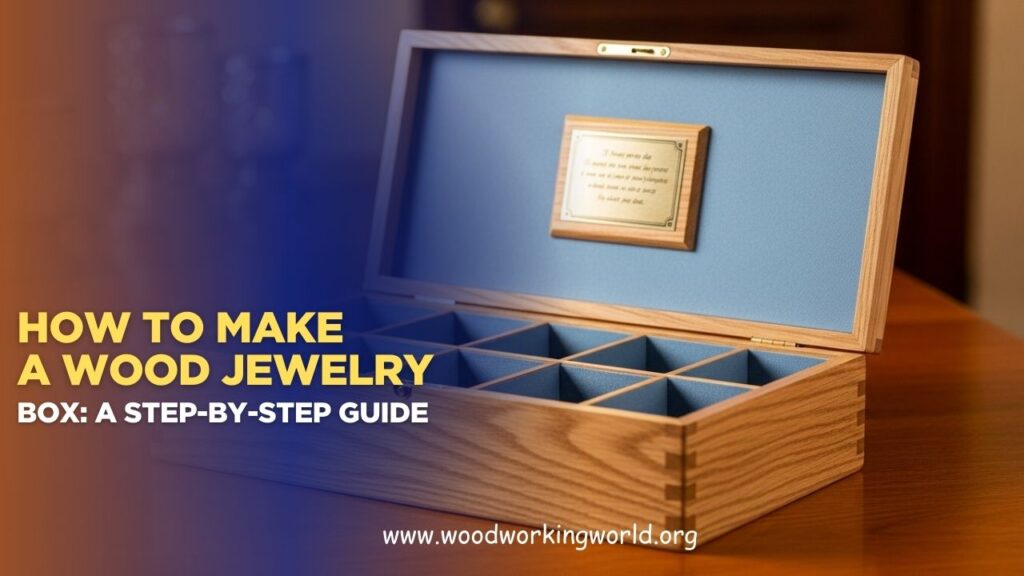
Wood Jewelry Box: A wood jewelry box is not only a functional piece to store your precious items but also a beautiful addition to your home décor. Crafting your own jewelry box can be a rewarding and fulfilling project, allowing you to personalize it to your taste. In this guide, we’ll walk you through the process of making a wood jewelry box from start to finish.
How to Make a Wood Jewelry Box
Materials and Tools You Will Need to Make a Wood Jewelry Box
Before you begin, gather the necessary materials and tools:
Materials:
- Wood boards (hardwood like oak, walnut, or cherry is recommended)
- Plywood for the base and compartments
- Wood glue
- Sandpaper (various grits)
- Wood finish (stain, oil, or varnish)
- Hinges and screws
- Felt or velvet for lining (optional)
- Small nails or brads
Tools:
- Tape measure or ruler
- Pencil
- Saw (table saw, miter saw, or hand saw)
- Chisels
- Clamps
- Drill and drill bits
- Screwdriver
- Hammer
- Router (optional for decorative edges)
- Paintbrush or cloth for applying finish
Step 1: Designing Your Jewelry Box
The first step is to decide on the size and design of your jewelry box. A typical small jewelry box might have dimensions of 10 inches long, 6 inches wide, and 4 inches high. However, you can adjust these dimensions to suit your needs.
Sketch a rough design of your box, including any compartments or dividers you want inside. This will help you visualize the final product and guide you during the construction process.
Step 2: Cutting the Wood
Using your measurements, mark the dimensions on your wood boards with a pencil. Carefully cut the wood pieces using your saw. You will need the following pieces:
- Two pieces for the longer sides (e.g., 10 inches by 4 inches)
- Two pieces for the shorter sides (e.g., 6 inches by 4 inches)
- One piece for the base (e.g., 10 inches by 6 inches)
- One piece for the lid (e.g., 10 inches by 6 inches)
Step 3: Assembling the Box
Begin by assembling the sides of the box. Apply wood glue to the edges of the shorter side pieces and attach them to the longer side pieces to form a rectangular frame. Use clamps to hold the pieces together and ensure they are square. Allow the glue to dry completely, following the manufacturer’s instructions.
Once the frame is dry, attach the base. Apply wood glue to the bottom edges of the frame and place the base piece on top. Secure it with clamps and let it dry.
Step 4: Adding Dividers and Compartments
If you want to add compartments or dividers inside your jewelry box, measure and cut the plywood accordingly. You can create small trays or sections to keep different types of jewelry organized. Glue the dividers in place and allow them to dry.
Step 5: Making the Lid
To create the lid, you can either attach it directly to the box with hinges or make a separate lift-off lid. For a hinged lid, attach the hinges to the back of the box and the corresponding edge of the lid. Make sure the lid fits snugly and opens and closes smoothly.
Step 6: Sanding
Once the basic structure of your jewelry box is complete, it’s time to sand the entire piece. Start with a medium-grit sandpaper (e.g., 120 grit) to smooth out any rough edges and surfaces. Gradually move to finer grits (e.g., 220 grit) for a smooth, polished finish. Pay extra attention to corners and edges to ensure they are not sharp.
Step 7: Applying the Finish
Choose a finish that enhances the beauty of the wood and protects it from moisture and wear. Common finishes include wood stain, oil, or varnish. Apply the finish with a paintbrush or cloth, following the manufacturer’s instructions. Allow each coat to dry completely before applying additional coats. Sand lightly between coats with fine-grit sandpaper for a smooth finish.
Step 8: Lining the Interior (Optional)
For a more luxurious feel, you can line the interior of your jewelry box with felt or velvet. Measure and cut the fabric to fit the base and compartments of the box. Use a small amount of glue to attach the fabric, ensuring it is smooth and wrinkle-free.
Step 9: Attaching the Hardware
Finally, attach the hinges and any additional hardware, such as a latch or decorative handles, to your jewelry box. Pre-drill holes for the screws to prevent the wood from splitting. Secure the hardware in place with screws.
Step 10: Final Touches
Inspect your jewelry box for any rough spots or imperfections. Give it a final sanding if needed. If desired, add decorative elements such as carvings or inlays to personalize your box further.
Tips for Success
- Precision is Key: Accurate measurements and precise cuts are essential for a professional-looking jewelry box. Take your time and double-check your measurements before cutting.
- Use Quality Materials: Hardwood is durable and adds a touch of elegance to your jewelry box. Avoid using softwood, as it may not hold up well over time.
- Safety First: Always wear appropriate safety gear, such as goggles and ear protection, when working with power tools. Follow safety guidelines for each tool you use.
- Patience Pays Off: Allow sufficient drying time for glue and finishes. Rushing through the process can result in a less durable and less attractive final product.
Customization Ideas
One of the benefits of making your own jewelry box is the ability to customize it to your liking. Here are a few ideas to make your jewelry box unique:
- Decorative Carvings: Use a chisel or a router to add intricate designs or patterns to the exterior of your box.
- Inlays: Incorporate contrasting wood or materials such as mother-of-pearl or metal for decorative inlays.
- Personalization: Engrave your initials or a special message inside the lid for a personal touch.
- Paint or Decoupage: If you prefer a pop of color, consider painting your box or adding decorative paper through decoupage.
Troubleshooting Common Issues
- Gaps and Misalignments: If you notice gaps between the joints or misaligned pieces, use wood filler to fill the gaps and sand it smooth once dry.
- Rough Edges: Ensure all edges are thoroughly sanded to prevent splinters and give the box a polished look.
- Sticking Lid: If the lid sticks or doesn’t open smoothly, check the hinge alignment and adjust if necessary. Sand any rough areas that may be causing friction.
Conclusion: How to Make a Wood Jewelry Box
Creating a wood jewelry box is a satisfying woodworking project that results in a beautiful and functional piece. With careful planning, attention to detail, and a bit of patience, you can craft a jewelry box that will be cherished for years to come. Whether you keep it for yourself or give it as a gift, a handmade jewelry box is a testament to your craftsmanship and creativity. Happy woodworking!
I hope this article on How to Make a Wood Jewelry Box has been helpful. If you have any further questions, please feel free to leave a comment below.
Video
