Best Woods to Use with Ted’s Woodworking Plans: Durability & Style Compared (July 2026)
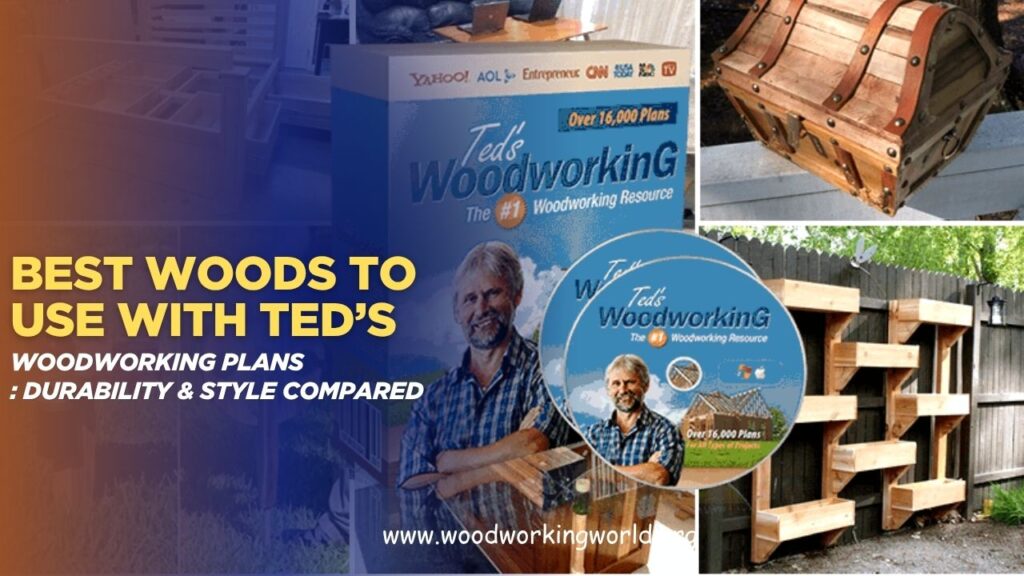
Best Woods to Use with Ted’s Woodworking Plans: Durability & Style Compared Are you ready to level up your next project from Ted’s Woodworking but not quite sure which wood will make it truly shine? The right wood choice can turn a simple build into a stunning masterpiece—boosting durability, upgrading the look, and making the …