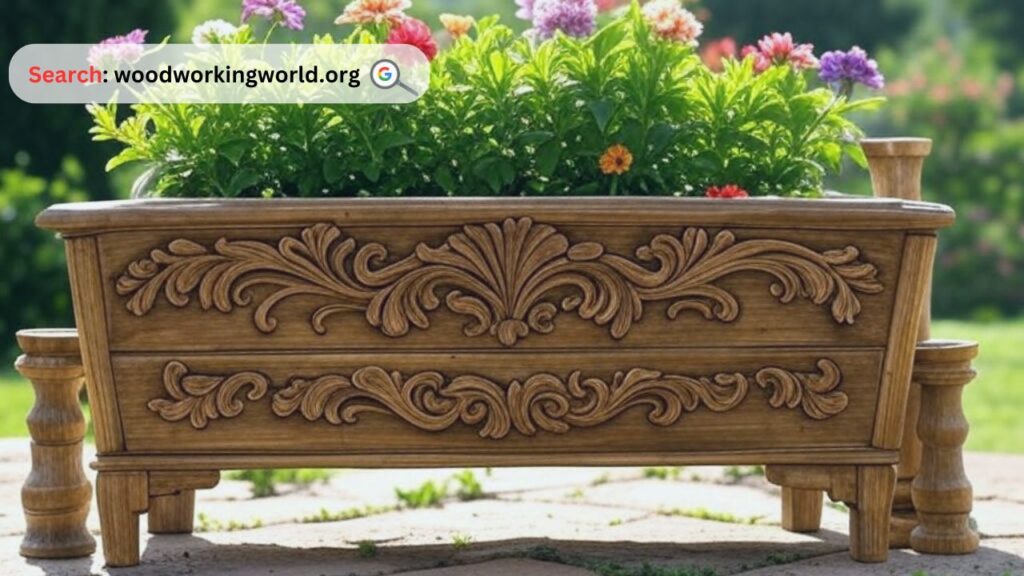
Upgrade your garden with a stylish rectangular wood planter! Perfect for flowers, herbs, or veggies, it adds charm and durability to any outdoor space.
A well-designed garden enhances the beauty of any outdoor space, and adding a stylish rectangular wood planter can be a game-changer. Whether you have a small balcony, patio, or large backyard, a rectangular wood planter offers a functional and aesthetic way to grow flowers, herbs, or vegetables. This guide will walk you through the benefits, step-by-step construction, a comparison of different wood options, and frequently asked questions to ensure you get the most out of your new garden addition.

Benefits of a Rectangular Wood Planter
1. Aesthetic Appeal
- Adds a natural, rustic charm to your garden
- Complements various outdoor decor styles
- Customizable with paint or stain
2. Functionality & Versatility
- Ideal for growing flowers, herbs, or vegetables
- Can be placed on patios, decks, or balconies
- Provides better soil control for plant health
3. Durability & Sustainability
- Long-lasting when built with quality wood
- Can be made from reclaimed or sustainable materials
- Treated wood offers resistance to pests and weather
Build 16,000+ Projects with Step-by-Step Plans—No Big Workshop or Costly Tools Needed! Start Now!
Step-by-Step Guide to Building a Rectangular Wood Planter
Materials & Tools Needed
Materials:
- Wooden planks (cedar, redwood, or pressure-treated pine)
- Screws or nails
- Wood glue (optional for extra stability)
- Non-toxic wood sealant (optional for water resistance)
- Landscape fabric (for lining the planter)
- Soil and plants of choice
Tools:
- Saw (circular or hand saw)
- Drill with bits
- Measuring tape
- Sandpaper
- Paintbrush (if staining or sealing)
Step 1: Plan Your Design
- Determine the size of your planter based on available space.
- A standard size is 36 inches (length) x 12 inches (width) x 12 inches (height).
- Sketch out your dimensions for accurate cutting.
Step 2: Cut the Wood Pieces
- Cut four side panels to the desired length and width.
- Cut a base piece to match the bottom dimensions.
- Smooth edges with sandpaper to prevent splinters.
Step 3: Assemble the Frame
- Attach the side panels using screws or nails.
- Reinforce corners with wood glue for added strength.
- Ensure the frame is square by checking with a measuring tape.
Step 4: Attach the Bottom Panel
- Secure the base panel to the frame with screws.
- Drill drainage holes every 6 inches to prevent waterlogging.
Step 5: Apply Wood Sealant (Optional)
- Use a non-toxic wood sealant to extend durability.
- Allow drying time as per manufacturer’s instructions.
Step 6: Line with Landscape Fabric
- Cut fabric to fit inside the planter.
- Secure with staples or small nails.
- This helps retain soil while allowing drainage.
Step 7: Fill with Soil & Plant Your Greenery
- Use high-quality potting soil for best results.
- Choose plants based on sunlight availability.
- Water thoroughly after planting.
Expert tips on Woodworking 🌿📦 Watch now! 🎥

Comparison of Different Wood Types
| Wood Type | Durability | Cost | Maintenance | Pest Resistance |
|---|---|---|---|---|
| Cedar | High | $$ | Low | High |
| Redwood | High | $$$ | Low | High |
| Pressure-Treated | High | $ | Medium | Medium |
| Pine | Medium | $ | High | Low |
| Teak | Very High | $$$$ | Low | Very High |
Creative Ideas for Customizing Your Planter
- Paint & Stain: Match your garden’s theme with colorful paint or a natural wood stain.
- Add Wheels: Make your planter mobile for easy movement.
- Trellis Attachment: Support climbing plants like tomatoes or ivy.
- Engraving: Personalize with carved designs or names.
Expert Quote
“A well-placed and well-designed planter can transform an ordinary garden into an extraordinary outdoor retreat.” — John Smith, Landscape Architect
Frequently Asked Questions (FAQ)
1. How long will a wooden planter last?
With proper maintenance and a wood sealant, a quality wooden planter can last 5-10 years.
2. Do I need to treat the wood?
While not mandatory, treating the wood with a non-toxic sealant extends its lifespan and protects against rot.
3. How do I prevent my planter from rotting?
- Use rot-resistant wood like cedar or redwood.
- Drill drainage holes to prevent water buildup.
- Line with landscape fabric for added moisture control.
4. What is the best soil to use?
A high-quality potting mix with compost is best for most plants. If growing vegetables, ensure the mix is organic.
5. Can I build a rectangular wood planter without power tools?
Yes, using pre-cut wood and manual screwdrivers or nails makes it possible.
6. Can I use pallet wood?
Yes, but ensure it is heat-treated (HT) and not chemically treated.
7. How do I winterize my wooden planter?
- Move indoors or cover with a weatherproof tarp.
- Remove soil if storing empty.
- Apply a fresh coat of sealant before winter.
8. Can I use a wooden planter indoors?
Yes, but ensure it has a plastic liner or a tray underneath to catch excess water.
Conclusion
Upgrading your garden with a stylish rectangular wood planter is a rewarding DIY project that enhances both functionality and aesthetic appeal. With a simple construction process, durable wood choices, and customization options, you can create a planter that perfectly suits your garden space. Whether you’re growing herbs, flowers, or vegetables, this versatile addition will bring new life to your outdoor or indoor area.
Start your DIY journey today and watch your garden flourish!
Click To Order Teds Woodworking With A 60-Money-back Guarantee From – Official Website