Timeless Style! Must-Have Wood Floating Shelves (Updated 2026)
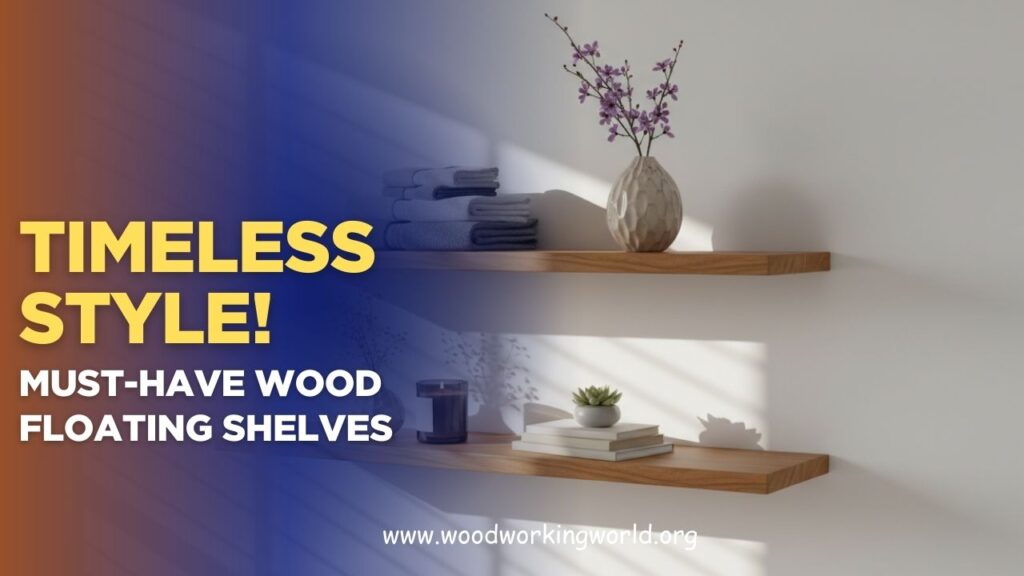
Elevate your space with wood floating shelves that never go out of style. Sleek, practical, and effortlessly elegant, these shelves add warmth and character while keeping your room organized and clutter-free. Whether you’re decorating a living room, kitchen, or home office, wood floating shelves offer a perfect balance of beauty and function.
In this guide to must-have wood floating shelves, we’ll highlight timeless design ideas, popular wood types, styling tips, and practical benefits that make these shelves a smart and stylish addition to any home.
👉 CLICK HERE to Unlock 16,000+ DIY woodworking plans now
Why Choose Wood Floating Shelves?
Wood floating shelves are a popular choice due to their versatility and durability. Here are some compelling reasons why they should be a staple in your home:
- Aesthetic Appeal – They add a sleek, modern, and elegant touch to any room.
- Space-Saving Design – They provide storage without taking up floor space.
- Customization Options – Available in various finishes, colors, and sizes.
- Durability – High-quality wood shelves can last for years with minimal maintenance.
- Easy Installation – Can be installed with basic tools and a little effort.
👉 CLICK HERE to Unlock 16,000+ DIY woodworking plans now
Step-by-Step Guide to Installing Wood Floating Shelves
Step 1: Gather Your Materials
Before starting the installation, ensure you have the following tools and materials:
- Floating shelf kit (shelves, brackets, screws)
- Drill and drill bits
- Level
- Measuring tape
- Pencil
- Wall anchors (if needed)
- Stud finder
Step 2: Choose the Right Location
- Determine where you want to install the shelves.
- Use a stud finder to locate wall studs for secure installation.
- Mark the spots with a pencil.
Step 3: Measure and Mark
- Measure the length and height of your shelves.
- Mark the wall where the brackets will be placed.
- Ensure your markings are level to prevent crooked installation.
Step 4: Install the Brackets
- Drill pilot holes into the marked spots.
- Secure the brackets using screws and wall anchors if necessary.
- Double-check the alignment using a level.
Step 5: Attach the Shelves
- Slide the wooden shelf onto the brackets.
- Secure it tightly with screws (if applicable) to ensure stability.
- Test the strength by gently pressing down on the shelf.
Step 6: Style and Organize
- Decorate your new floating shelves with books, decorative items, or plants.
- Keep heavy items towards the center to maintain balance.


Comparison Table: Solid Wood vs. Engineered Wood Floating Shelves
| Feature | Solid Wood Shelves | Engineered Wood Shelves |
|---|---|---|
| Durability | High | Moderate |
| Cost | Expensive | Budget-friendly |
| Weight Capacity | Higher | Lower |
| Customization | Can be stained or painted | Limited options |
| Moisture Resistance | May warp if untreated | More resistant to moisture |
Best Types of Wood for Floating Shelves
- Oak – Strong and durable, with a rich grain pattern.
- Walnut – Elegant dark wood that adds a luxurious feel.
- Maple – Smooth texture with a light, natural tone.
- Pine – Affordable and easy to stain or paint.
- Mahogany – Known for its deep, reddish-brown color and durability.
Quote for Inspiration
“A room should never allow the eye to settle in one place. It should smile at you and create fantasy.” – Juan Montoya
👉 CLICK HERE to Unlock 16,000+ DIY woodworking plans now
Frequently Asked Questions (FAQs)
Q1: How much weight can wood floating shelves hold?
A: The weight capacity depends on the type of wood, bracket quality, and installation method. On average, solid wood floating shelves can hold 30-50 lbs when properly installed.
Q2: Can I install floating shelves without drilling into studs?
A: Yes, but you’ll need heavy-duty wall anchors to provide support. However, securing shelves into studs is always the best option.
Q3: How do I maintain my wood floating shelves?
A: Dust regularly, wipe with a damp cloth, and use wood polish occasionally to maintain their shine.
Q4: Can floating shelves be installed in bathrooms?
A: Yes, but opt for moisture-resistant wood or apply a protective sealant to prevent warping.
Q5: Are floating shelves easy to remove?
A: Yes, they can be removed by unscrewing the brackets. However, patching and repainting may be needed after removal.
Conclusion
Wood floating shelves are a stylish and practical addition to any space. Whether you prefer rustic, modern, or minimalistic aesthetics, these shelves enhance the overall look while providing functional storage. By choosing the right wood type, following proper installation techniques, and maintaining them well, you can enjoy the beauty and utility of floating shelves for years to come. Ready to transform your space? Get started today!
👉 CLICK HERE to Unlock 16,000+ DIY woodworking plans now
