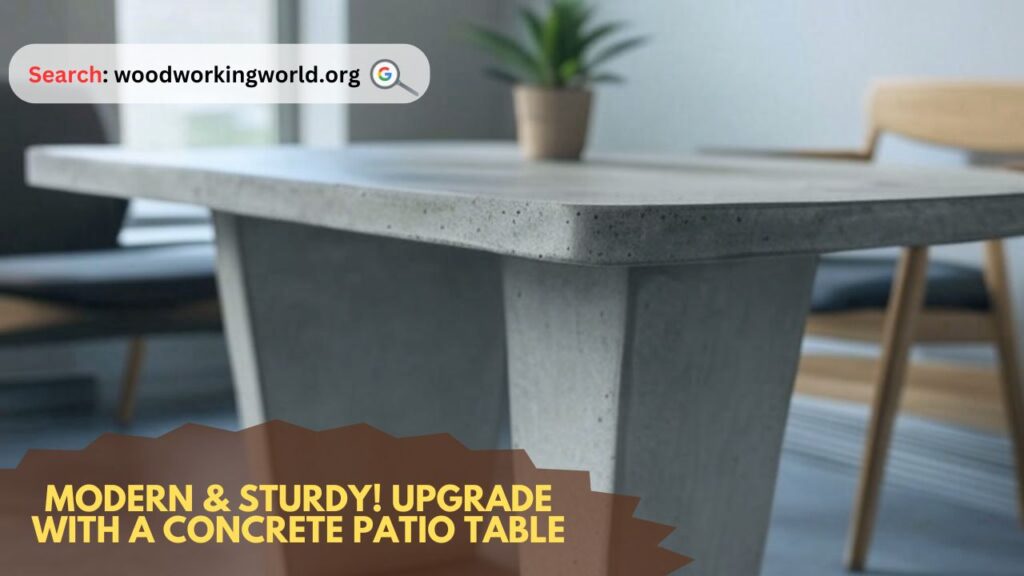
Upgrade your outdoor space with a modern, sturdy concrete patio table! Perfect for stylish and durable gatherings, this sleek design adds charm to any patio.
A concrete patio table is the perfect blend of modern aesthetics and long-lasting durability. Whether you want to revamp your outdoor space or add a stylish, weather-resistant table to your patio, a concrete table is a fantastic choice. Unlike wooden or plastic tables, concrete offers a sleek industrial look, withstands the elements, and requires minimal maintenance.
In this comprehensive guide, we will explore the benefits of concrete patio tables, provide a step-by-step process to build one, compare it to other materials, and answer frequently asked questions. Get ready to upgrade your outdoor living space with a sturdy and elegant concrete patio table!
Benefits of a Concrete Patio Table
- Durability: Resistant to weather, heat, and wear over time.
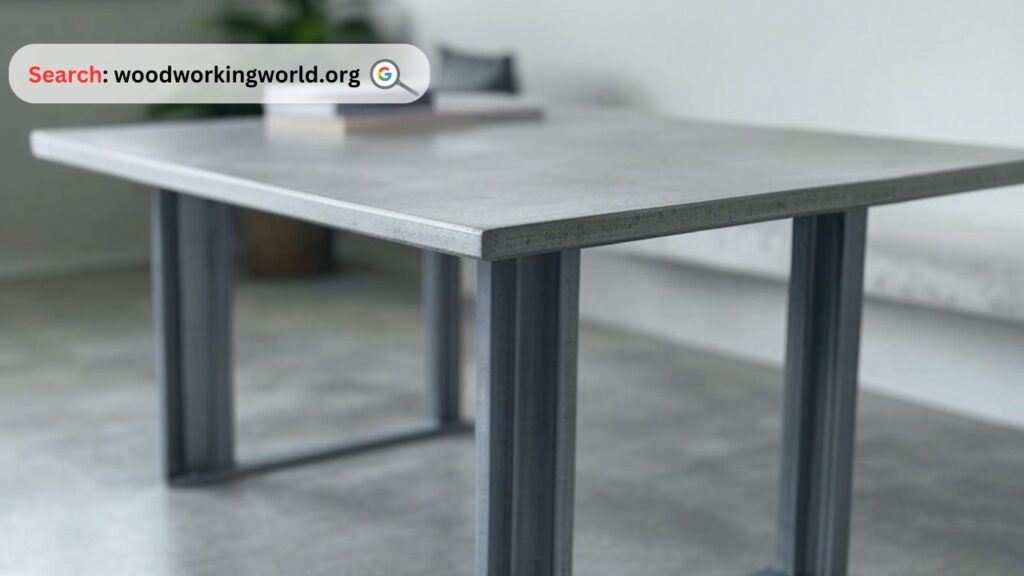
- Modern Aesthetic: Sleek and minimalistic, fits various outdoor styles.
- Low Maintenance: Requires little upkeep compared to wood.
- Customizable: Can be tailored in size, color, and shape.
- Eco-Friendly: Uses sustainable materials and has a long lifespan.
Build 16,000+ Projects with Step-by-Step Plans—No Big Workshop or Costly Tools Needed! Start Now!
How to Build a Concrete Patio Table: Step-by-Step Guide
Materials You’ll Need:
- Concrete mix (high-strength)
- Water
- A sturdy mold (wooden frame or plastic mold)
- Reinforcement mesh or rebar
- Sandpaper (for finishing)
- Sealer (for added protection)
- Measuring tape
- Mixing tools (bucket and trowel)
- Table legs (wood, steel, or concrete)
Step 1: Design Your Table
- Decide on the dimensions that fit your patio space.
- Choose a shape (rectangular, round, or square).
- Plan for additional elements like embedded designs or polished finishes.
Step 2: Create the Mold
- Use plywood to build a rectangular frame for the table surface.
- Ensure the frame is well-secured and has the desired thickness.
- Coat the inside of the mold with oil to prevent sticking.
Step 3: Prepare and Pour the Concrete
- Mix the concrete according to package instructions.
- Pour half the concrete into the mold, then place reinforcement mesh or rebar for added strength.
- Fill the rest of the mold and smooth out the surface with a trowel.
Step 4: Curing and Finishing
- Let the concrete cure for at least 48 hours.
- Once set, remove the mold carefully.
- Sand the surface for a polished finish.
- Apply a sealer to protect against stains and weather damage.
Step 5: Attach the Legs
- Choose suitable legs (metal for industrial style, wood for a warm contrast, or concrete for a seamless look).
- Secure them using strong adhesives or bolts.
- Ensure stability before use.
Expert tips on Woodworking 🌿📦 Watch now!

Comparison: Concrete vs. Other Patio Table Materials
| Feature | Concrete | Wood | Metal | Plastic |
|---|---|---|---|---|
| Durability | High | Medium | High | Low |
| Maintenance | Low | High | Medium | Low |
| Weather Resistance | High | Low | Medium | Low |
| Aesthetic Appeal | Modern | Rustic | Industrial | Casual |
| Customization | High | Medium | Medium | Low |
| Cost | Medium | Medium | High | Low |
Styling Tips for Your Concrete Patio Table
- Add a centerpiece like a bowl of succulents or candles.
- Pair with comfy outdoor chairs for contrast.
- Use outdoor rugs to define the seating area.
- Consider adding an umbrella for shade and elegance.
- Apply colored sealers or stains for a customized look.
Expert Quote
“A concrete patio table is an excellent investment for anyone looking to enhance their outdoor space with a combination of style, strength, and longevity.” – Mark Reynolds, Outdoor Design Specialist
Frequently Asked Questions
1. Is a concrete patio table heavy?
Yes, concrete tables are heavy, but this makes them extremely sturdy and resistant to wind or tipping over. If weight is a concern, consider using a lightweight concrete mix or adding hollow sections.
2. How do I protect my concrete table from stains?
Applying a high-quality sealer will prevent stains from food, water, and dirt. Reapply the sealer every couple of years for the best results.
3. Can I make my concrete table in different colors?
Yes! You can add concrete pigment during the mixing process or use a colored sealer to achieve your desired look.
4. How much does it cost to build a concrete patio table?
The cost varies depending on size and materials, but a DIY concrete table typically costs between $150-$500, significantly cheaper than store-bought options.
5. Will my concrete table crack over time?
Concrete may develop minor cracks, but using reinforcement (rebar or mesh) and proper sealing will minimize the risk.
Conclusion
Upgrading your outdoor space with a concrete patio table is a stylish, practical, and durable solution. Whether you choose to build one yourself or purchase a pre-made option, a concrete table will elevate your patio’s aesthetics while standing the test of time. Follow our guide to create your own, and enjoy a modern, sturdy, and maintenance-free patio addition for years to come!
Click To Order Teds Woodworking With A 60-Money-back Guarantee From – Official Website