Upgrade your kitchen with stylish floating shelves! Learn easy DIY tips to install and organize your space effortlessly. Perfect for a modern, clutter-free look!
Floating shelves are a stylish and functional addition to any kitchen. They create an open, airy feel while offering practical storage and display space for your favorite dishes, cookware, and decor. Whether you’re looking to maximize a small kitchen or add a touch of modern minimalism, floating shelves can transform your space with ease.

In this guide, we’ll walk you through the process of installing floating shelves, discuss material options, provide a helpful comparison table, and answer common questions. Get ready to achieve your kitchen goals with floating shelves made easy!
Why Choose Floating Shelves for Your Kitchen?
- Maximizes Space – Great for small kitchens by utilizing vertical space efficiently.
- Aesthetic Appeal – Creates a sleek, modern, and open look.
- Customizable – Available in various materials, colors, and styles.
- Easy Access – Keeps frequently used items within reach.
- Budget-Friendly – Often more affordable than traditional cabinetry.
Build 16,000+ Projects with Step-by-Step Plans—No Big Workshop or Costly Tools Needed! Start Now!
Step-by-Step Guide to Installing Floating Shelves
Step 1: Gather Your Tools & Materials
Before starting, make sure you have the following:
- Floating shelf boards
- Brackets (if needed)
- Stud finder
- Level
- Drill
- Screws and anchors
- Measuring tape
- Pencil
Step 2: Choose the Right Location
Decide where you want your shelves to go. Consider:
- Distance from countertops (typically 18-24 inches above)
- Accessibility to commonly used items
- Wall support and stud placement
Step 3: Find the Studs
Using a stud finder, locate the studs in the wall where your shelves will be mounted. Mark them with a pencil. Attaching shelves to studs provides stronger support.
Step 4: Mark and Drill Pilot Holes
Measure and mark where your brackets or mounting hardware will go. Use a drill to create pilot holes for screws, ensuring accuracy and stability.
Step 5: Attach the Mounting Brackets
Secure the brackets to the wall using screws and anchors (if not mounting directly into studs). Use a level to ensure proper alignment.
Step 6: Mount the Shelves
Slide or secure your shelf onto the brackets. Double-check that everything is level and properly fastened.
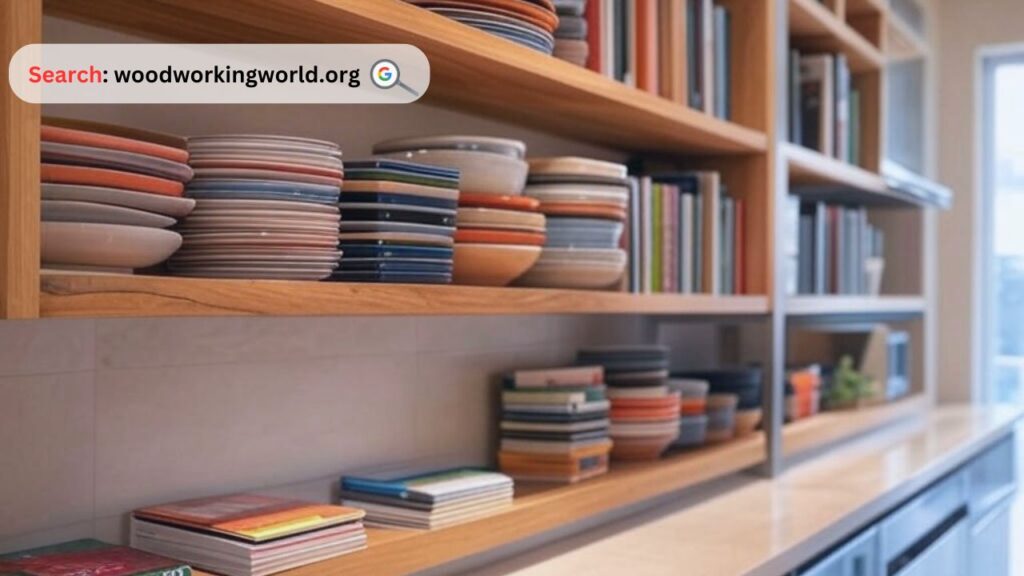
Step 7: Style & Organize
Once installed, arrange your shelves with a mix of functional and decorative items:
- Stack plates, bowls, and cups neatly.
- Display cookbooks, plants, and stylish containers.
- Use baskets for small or loose items.
Expert tips on Woodworking 🌿📦 Watch now!

Comparison Table: Best Materials for Floating Shelves
| Material | Pros | Cons | Best For |
|---|---|---|---|
| Wood | Warm, classic look, durable | Requires maintenance, can warp in humidity | Traditional & rustic kitchens |
| Metal | Sleek, modern, highly durable | Can be heavy, industrial look | Contemporary & industrial kitchens |
| Glass | Elegant, easy to clean | Fragile, needs secure mounting | Minimalist & modern kitchens |
| MDF | Affordable, customizable | Less durable than solid wood | Budget-friendly & DIY projects |
“A well-designed kitchen is a haven for creativity and comfort.” – Unknown
Floating Shelf Styling Tips
- Group Similar Items – Arrange items by color, size, or use.
- Mix Decorative & Functional Pieces – Combine essentials with decorative accents.
- Layering – Use varying heights and textures for visual interest.
- Use Under-Shelf Hooks – Hang mugs or utensils for added storage.
FAQs About Floating Shelves in the Kitchen
1. How much weight can floating shelves hold?
It depends on the type of mounting and materials used. Generally, well-installed shelves can hold 20-50 lbs per shelf.
2. Can I install floating shelves without drilling?
Adhesive-based solutions exist but are not recommended for heavy kitchen items. Drilling into studs ensures safety and durability.
3. How do I maintain my floating shelves?
Regularly dust and clean with appropriate materials for your shelf type (wood cleaner, glass spray, etc.).
4. Are floating shelves expensive?
Prices vary based on material and brand. DIY options are budget-friendly, while high-end designs can be more costly.
5. Can I install floating shelves on a tiled wall?
Yes! Use a masonry drill bit and proper anchors to secure shelves safely.
Conclusion
Floating shelves are an excellent way to enhance your kitchen’s functionality and aesthetic appeal. With the right materials, proper installation, and thoughtful styling, you can achieve a magazine-worthy kitchen space. Follow this guide, and you’ll be well on your way to creating a practical yet beautiful kitchen setup.
Start your floating shelf project today and watch your kitchen transform!
Click To Order Teds Woodworking With A 60-Money-back Guarantee From – Official Website