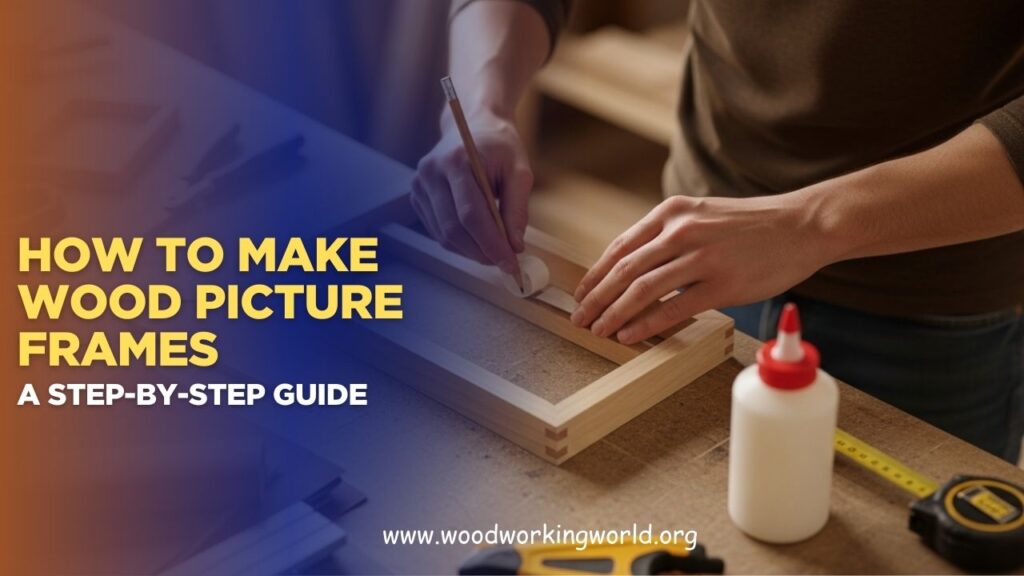
How to Make Wood Picture Frames: A Step-by-Step Guide
Have you ever wanted to display your favorite photos, prints, or artwork in a custom frame but found store-bought options too expensive or never quite the right style or size? Making your own wooden picture frames isn’t just budget-friendly — it lets you create something personal and perfectly tailored to your décor. And the best part? You don’t need to be a master woodworker to get professional-looking results.
In “How to Make Wood Picture Frames: A Step-by-Step Guide,” we’ll walk you through the entire process from start to finish. You’ll learn which tools and materials to use, how to measure and cut with accuracy, the easiest ways to join corners securely, and how to sand, stain, and finish your frame for a polished look. Whether you’re framing family photos, artwork, or selling handcrafted frames, this guide will give you the confidence to build beautiful pieces that last.
👉 CLICK HERE to Unlock 16,000+ DIY woodworking plans now
Why Make Your Own Wood Picture Frames?
While you can buy picture frames in nearly every store, making your own allows you to:
- Save money on custom framing
- Choose your own dimensions, wood type, and finish
- Repurpose scrap wood or reclaimed materials
- Practice essential woodworking skills like measuring, cutting, sanding, and gluing
- Create meaningful, personalized gifts
If you’re into DIY decor, handmade gifts, or crafting a unique home aesthetic, wooden picture frames are the perfect project.
👉 CLICK HERE to Unlock 16,000+ DIY woodworking plans now
Tools and Materials You’ll Need
Before starting, gather the following tools and materials:
Tools:
- Measuring tape or ruler
- Miter saw (manual or power)
- Clamps
- Wood glue
- Sandpaper or power sander
- Wood filler (optional)
- Nail gun or brad nails
- Square
- Pencil
- Hanging hardware (D-rings, sawtooth hangers, or wire)
Materials:
- Hardwood or softwood strips (1x2s, 1x3s, etc.)
- Backing board (plywood, MDF, or foam board)
- Glass or acrylic sheet (optional)
- Finishing materials (paint, stain, varnish, polyurethane)
Want ready-to-use templates and beginner-friendly designs? Ted’s Woodworking has step-by-step plans for frames, shelves, benches, and more.
Step-by-Step: How to Make a Wood Picture Frame
Step 1: Choose and Cut Your Wood
Choose the type of wood you’d like for your frame. Popular choices include:
- Pine – soft, affordable, and easy to work with
- Oak – durable with a traditional grain
- Poplar – budget-friendly and great for painting
- Reclaimed wood – adds a rustic, eco-conscious vibe
Frame Measurements:
You’ll need four frame pieces — two for the length and two for the width — cut at 45-degree angles on each end to form a perfect rectangle or square.
✅ Pro Tip: Use a miter saw or miter box to make precise cuts. Always double-check your measurements before cutting.
Step 2: Dry Fit the Frame
Lay your cut pieces together on a flat surface to check how they fit. Adjust the angles if necessary.
Use a carpenter’s square to ensure your corners are perfectly aligned.
If you’re building multiple frames, dry-fitting saves time and prevents waste.
Step 3: Glue and Clamp the Frame
Apply wood glue to each mitered corner and join them together.
Clamp the frame tightly using:
- Corner clamps
- Strap clamps
- Or a DIY jig made from scrap wood
Let it dry for at least 1–2 hours (or overnight for best results).
✅ Optional: Reinforce the corners with finishing nails, brad nails, or corner braces.
Step 4: Sand and Fill
Once the glue is dry:
- Sand all edges and faces of the frame
- Use wood filler for any small gaps or nail holes
- Wipe off dust with a damp cloth
Sanding is key to achieving a smooth, professional look, especially if you plan to paint or stain.
Step 5: Add the Finish
Choose a finish that complements your space:
- Natural stain for rustic warmth
- Dark walnut for a modern farmhouse look
- Whitewash or distressed paint for shabby chic
- Bold paint for a pop of color
Apply your stain or paint using a clean cloth or brush. Let it dry and then apply a protective coat of polyurethane or clear varnish.


Step 6: Insert the Glass, Art, and Backing
Carefully place the glass or acrylic sheet into the frame recess (if using). Then insert your artwork or photo.
Add a backing board cut to the same size and secure it using:
- Flexi tabs
- Glazier’s points
- Small nails
- Or screw-in backing clips
You can also use foam board and tape if you want a temporary backing.
Step 7: Add Hanging Hardware
Depending on the size and weight of your frame, attach:
- Sawtooth hangers (for lightweight frames)
- D-rings and wire (for larger, heavier frames)
- Or simply use a picture frame stand for tabletop display
✅ Don’t forget to add wall anchors if you’re hanging on drywall.
Bonus: Creative Variations for Your Frames
Looking to make your project stand out? Here are some easy frame design ideas:
- Rustic reclaimed wood with a matte clear coat
- Live edge frame for organic, natural texture
- Paint-dipped corners for a modern touch
- Layered or stacked molding for added depth
- Engraved names or dates using a wood burner or stencil
Want detailed tutorials for these variations? They’re all inside Ted’s Woodworking membership – from beginner to advanced.
Common Mistakes to Avoid
Avoid these beginner slip-ups when making picture frames:
❌ Skipping measurements – causes misaligned corners
❌ Using too much glue – leads to messy seams
❌ Not sanding properly – results in uneven paint/stain
❌ Installing backing before fully dry – can warp the wood
❌ Choosing the wrong finish – might not match your decor
How Ted’s Woodworking Can Help
If you love woodworking, but want a shortcut to learning it all — Ted’s Woodworking is a must-have. It offers:
- ✅ 16,000+ woodworking plans
- ✅ Step-by-step instructions with material lists
- ✅ Projects for all levels – from small crafts to full furniture
- ✅ Instant access online + downloadable plans
- ✅ Renter-friendly and small-space projects
Get started with DIY frames, shelves, racks, cabinets, and more — all with zero guesswork.
👉 CLICK HERE to Unlock 16,000+ DIY woodworking plans now
Final Thoughts
Making your own wood picture frame is not just a fun weekend project — it’s a skill-building experience that lets you decorate your home with custom flair. From choosing the wood and design to finishing and displaying, every step gives you creative freedom.
And with the help of tools like Ted’s Woodworking, you can take your hobby to the next level and build anything you dream of.
So grab your tools, measure twice, cut once — and make something worth framing.
👉 CLICK HERE to Unlock 16,000+ DIY woodworking plans now
