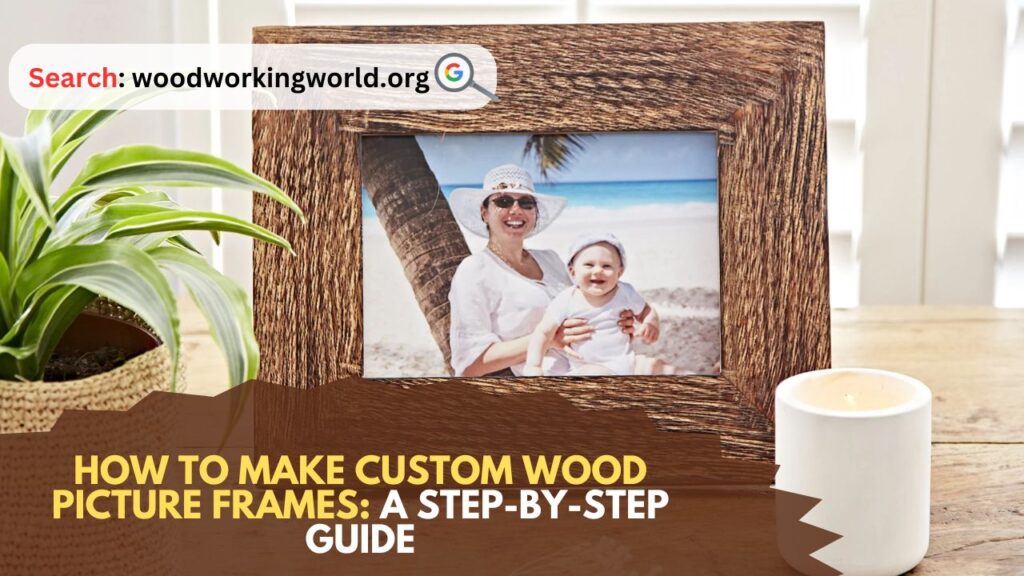
Creating custom wood picture frames is a rewarding and practical woodworking project. Not only does it allow you to showcase your photos or artwork beautifully, but it also adds a personal touch to your home decor. This guide will walk you through the process of making custom wood picture frames from start to finish, including selecting materials, cutting the wood, assembling the frame, and finishing it with paint or stain.
How to Make Custom Wood Picture Frames
Materials and Tools You’ll Need to Make Custom Wood Picture Frames
Before you begin, gather all the necessary materials and tools. Here’s what you’ll need:
Materials:
- Wood (choose a type of wood that matches your desired aesthetic and budget)
- Glass or acrylic sheet
- Picture frame mat (optional)
- Backing board
- Frame hardware (hangers, turn buttons, or clips)
- Wood glue
- Sandpaper
- Wood filler (if needed)
- Stain or paint (optional)
- Clear finish (polyurethane or lacquer)
Tools:
- Measuring tape
- Miter saw or miter box and hand saw
- Clamps
- Router with a rabbet bit (optional)
- Nail gun or hammer and finishing nails
- Drill
- Screwdriver
- Paintbrushes or rags (for staining/painting)
Step-by-Step Instructions on How to Make Custom Wood Picture Frames
1. Choose Your Wood
The type of wood you choose for your picture frame will affect its appearance and durability. Common choices include pine, oak, maple, and walnut. Pine is a softwood that’s easy to work with and affordable, while hardwoods like oak, maple, and walnut offer more durability and a richer appearance.
2. Measure and Plan
Determine the size of the picture frame you need. Measure the dimensions of your artwork or photo, and add the desired width of the frame on all sides. For example, if your photo is 8×10 inches and you want a 2-inch wide frame, you’ll need to cut the wood pieces to accommodate a 12×14 inch frame.
3. Cut the Wood
Using a miter saw or miter box, cut the wood pieces at a 45-degree angle to create the frame’s corners. You’ll need two pieces for the top and bottom and two pieces for the sides. Ensure that the lengths are accurate and that the angles are precise for a clean fit.
4. Create a Rabbet (Optional)
A rabbet is a groove along the inner edge of the frame that holds the glass, mat, and backing board in place. If you have a router, use a rabbet bit to create this groove. If you don’t have a router, you can skip this step and secure the glass and backing with turn buttons or clips instead.
5. Assemble the Frame
Apply wood glue to the mitered edges of the frame pieces. Join the corners together, making sure they are aligned perfectly. Use clamps to hold the frame in place while the glue dries. For extra strength, you can use a nail gun or hammer and finishing nails to secure the corners. If there are any gaps in the joints, fill them with wood filler and sand smooth once dry.
6. Sand the Frame
Once the glue is completely dry, sand the entire frame to remove any rough edges or imperfections. Start with a medium-grit sandpaper and finish with a fine-grit sandpaper for a smooth surface. Pay special attention to the corners and edges to ensure they are smooth and even.
7. Stain or Paint the Frame
This step is optional, but adding a finish can enhance the appearance of your custom wood picture frame. If you choose to stain the wood, apply the stain with a brush or rag, following the manufacturer’s instructions. Wipe off any excess stain and let it dry completely. For a painted finish, apply a primer first, followed by the paint color of your choice. Allow each coat to dry thoroughly before applying the next.
8. Apply a Clear Finish
To protect the wood and give it a polished look, apply a clear finish such as polyurethane or lacquer. This step is especially important if you stain the wood. Use a brush to apply the finish in thin, even coats, allowing each coat to dry before applying the next. Lightly sand between coats for a smooth finish.
9. Install the Glass, Mat, and Backing
Once the frame is completely dry, it’s time to assemble it with your artwork or photo. Clean the glass or acrylic sheet thoroughly to remove any dust or fingerprints. Place the glass into the rabbet (if you created one) or directly into the frame. Next, add the picture frame mat if you’re using one. Finally, place your artwork or photo, followed by the backing board. Secure everything in place with frame hardware such as turn buttons, clips, or nails.
10. Attach Hanging Hardware
Decide how you want to hang your custom wood picture frame. You can use sawtooth hangers, D-rings, or wire. Attach the hanging hardware to the back of the frame using a drill and screws. Make sure the hardware is centered and securely fastened.
Tips and Tricks
- Choosing Wood: If you’re new to woodworking, start with a softer wood like pine. It’s easier to cut and shape, making it more forgiving for beginners.
- Precision Cutting: Ensure your miter saw or miter box is set to exactly 45 degrees. Any deviation can result in gaps at the corners.
- Clamp Properly: When gluing the frame, use enough clamps to hold the corners tightly together. Check for square alignment before the glue sets.
- Avoid Over-Sanding: Sand just enough to smooth the surface. Over-sanding can alter the dimensions of the wood pieces and affect the fit.
- Test Fit: Before gluing, dry fit the pieces together to ensure they align properly and make any necessary adjustments.
Troubleshooting Common Issues
- Gaps in Corners: If you find gaps in the corners after assembling the frame, use wood filler to fill them. Sand smooth once dry.
- Rough Edges: Sand all edges and corners thoroughly to avoid splinters and ensure a professional finish.
- Uneven Stain or Paint: Apply stain or paint in thin, even coats. If the finish appears blotchy, lightly sand and apply another coat.
Conclusion: Custom Wood Picture Frames
Making custom wood picture frames is a satisfying and practical project that can enhance your home decor and provide a personal touch to your displayed photos or artwork. By following these step-by-step instructions, you’ll be able to create beautiful, custom frames that showcase your woodworking skills and creativity. Remember to take your time, measure carefully, and enjoy the process of crafting something unique and special.
I hope this article on Custom Wood Picture Frames has been helpful. If you have any further questions, please feel free to leave a comment below.
Video
