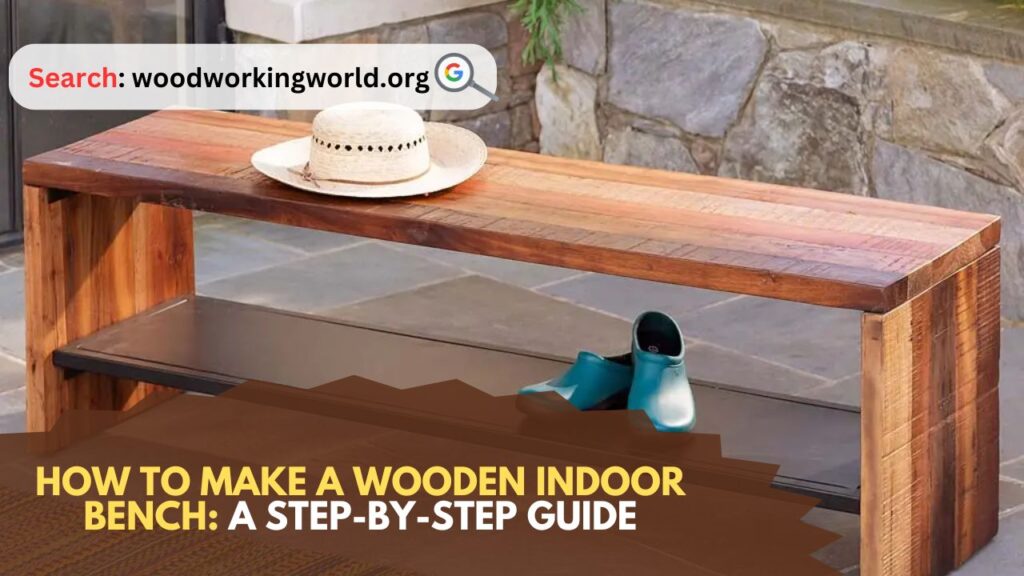
Wooden Indoor Bench: Creating your own wooden indoor bench is a fulfilling woodworking project that adds functionality and charm to your home. Whether you need extra seating in the entryway, a cozy spot in the living room, or a practical piece for the dining area, an indoor wooden bench can be a perfect addition. In this comprehensive guide, we’ll walk you through the process of building a beautiful and sturdy wooden bench from scratch.
How to Make a Wooden Indoor Bench
Materials and Tools Needed
Before you begin, gather the following materials and tools:
Materials:
- 2×4 lumber (for the legs and supports)
- 1×4 or 2×6 lumber (for the bench seat)
- Wood screws
- Wood glue
- Sandpaper (various grits)
- Wood stain or paint (optional)
- Clear wood finish (optional)
Tools:
- Measuring tape
- Pencil
- Square
- Miter saw or hand saw
- Drill with bits
- Screwdriver
- Clamps
- Sander or sanding block
- Paintbrushes or rags (for staining/finishing)
Step 1: Planning and Measuring
Start by determining the size of your bench. Consider the available space in your home and the intended use of the bench. A standard indoor bench is typically around 48 inches long, 18 inches high, and 14-18 inches deep, but you can adjust these dimensions to suit your needs.
Using a measuring tape, mark the dimensions on the lumber. For a bench that’s 48 inches long, you’ll need:
- Four 2×4 pieces cut to 18 inches (for the legs)
- Two 2×4 pieces cut to 42 inches (for the long supports)
- Four 2×4 pieces cut to 12 inches (for the short supports)
- Three 2×6 pieces cut to 48 inches (for the seat)
Step 2: Cutting the Lumber
Using a miter saw or hand saw, carefully cut the lumber according to your measurements. Ensure the cuts are straight and precise, as this will affect the stability and appearance of your bench.
Step 3: Assembling the Frame
Lay out the pieces for the bench frame on a flat surface. Start by assembling the legs and short supports. Attach one 12-inch support between two 18-inch legs using wood glue and screws. Repeat this for the other set of legs.
Next, attach the long supports to the leg assemblies. Position the 42-inch supports between the two leg assemblies, ensuring they are flush with the top and bottom of the legs. Use wood glue and screws to secure them in place. You should now have a rectangular frame.
Step 4: Reinforcing the Frame
To add extra stability to the frame, attach the remaining two 12-inch supports between the long supports. Position them about one-third of the way from each end of the frame. Secure them with wood glue and screws.
Step 5: Attaching the Seat
Place the three 2×6 seat boards on top of the frame, ensuring they are evenly spaced. You can use a spacer (such as a scrap piece of wood) to maintain consistent gaps between the boards.
Once you are satisfied with the spacing, attach the seat boards to the frame using wood screws. Pre-drill holes to prevent the wood from splitting, then drive the screws through the boards into the frame. Use clamps to hold the boards in place while you work.
Step 6: Sanding the Bench
With the bench fully assembled, it’s time to sand the entire piece to achieve a smooth finish. Start with coarse-grit sandpaper to remove any rough spots or splinters. Gradually work your way up to finer grits until the wood feels smooth to the touch.
Pay special attention to the edges and corners, as these areas are prone to splintering. Use a sanding block or an electric sander for larger surfaces, and hand-sand tighter spots.
Step 7: Staining or Painting (Optional)
If you want to add color or enhance the natural beauty of the wood, now is the time to stain or paint your bench. Choose a wood stain that matches your decor and apply it with a brush or rag, following the manufacturer’s instructions. Allow the stain to dry completely.
Alternatively, you can paint the bench in your desired color. Use a primer first if the wood is untreated, then apply the paint in thin, even coats. Allow each coat to dry before applying the next.
Step 8: Applying a Finish (Optional)
For added protection and durability, consider applying a clear wood finish. This will help seal the wood and protect it from moisture, stains, and wear. Use a brush to apply the finish in thin, even coats, following the manufacturer’s instructions. Allow the finish to dry completely between coats, and lightly sand between coats if necessary.
Step 9: Final Touches
Inspect the bench for any rough spots or areas that need additional sanding. Once you are satisfied with the finish, remove any dust or debris with a clean cloth.
If desired, add felt pads or rubber feet to the bottom of the legs to protect your floors and provide additional stability.
Step 10: Enjoy Your New Bench
Congratulations! You have successfully built a beautiful wooden indoor bench. Place it in your desired location and enjoy the fruits of your labor. Whether you use it for extra seating, as a decorative piece, or as a functional addition to your home, your handmade bench is sure to be a source of pride and satisfaction.
Tips and Tricks for Building a Wooden Bench
- Choose the Right Wood: Select high-quality lumber that is free from knots, cracks, or warping. Hardwoods like oak, maple, or walnut are durable and have a beautiful grain, while softwoods like pine or cedar are easier to work with and more affordable.
- Safety First: Always wear appropriate safety gear, such as safety glasses, gloves, and hearing protection, when working with power tools. Follow all safety guidelines and instructions for your tools.
- Measure Twice, Cut Once: Double-check your measurements before cutting the lumber to avoid mistakes. Accurate cuts are crucial for a sturdy and well-fitting bench.
- Pre-Drill Holes: Pre-drilling holes for screws helps prevent the wood from splitting and ensures a cleaner, more professional finish.
- Use Clamps: Clamps are essential for holding pieces in place while you drill, screw, or glue. They help maintain alignment and prevent shifting during assembly.
- Take Your Time: Rushing through the project can lead to mistakes and a subpar finish. Take your time to ensure each step is done correctly and with care.
Customization Ideas
One of the great advantages of building your own bench is the ability to customize it to your preferences. Here are some ideas to personalize your bench:
- Add Storage: Incorporate a storage compartment beneath the seat by adding a hinged lid. This is perfect for storing shoes, blankets, or other items.
- Upholster the Seat: For added comfort, upholster the seat with foam padding and fabric. Choose a durable, easy-to-clean fabric that compliments your decor.
- Decorative Details: Add decorative elements such as carved designs, stenciled patterns, or decorative trim to give your bench a unique and stylish look.
- Vary the Dimensions: Adjust the dimensions of the bench to fit your specific needs. Create a longer bench for a dining area or a shorter one for a hallway or bedroom.
- Mix Materials: Combine wood with other materials such as metal or glass for a modern and eclectic look.
Conclusion: Wooden Indoor Bench
Building a wooden indoor bench is a rewarding woodworking project that enhances your home with a touch of handmade craftsmanship. By following this step-by-step guide, you can create a sturdy and attractive bench that serves both functional and decorative purposes. With careful planning, precise measurements, and attention to detail, your DIY bench will be a cherished addition to your home for years to come. Happy woodworking!
I hope this article on Wooden Indoor Bench has been helpful. If you have any further questions, please feel free to leave a comment below.
Video
