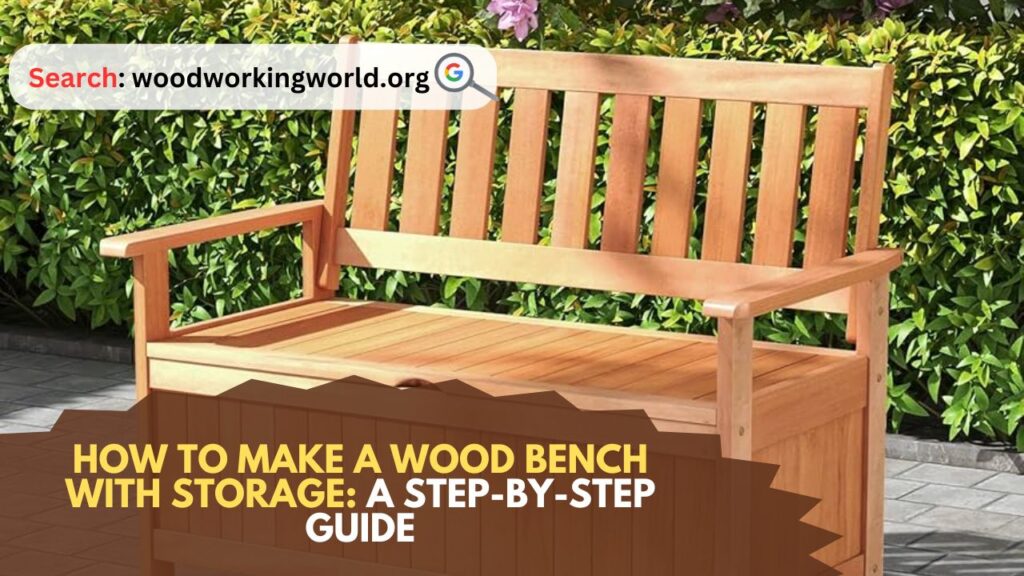
Wood Bench with Storage: A wood bench with storage is a functional and stylish addition to any home. It provides a place to sit while also offering space to store various items, making it perfect for entryways, bedrooms, or even outdoor areas. This guide will walk you through the process of building a wood bench with storage, from gathering materials to adding the finishing touches.
How to Make a Wood Bench with Storage
Materials and Tools Needed
Before you start, gather the following materials and tools:
Materials
- 2×4 lumber (for the frame)
- 1×4 lumber (for the bench top and storage compartments)
- Plywood (for the bottom of the storage compartments)
- Wood screws
- Wood glue
- Sandpaper (various grits)
- Wood filler
- Stain or paint (optional)
- Polyurethane finish (optional)
Tools
- Measuring tape
- Pencil
- Speed square
- Circular saw or miter saw
- Drill and drill bits
- Screwdriver
- Clamps
- Orbital sander
- Paintbrushes or rags (for staining/painting)
Step 1: Planning and Measuring
Before you begin cutting any wood, you need to plan the dimensions of your bench. Decide how long, wide, and tall you want the bench to be. A standard size for a bench is around 48 inches long, 18 inches wide, and 18 inches tall, but you can adjust these measurements to fit your space.
Step 2: Cutting the Wood
Once you have your measurements, you can start cutting the wood:
- Cut the Frame Pieces: Cut four pieces of 2×4 lumber to the length you want the bench to be (e.g., 48 inches). These will be the top and bottom rails of the frame. Cut four more pieces to the height you want the bench to be (e.g., 18 inches). These will be the legs.
- Cut the Bench Top: Cut pieces of 1×4 lumber to create the top of the bench. If your bench is 48 inches long, you might need 4-5 pieces of 1×4, depending on the width of the boards.
- Cut the Storage Compartment Sides: Cut additional pieces of 1×4 lumber to create the sides of the storage compartments. You will need two pieces for each side (left and right) and one piece for each end (front and back).
- Cut the Plywood for the Bottoms: Cut pieces of plywood to fit the bottom of each storage compartment. Measure the interior dimensions of the frame and cut accordingly.
Step 3: Assembling the Frame
- Assemble the Sides: Start by attaching the legs to the top and bottom rails using wood screws and wood glue. Ensure the legs are flush with the ends of the rails. Use clamps to hold the pieces in place while you drill pilot holes and insert the screws.
- Connect the Sides: Once you have the two sides of the frame assembled, connect them using the remaining top and bottom rails. This will form the basic rectangular frame of your bench.
Step 4: Building the Storage Compartments
- Attach the Sides: Attach the 1×4 pieces to the inside of the frame to create the sides of the storage compartments. Use wood screws and glue to secure them. Make sure they are evenly spaced and level.
- Insert the Bottoms: Place the plywood pieces into the bottom of each storage compartment. Secure them with wood screws, drilling pilot holes first to prevent splitting.
Step 5: Adding the Bench Top
- Attach the Bench Top Boards: Lay the 1×4 boards on top of the frame to create the bench top. Leave a small gap between each board for expansion. Secure them with wood screws, countersinking the screws so they sit flush with the wood.
- Sand the Bench: Once the top is attached, sand the entire bench using an orbital sander. Start with a coarse grit sandpaper (e.g., 80 grit) to remove any rough spots, then move to a finer grit (e.g., 220 grit) for a smooth finish.
Step 6: Finishing Touches
- Fill Screw Holes: Use wood filler to fill any visible screw holes or gaps. Allow the filler to dry, then sand it smooth.
- Stain or Paint: If you want to add color to your bench, now is the time to stain or paint it. Apply the stain or paint with a brush or rag, following the manufacturer’s instructions. Allow it to dry completely.
- Apply Polyurethane: For added protection, apply a polyurethane finish to the bench. This will help protect the wood from scratches and moisture. Apply several coats, allowing each coat to dry before applying the next.
Step 7: Adding Storage Bins (Optional)
For added convenience, you can add storage bins to the compartments. Measure the interior dimensions of the compartments and find or make bins that fit. These can be used to store shoes, blankets, or any other items you want to keep handy.
Tips for Success
- Measure Twice, Cut Once: Always double-check your measurements before making any cuts. This will help you avoid mistakes and wasted materials.
- Use Clamps: Clamps are essential for holding pieces together while the glue dries or while you drill pilot holes. They help ensure your pieces are aligned correctly.
- Safety First: Always wear safety glasses and ear protection when using power tools. Work in a well-ventilated area, especially when sanding or applying finishes.
- Customize: Feel free to customize the design to suit your needs. You can add more storage compartments, change the dimensions, or even add cushions to the top for added comfort.
Conclusion: Wood Bench with Storage
Building a wood bench with storage is a rewarding project that combines functionality and style. With careful planning, precise measurements, and a bit of elbow grease, you can create a beautiful piece of furniture that will serve you well for years to come. Whether you place it in your entryway, bedroom, or outdoor space, this bench will provide both seating and storage, helping you keep your home organized and clutter-free. Happy building!
I hope this article on Wood Bench with Storage has been helpful. If you have any further questions, please feel free to leave a comment below.
Video
