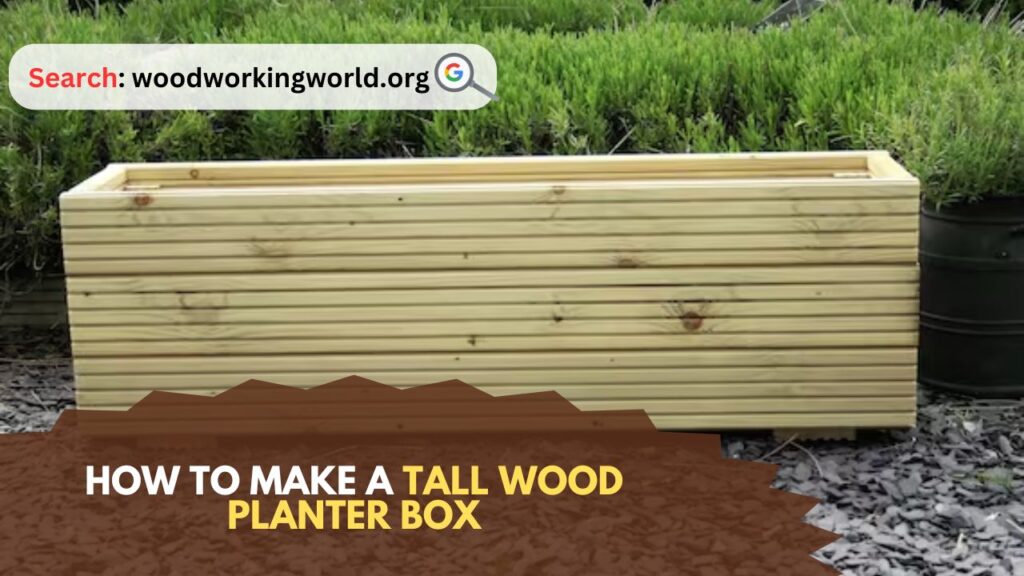
Tall Wood Planter Box: A tall wood planter box is a fantastic addition to any garden, patio, or balcony. It not only elevates the visual appeal of your outdoor space but also provides a functional way to grow flowers, herbs, and vegetables. Whether you’re a seasoned woodworker or a DIY enthusiast, building a tall wood planter box can be a rewarding project. This guide will walk you through the steps, from gathering materials to the final assembly, ensuring you create a sturdy and beautiful planter box.
How to Make a Tall Wood Planter Box
Materials and Tools Needed
Before you begin, gather all the necessary materials and tools. Having everything ready will make the process smoother and more enjoyable.
Materials
- Pressure-treated lumber (for durability against moisture)
- 4 pieces of 2×4 for the legs (length depending on desired height)
- 4 pieces of 1×6 for the sides (length depending on desired width and depth)
- 2 pieces of 1×6 for the bottom supports
- Exterior wood screws
- Wood glue
- Landscape fabric or plastic liner
- Potting soil
- Plants or seeds of your choice
- Sandpaper or an electric sander
- Wood stain or paint (optional for finishing)
Tools
- Measuring tape
- Pencil
- Circular saw or miter saw
- Drill with a screwdriver bit
- Hammer
- Clamps
- Safety goggles and gloves
Step-by-Step Instructions
1. Plan and Measure
Start by deciding the dimensions of your planter box. A standard size for a tall planter box is about 36 inches in height, 24 inches in width, and 18 inches in depth, but you can adjust these dimensions based on your space and needs.
- Height: Determine how tall you want your planter box. Remember, a taller box means you won’t have to bend over as much, which is great for accessibility.
- Width and Depth: Decide how wide and deep you want the planter. This will depend on what you plan to grow and the available space.
2. Cut the Lumber
Once you have your measurements, it’s time to cut the lumber to size.
- Legs: Cut the 2x4s to the desired height of your planter box. You’ll need four pieces for the legs.
- Sides: Cut the 1x6s to the width and depth of the planter. You’ll need two pieces for each dimension.
- Bottom Supports: Cut two pieces of 1×6 to fit the width of the planter box.
3. Sand the Edges
After cutting the lumber, sand the edges and surfaces to remove any splinters and rough spots. This will give your planter box a smooth, finished look and prevent any injuries during assembly.
4. Assemble the Frame
Start by assembling the frame of the planter box.
- Attach the Sides to the Legs: Position one of the side pieces (1×6) against the inside edge of two of the legs (2×4). Use wood glue to hold it in place temporarily, then secure it with exterior wood screws. Repeat this step for the other side.
- Repeat for the Depth Pieces: Attach the remaining side pieces to the legs in the same manner, forming a rectangular frame.
5. Install the Bottom Supports
The bottom supports will hold the weight of the soil and plants.
- Position the Supports: Place the two bottom support pieces (1×6) across the width of the planter box, evenly spaced.
- Secure the Supports: Use wood screws to attach the supports to the sides of the planter box. Ensure they are level and secure.
6. Attach the Bottom Boards
Now, it’s time to attach the bottom boards that will hold the soil.
- Cut and Place the Bottom Boards: Cut additional 1×6 pieces to fit across the bottom of the planter box, resting on the supports. Leave small gaps between the boards for drainage.
- Secure the Bottom Boards: Use wood screws to attach the bottom boards to the supports. Make sure they are evenly spaced and secure.
7. Line the Planter Box
Lining the planter box with landscape fabric or a plastic liner will help protect the wood from moisture and prolong the life of your planter.
- Cut the Liner: Cut the landscape fabric or plastic liner to fit the inside of the planter box, ensuring it covers the bottom and sides.
- Secure the Liner: Use staples or small nails to attach the liner to the inside of the planter box. Make sure it is snug and secure.
8. Optional: Stain or Paint
If you want to give your planter box a polished look, consider staining or painting it. This step is optional but can enhance the appearance and provide additional protection against the elements.
- Choose Your Finish: Select a wood stain or exterior paint that complements your outdoor decor.
- Apply the Finish: Follow the manufacturer’s instructions to apply the stain or paint. Allow sufficient drying time before proceeding to the next step.
9. Add Soil and Plants
Now that your planter box is assembled and finished, it’s time to add soil and plants.
- Add Potting Soil: Fill the planter box with high-quality potting soil. Avoid using garden soil, as it may not provide adequate drainage and nutrients.
- Plant Your Choices: Choose plants that suit your climate and the location of the planter box. Follow the planting instructions for spacing and depth.
- Water Thoroughly: Water the plants thoroughly after planting to help them establish roots.
10. Maintenance Tips
To keep your planter box looking great and your plants healthy, follow these maintenance tips:
- Watering: Regularly water your plants, ensuring the soil stays moist but not waterlogged. Adjust watering frequency based on the weather and the needs of your plants.
- Fertilizing: Use a balanced fertilizer to provide essential nutrients to your plants. Follow the manufacturer’s instructions for application rates and frequency.
- Weeding: Remove any weeds that may appear in the planter box to prevent them from competing with your plants for nutrients and water.
- Inspecting the Wood: Periodically check the wood for signs of wear or damage. If necessary, reapply stain or paint to protect the wood from the elements.
Conclusion: Tall Wood Planter Box
Building a tall wood planter box is a rewarding DIY project that adds beauty and functionality to your outdoor space. By following these steps, you can create a durable and attractive planter box that will provide a perfect home for your favorite plants. Whether you’re growing flowers, herbs, or vegetables, a tall wood planter box makes gardening more accessible and enjoyable. So, gather your materials, roll up your sleeves, and get started on your new gardening project!
I hope this article on Tall Wood Planter Box has been helpful. If you have any further questions, please feel free to leave a comment below.
Video
