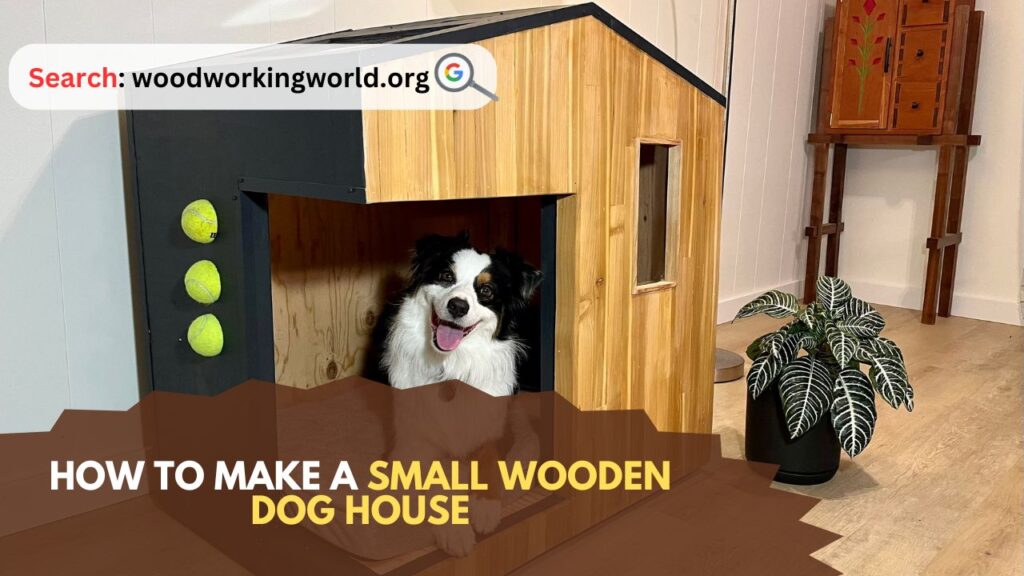
Small Wooden Dog House: Building a small wooden dog house is a rewarding project that ensures your furry friend has a cozy and safe place to rest. Whether you are a seasoned woodworker or a beginner, this step-by-step guide will walk you through the process of creating a sturdy and comfortable dog house.
How to Make a Small Wooden Dog House
Materials and Tools Needed to Make a Small Wooden Dog House
Materials:
- Plywood sheets (exterior grade)
- 2×4 lumber for framing
- Screws and nails
- Wood glue
- Roofing material (shingles or metal roofing)
- Paint or wood stain (optional)
- Sandpaper
Tools:
- Measuring tape
- Circular saw or handsaw
- Power drill
- Hammer
- Screwdriver
- Level
- Carpenter’s square
- Paint Brushes or rollers
Step-by-Step Guide
1. Planning and Designing
Before you start cutting wood, it’s essential to plan and design your dog house. Consider the size of your dog to determine the dimensions of the house. A typical small dog house might have dimensions of about 24 inches wide, 30 inches deep, and 28 inches high.
Sketch the Design:
- Draw a rough sketch of your dog house, including the base, walls, roof, and entrance.
- Plan for adequate ventilation and insulation to keep your dog comfortable in all weather conditions.
2. Cutting the Wood
Once you have your design, it’s time to cut the wood to the required sizes.
Cutting the Base:
- Cut a piece of plywood to the desired dimensions for the base (e.g., 24 inches by 30 inches).
Cutting the Walls:
- Cut four pieces of plywood for the front, back, and side walls. The front and back walls should be the same width as the base, and the side walls should be the same length as the base minus the thickness of the front and back walls.
Cutting the Roof:
- Cut two pieces of plywood for the roof, ensuring they overlap slightly to form a peaked roof. The length of the roof pieces should be longer than the base to provide an overhang for weather protection.
3. Assembling the Frame
With the wood cut, the next step is to assemble the frame of the dog house.
Building the Base:
- Attach 2×4 lumber around the edges of the plywood base to create a sturdy frame. Use screws and wood glue to secure the pieces together.
Constructing the Walls:
- Attach 2×4 studs to the edges of the wall panels for added support. Ensure the studs are evenly spaced.
- Attach the front, back, and side walls to the base using screws. Make sure the corners are square and the walls are level.
4. Creating the Entrance
The entrance should be large enough for your dog to enter comfortably but not too large to compromise the structural integrity of the house.
Mark and Cut the Entrance:
- On the front wall, mark the desired size and shape of the entrance. A common size is about 12 inches wide by 16 inches high.
- Use a jigsaw or circular saw to cut out the entrance.
5. Installing the Roof
The roof is crucial for protecting your dog from the elements.
Attaching the Roof Panels:
- Attach the two roof panels to the top of the house, ensuring they overlap at the peak. Use screws to secure the panels to the walls.
- If desired, add a center beam along the peak for extra support.
Adding Roofing Material:
- Cover the roof with shingles or metal roofing for weather protection. Follow the manufacturer’s instructions for installation.
6. Finishing Touches
To ensure your dog house is comfortable and durable, add a few finishing touches.
Sanding and Sealing:
- Sand all rough edges and surfaces to prevent splinters.
- Seal the wood with paint, wood stain, or a weatherproof sealant to protect it from the elements.
Adding Ventilation:
- Drill small holes near the top of the walls for ventilation. Ensure the holes are not too large to let in rain or snow.
Insulating the Dog House:
- If you live in a colder climate, consider adding insulation to the walls and roof. Use foam board or other insulation materials, and cover them with plywood.
7. Testing and Placement
Before introducing your dog to their new house, it’s important to test its stability and choose the best location.
Testing Stability:
- Ensure the dog house is stable and all screws and nails are securely fastened.
- Check for any sharp edges or protruding nails that could harm your dog.
Choosing a Location:
- Place the dog house in a shaded area to keep it cool in the summer.
- Elevate the house slightly off the ground to prevent moisture buildup.
Tips for Success
- Measure Twice, Cut Once: Double-check all measurements before cutting to avoid mistakes.
- Use Quality Materials: Invest in exterior-grade plywood and treated lumber for durability.
- Customize for Your Dog: Consider adding a removable roof or hinged door for easy cleaning and access.
- Regular Maintenance: Periodically check the dog house for wear and tear, and make necessary repairs to keep it in good condition.
Conclusion: How to Make a Small Wooden Dog House
Building a small wooden dog house is a fulfilling project that provides your pet with a safe and comfortable space. By following this guide, you can create a sturdy, weatherproof, and inviting home for your dog. With careful planning, quality materials, and a bit of creativity, your furry friend will have a perfect place to call their own.
I hope this article on How to Make a Small Wooden Dog House has been helpful. If you have any further questions, please feel free to leave a comment below.
Video
