Small Wood Jewelry Box: Creating a small wood jewelry box is a rewarding and practical woodworking project. Whether you’re a beginner or an experienced woodworker, crafting a personalized jewelry box can be a delightful experience. This guide will walk you through the steps to create a beautiful and functional jewelry box, from selecting the right materials to adding the finishing touches.
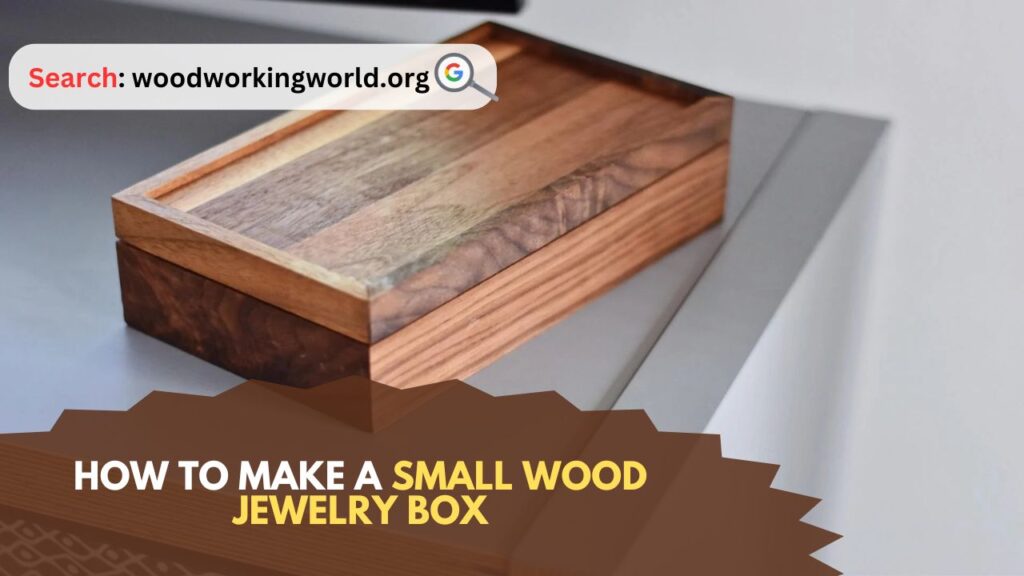
How to Make a Small Wood Jewelry Box
Materials and Tools Needed to Make a Small Wood Jewelry Box
Materials:
- Hardwood (such as cherry, maple, or oak)
- Plywood for the bottom
- Wood glue
- Sandpaper (various grits)
- Wood stain or paint (optional)
- Varnish or polyurethane finish
- Hinges
- Latch or lock (optional)
- Velvet or felt for lining (optional)
Tools:
- Table saw or hand saw
- Router (optional)
- Clamps
- Chisel
- Hammer
- Screwdriver
- Measuring tape or ruler
- Pencil
- Safety gear (gloves, goggles, ear protection)
Step-by-Step Instructions
1. Designing the Box
Before you start cutting wood, decide on the dimensions and design of your jewelry box. A typical small jewelry box might measure about 6 inches wide, 4 inches deep, and 3 inches high. Sketch your design on paper, including any compartments or trays you want to include.
2. Selecting and Preparing the Wood
Choose a hardwood for durability and aesthetics. Measure and mark the wood pieces according to your design:
- Top and Bottom Panels: 6 inches by 4 inches
- Front and Back Panels: 6 inches by 3 inches
- Side Panels: 4 inches by 3 inches
Cut the wood pieces using a table saw or hand saw. If you want to add decorative edges or grooves, use a router at this stage.
3. Assembling the Box
Dry Fit: Before gluing, dry fit all pieces to ensure they align correctly. Make any necessary adjustments.
Gluing: Apply wood glue to the edges of the side panels and attach them to the front and back panels. Use clamps to hold the pieces together and ensure a tight fit. Wipe off any excess glue with a damp cloth.
Bottom Panel: Once the frame is dry, attach the bottom panel using wood glue and clamps. Alternatively, you can use small finishing nails for extra security.
4. Creating the Lid
The lid can be a simple flat piece or have a more intricate design. Cut the lid from a piece of hardwood, ensuring it matches the dimensions of the box top (6 inches by 4 inches). If desired, use a router to create decorative edges.
5. Adding Hinges
Mark and drill pilot holes for the hinges on the back of the box and the lid. Attach the hinges using screws. Ensure the lid opens and closes smoothly.
6. Finishing Touches
Sanding: Sand the entire box, starting with a coarse grit and progressing to a fine grit sandpaper. Pay extra attention to corners and edges for a smooth finish.
Staining or Painting: If you want to stain or paint your jewelry box, apply the finish evenly and allow it to dry according to the manufacturer’s instructions. Multiple coats may be necessary for a richer color.
Sealing: Apply a varnish or polyurethane finish to protect the wood. This will give your box a polished look and ensure its longevity.
7. Adding a Lining (Optional)
For a luxurious touch, line the interior of the box with velvet or felt. Cut the material to fit each section of the box and attach it with adhesive spray or fabric glue. This will protect your jewelry and add a professional finish.
8. Installing a Latch or Lock (Optional)
If you want to secure your jewelry box, install a latch or lock. Mark the positions, drill pilot holes, and attach the hardware using screws.
Tips for Success
- Precision: Measure and cut accurately to ensure all pieces fit together seamlessly.
- Safety: Always wear safety gear when cutting, sanding, or using power tools.
- Patience: Allow glue and finishes to dry completely between steps to achieve the best results.
Customization Ideas
- Inlays: Add decorative inlays using contrasting wood or other materials.
- Engraving: Personalize your box with engravings or wood burning.
- Compartments: Create internal compartments or trays to organize your jewelry.
- Feet: Add small wooden or metal feet to elevate the box and give it a more elegant appearance.
Conclusion: How to Make a Small Wood Jewelry Box
Making a small wood jewelry box is a satisfying project that combines craftsmanship with creativity. By following these steps and paying attention to detail, you can create a beautiful and functional jewelry box that reflects your personal style. Whether you keep it for yourself or give it as a gift, a handmade jewelry box is a timeless piece that will be cherished for years to come.
I hope this article on How to Make a Small Wood Jewelry Box has been helpful. If you have any further questions, please feel free to leave a comment below.
Video
