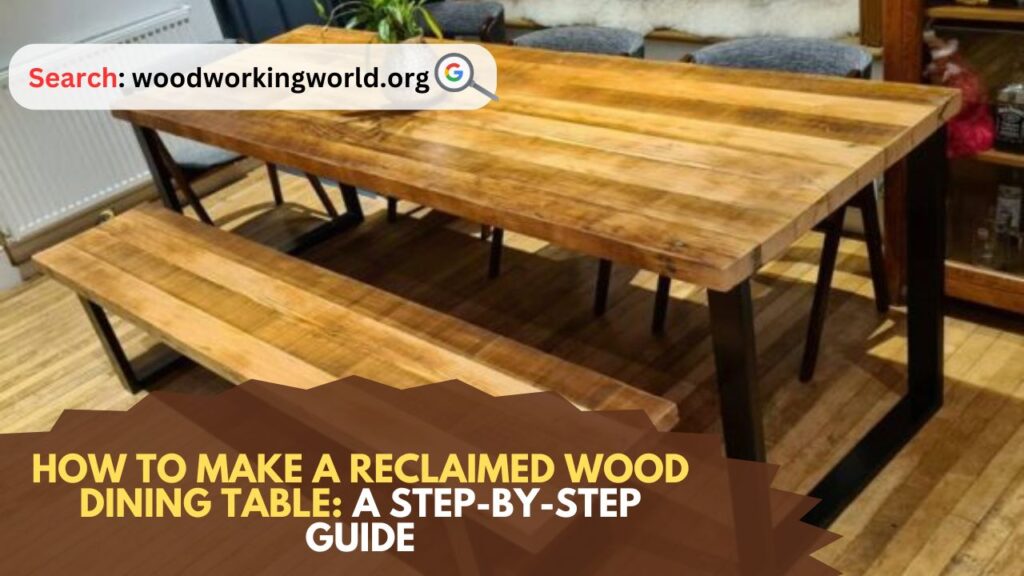
Reclaimed Wood Dining Table: Creating a dining table from reclaimed wood is not only an environmentally friendly choice but also a chance to craft a unique, rustic piece of furniture that carries a history. This project can be deeply rewarding, providing a perfect blend of creativity, craftsmanship, and sustainability. Here’s a comprehensive guide to help you through the process.
How to Make a Reclaimed Wood Dining Table
Materials and Tools You Will Need to Make a Reclaimed Wood Dining Table
Materials:
- Reclaimed wood planks for the tabletop
- Reclaimed wood or new lumber for the legs and apron
- Wood glue
- Wood screws
- Sandpaper (various grits)
- Wood filler (if necessary)
- Finish (polyurethane, oil, or wax)
- Stain (optional)
Tools:
- Tape measure
- Circular saw or table saw
- Miter saw
- Drill with bits and driver
- Random orbit sander or hand sander
- Clamps
- Carpenter’s square
- Wood planer or hand plane (optional but recommended)
- Chisels
- Hammer or mallet
- Paintbrushes or rags for finishing
Step 1: Selecting and Preparing the Wood
Choosing the Reclaimed Wood
When selecting reclaimed wood, consider both aesthetics and structural integrity. Look for wood that has character, such as nail holes, knots, and weathering, but ensure it is free from rot, excessive warping, or insect damage. Sources for reclaimed wood include old barns, warehouses, pallets, or discarded furniture.
Preparing the Wood
- Clean the Wood: Remove any dirt, debris, nails, or screws from the wood. A wire brush and metal detector can be useful for this task.
- Cut to Size: Determine the dimensions of your table and cut the wood planks to the desired length using a circular saw or table saw.
- Plane the Wood: If the planks are uneven or too rough, use a wood planer or hand plane to smooth them out. This step ensures a level tabletop and uniform thickness.
- Sanding: Sand the planks starting with coarse-grit sandpaper (80-100 grit) and progress to finer grits (up to 220 grit). This will remove any remaining roughness and prepare the wood for finishing.
Step 2: Building the Tabletop
Laying Out the Planks
Arrange the planks side by side to determine the best visual arrangement. Pay attention to the grain patterns and color variations to create an aesthetically pleasing layout.
Joining the Planks
- Edge Joining: Apply wood glue to the edges of the planks and clamp them together. Ensure the planks are tightly aligned and level. Allow the glue to dry for the recommended time.
- Reinforcement: For added strength, you can use biscuits, dowels, or pocket screws to join the planks. If using pocket screws, drill pocket holes along the edges and secure the planks with screws.
Filling Gaps
If there are gaps between the planks, fill them with wood filler that matches the color of your wood. Once dry, sand the filler smooth.
Step 3: Constructing the Base
Cutting the Legs and Apron
- Legs: Cut the legs to your desired height using a miter saw. Standard dining table height is around 30 inches.
- Apron: Cut the apron pieces to fit between the legs. The apron provides stability and support to the tabletop.
Assembling the Base
- Join the Apron to the Legs: Using wood screws or mortise and tenon joints, attach the apron pieces to the legs. Ensure the joints are square and secure.
- Cross Supports: For additional stability, add cross supports between the legs if desired. These can be attached using screws or joinery techniques.
Attaching the Tabletop to the Base
- Position the Tabletop: Place the tabletop upside down on a flat surface. Position the assembled base on top of the tabletop.
- Secure the Base: Attach the base to the tabletop using screws driven through the apron into the underside of the tabletop. Pre-drill pilot holes to prevent splitting.
Step 4: Finishing the Table
Sanding
Give the entire table a final sanding with fine-grit sandpaper (220 grit) to ensure a smooth surface. Pay special attention to the edges and corners.
Staining (Optional)
If you want to change the color of your table, apply a wood stain. Use a brush or rag to apply the stain evenly, following the wood grain. Allow the stain to penetrate for the recommended time, then wipe off the excess. Let the stain dry completely.
Applying Finish
Choose a finish that suits your desired look and durability needs. Polyurethane, oil, and wax are common options.
- Polyurethane: Apply with a brush or rag in thin, even coats. Allow each coat to dry, then lightly sand with fine-grit sandpaper before applying the next coat. Typically, 2-3 coats are sufficient.
- Oil: Apply with a rag, allowing the oil to penetrate the wood. Wipe off any excess and allow to dry. Multiple coats may be needed for a deep, rich finish.
- Wax: Apply with a rag, buffing the wax into the wood. Allow to dry, then buff with a clean cloth to a sheen.
Step 5: Final Touches
Leveling the Table
Check that the table is level. If necessary, adjust the legs by sanding the bottoms or adding adjustable levelers.
Adding Protective Pads
To protect your floors and ensure the table remains stable, add protective pads to the bottom of each leg.
Inspecting and Enjoying
Give your table a thorough inspection, checking for any rough spots, loose joints, or unfinished areas. Make any necessary touch-ups before using your new reclaimed wood dining table.
Conclusion: Reclaimed Wood Dining Table
Building a reclaimed wood dining table is a fulfilling project that combines sustainability with craftsmanship. The unique characteristics of reclaimed wood make each table one-of-a-kind, adding charm and history to your home. By following this step-by-step guide, you can create a beautiful and durable dining table that will be the centerpiece of many memorable meals and gatherings. Enjoy the process, and take pride in your handiwork!
I hope this article on Reclaimed Wood Dining Table has been helpful. If you have any further questions, please feel free to leave a comment below.
Video
