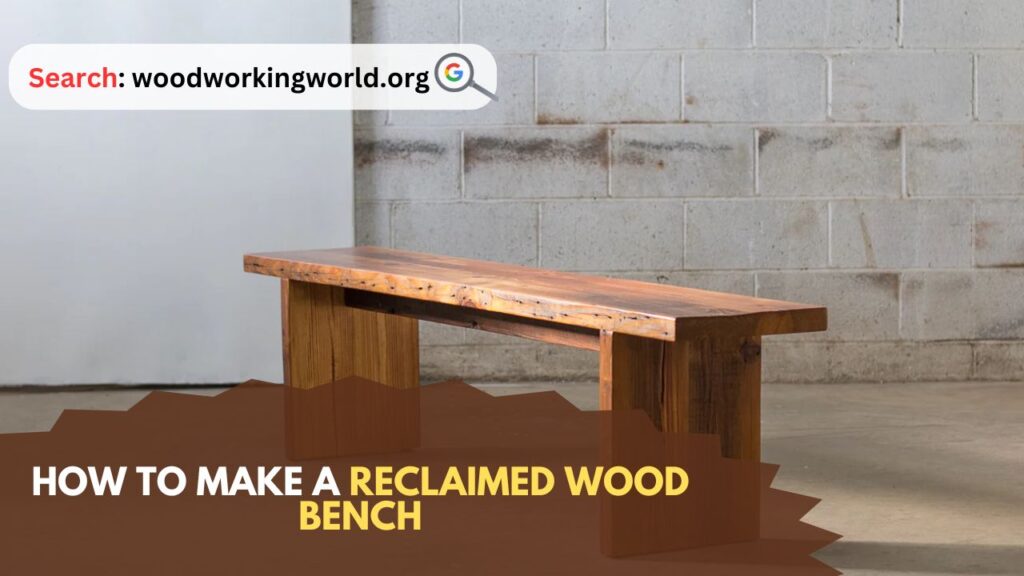
Reclaimed Wood Bench: Creating furniture from reclaimed wood is not only a sustainable practice but also a fantastic way to add character and history to your home. One of the most popular projects is making a reclaimed wood bench. This article will guide you through the process of crafting your own beautiful bench from reclaimed wood, perfect for any entryway, garden, or dining area.
How to Make a Reclaimed Wood Bench
Why Choose Reclaimed Wood?
Reclaimed wood is sourced from old buildings, barns, factories, and other structures that are being dismantled. There are several reasons why you might choose reclaimed wood for your bench:
- Sustainability: Reusing old wood reduces the demand for new lumber, thus helping to preserve forests.
- Character: Reclaimed wood often has a unique patina, texture, and history that new wood cannot replicate.
- Durability: Old-growth timber is generally more durable than new wood, which comes from younger, less dense trees.
Materials and Tools You Will Need
Materials:
- Reclaimed wood planks (for the bench top and legs)
- Screws or wood dowels
- Wood glue
- Sandpaper (various grits)
- Finish (such as polyurethane, wax, or oil)
Tools:
- Measuring tape
- Square
- Circular saw or miter saw
- Drill with bits
- Clamps
- Chisels (if using wood dowels)
- Safety equipment (gloves, goggles, dust mask)
Step-by-Step Guide to Making a Reclaimed Wood Bench
Step 1: Selecting and Preparing the Wood
Choosing the Wood:
- Visit salvage yards or reclaimed wood suppliers to find suitable wood. Look for pieces that are free from rot and pests.
- Select planks that are straight and without too many knots, as these can weaken the structure.
Cleaning the Wood:
- Clean the wood thoroughly using a stiff brush to remove any dirt, dust, or old paint. You may need to use a gentle cleaner or a mixture of vinegar and water for stubborn grime.
- Allow the wood to dry completely before proceeding.
Removing Old Nails and Fasteners:
- Carefully inspect each piece for old nails, screws, or other fasteners.
- Use a metal detector if necessary to ensure all metal is removed.
- Remove any nails or screws using pliers or a nail puller. Fill any holes or gouges with wood filler and let it dry.
Step 2: Measuring and Cutting the Wood
Planning Your Design:
- Decide on the dimensions of your bench. A typical bench is about 18 inches high, 14 inches deep, and the length can vary depending on your space (commonly 36 to 48 inches).
Measuring and Marking:
- Measure and mark your wood according to the dimensions you have decided.
- Use a square to ensure your lines are straight.
Cutting the Wood:
- Cut the wood to size using a circular saw or miter saw. You will need planks for the seat, legs, and any support structures.
- Sand the cut edges to remove any splinters and rough spots.
Step 3: Assembling the Bench
Building the Frame:
- Lay out the pieces for the bench top on a flat surface.
- If your bench top requires multiple planks, join them using wood glue and clamps. Allow the glue to dry completely.
Attaching the Legs:
- Position the legs at the corners of the bench top. Ensure they are square and level.
- Secure the legs to the bench top using screws or wood dowels. If using screws, pre-drill pilot holes to prevent splitting.
- For added stability, you can add cross supports between the legs.
Reinforcing the Structure:
- If your design includes a stretcher (a horizontal support between the legs), measure and cut it to fit snugly.
- Attach the stretcher to the legs using wood glue and screws or dowels.
Step 4: Finishing Touches
Sanding:
- Sand the entire bench, starting with a coarse grit sandpaper and progressing to finer grits.
- Pay special attention to any rough areas or sharp edges.
Applying the Finish:
- Choose a finish that enhances the natural beauty of the wood and provides protection. Polyurethane, wax, and oil are all good options.
- Apply the finish according to the manufacturer’s instructions. Multiple coats may be necessary, with light sanding between coats.
Optional: Distressing the Wood:
- If you want to enhance the rustic look of your reclaimed wood bench, you can distress the wood further using tools like hammers, chains, or chisels.
- Be sure to distress the wood before applying the final finish.
Tips for Working with Reclaimed Wood
- Inspect Thoroughly: Always inspect reclaimed wood thoroughly for hidden nails, screws, or other metal objects that could damage your tools or pose a safety hazard.
- Acclimate the Wood: Allow the wood to acclimate to your workshop environment for a few days before starting your project. This helps prevent warping or cracking.
- Work Safely: Wear appropriate safety gear, including gloves, goggles, and a dust mask. Reclaimed wood can contain old finishes or contaminants that may be harmful when inhaled.
- Test Your Tools: Reclaimed wood can be hard on tools due to its density and any remaining debris. Ensure your tools are sharp and in good condition before you start.
- Embrace Imperfections: The beauty of reclaimed wood lies in its imperfections. Embrace the knots, nail holes, and weathered textures—they add character to your finished piece.
Conclusion: Reclaimed Wood Bench
Making a reclaimed wood bench is a rewarding project that combines craftsmanship with sustainability. By following these steps, you can create a unique and beautiful piece of furniture that tells a story and adds warmth to your home. Whether placed in your entryway, garden, or dining area, your reclaimed wood bench will be a testament to the timeless appeal of repurposed materials and the satisfaction of building something with your own hands.
Enjoy your woodworking journey, and remember, every piece of reclaimed wood has a history—now it’s time to give it a new life as a stunning and functional bench.
I hope this article on Reclaimed Wood Bench has been helpful. If you have any further questions, please feel free to leave a comment below.
Video
