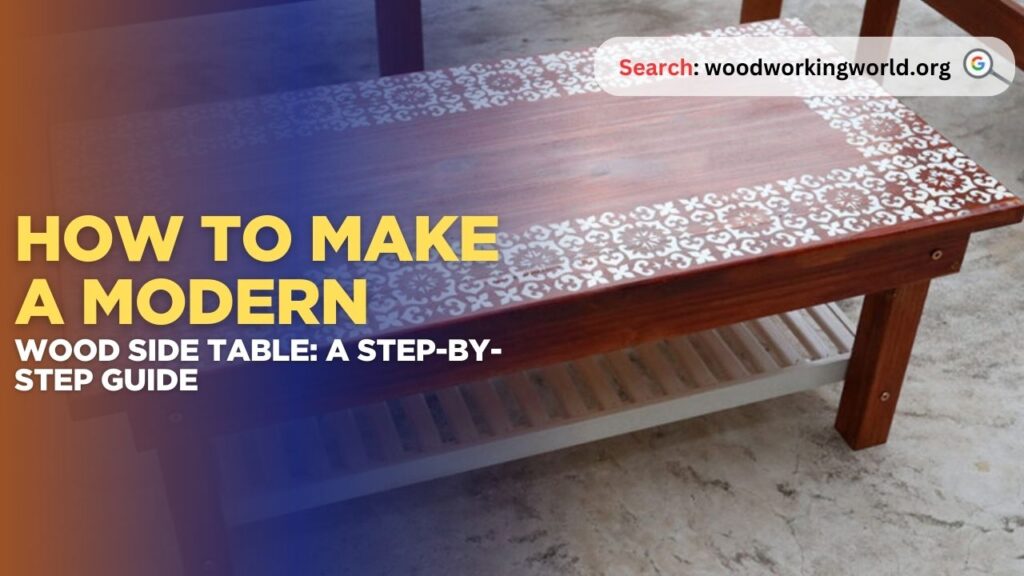
How to Make a Modern Wood Side Table: A Step-by-Step Guide
Build a sleek and functional modern wood side table that enhances your living space with style and practicality. Whether you’re new to woodworking or looking for a simple yet rewarding project, crafting your own side table allows you to customize the design, finish, and size to perfectly fit your home.
In this step-by-step guide on how to make a modern wood side table, we’ll walk you through choosing materials, measuring and cutting wood, assembling the pieces, and applying the finishing touches—so you end up with a stylish, durable table you can be proud of.
👉 CLICK HERE to Unlock 16,000+ DIY woodworking plans now
How to Make a Modern Wood Side Table
Materials and Tools You Will Need to Make a Modern Wood Side Table
Materials:
- 1x 1-inch thick hardwood board (for the tabletop)
- 4x 2-inch thick hardwood boards (for the legs)
- 1x 1-inch thick hardwood board (for the lower shelf, optional)
- Wood glue
- Wood screws
- Sandpaper (various grits)
- Wood stain or paint
- Wood finish (polyurethane or similar)
Tools:
- Tape measure
- Pencil
- Square
- Circular saw or table saw
- Miter saw
- Drill and bits
- Screwdriver
- Clamps
- Sander
- Paintbrush or rags (for stain and finish)
👉 CLICK HERE to Unlock 16,000+ DIY woodworking plans now
Step 1: Design and Plan
Before you begin cutting and assembling, it’s essential to plan your design. Consider the dimensions of your side table. A standard side table height is around 24 inches, but this can be adjusted based on your needs. The tabletop can be a square or rectangular shape, typically 16-20 inches wide. Sketch your design and note the measurements.
Step 2: Select and Prepare Your Wood
Choose a hardwood for durability and a polished look. Popular choices include oak, maple, walnut, and cherry. Once you’ve selected your wood, inspect it for any defects such as knots or cracks. Cut the wood to your specified dimensions using a circular saw or table saw. Ensure all cuts are precise to maintain a professional appearance.
Step 3: Construct the Tabletop
1. Cut the Top:
Measure and cut your 1-inch thick board to the desired dimensions for the tabletop. For example, if you want a 20-inch square table, cut the board to 20×20 inches.
2. Sand the Edges:
Smooth the edges of the tabletop with sandpaper to remove any roughness. Start with a coarser grit (80-120) and progress to a finer grit (220-320) for a smooth finish.
3. Optional: Add Decorative Edges:
If you want to add a decorative touch to the edges, use a router to create a beveled or rounded edge.
Step 4: Build the Legs
1. Cut the Legs:
Cut the 2-inch thick boards to the height you specified in your design, typically 24 inches. Ensure all legs are the same length for stability.
2. Taper the Legs (Optional):
For a modern look, you can taper the legs. Measure and mark the taper on each leg, then use a miter saw to cut the taper. A common taper is a 2-inch reduction over the bottom 6 inches of the leg.
3. Sand the Legs:
Sand the legs to remove any rough edges and ensure a smooth finish. Use the same sanding process as the tabletop.


Step 5: Assemble the Frame
1. Attach the Legs to the Tabletop:
Position the legs at each corner of the tabletop. Use wood glue to secure them in place, then drill pilot holes through the legs into the tabletop. Insert wood screws into the pilot holes and tighten securely.
2. Add Support:
For added stability, you can add an apron around the underside of the tabletop. Cut 1×3-inch boards to fit between the legs on all four sides. Attach these boards using wood glue and screws, ensuring they are flush with the tabletop.
3. Optional: Add a Lower Shelf:
If you want a lower shelf, measure and cut a piece of wood to fit between the legs. Attach the shelf using wood glue and screws, positioning it at the desired height.
Step 6: Sand the Entire Piece
Once the frame is assembled, sand the entire table to ensure a smooth and even surface. Pay special attention to joints and edges. Use progressively finer grits of sandpaper, starting with 120 and finishing with 320.
Step 7: Apply Stain or Paint
1. Choose Your Finish:
Select a wood stain or paint that complements your decor. Stain enhances the natural beauty of the wood grain, while paint provides a more uniform color.
2. Apply Stain or Paint:
Using a paint brush or rag, apply the stain or paint in thin, even coats. Follow the wood grain for the best results. Allow each coat to dry thoroughly before applying additional coats. If using stain, you may want to apply multiple coats to achieve the desired color depth.
3. Seal the Surface:
After the stain or paint has dried, apply a wood finish to protect the surface. Polyurethane is a popular choice for its durability. Apply in thin, even coats, sanding lightly between coats with fine-grit sandpaper (320-400) for a smooth finish.
Step 8: Final Assembly and Inspection
1. Inspect for Flaws:
Carefully inspect your table for any imperfections. Address any issues such as rough spots, uneven finishes, or loose joints.
2. Final Assembly:
Ensure all screws are tightened and the table is stable. If necessary, make any final adjustments to the legs to prevent wobbling.
3. Clean Up:
Remove any dust or debris from the table. Wipe down the surface with a clean, dry cloth to ensure it’s ready for use.
Step 9: Enjoy Your Modern Wood Side Table
Congratulations! You’ve successfully built a modern wood side table. Place it in your desired location and enjoy the satisfaction of a job well done. This table can serve as a functional piece for holding lamps, books, or decorative items, adding a touch of modern elegance to your space.
Tips and Tricks
1. Precision is Key:
Ensure all measurements and cuts are precise. Small errors can accumulate and affect the stability and appearance of the table.
2. Safety First:
Always wear safety gear, including goggles and ear protection, when using power tools. Follow the manufacturer’s instructions for all tools and materials.
3. Practice Makes Perfect:
If you’re new to woodworking, consider practicing on scrap pieces of wood before working on your final project. This can help you refine your techniques and gain confidence.
4. Experiment with Finishes:
Don’t be afraid to experiment with different stains, paints, and finishes. Test them on scrap wood to see how they look before applying them to your table.
5. Ask for Help:
If you’re unsure about any step in the process, don’t hesitate to ask for help from a more experienced woodworker or consult online resources and tutorials.
👉 CLICK HERE to Unlock 16,000+ DIY woodworking plans now
Conclusion: Modern Wood Side Table
Building a modern wood side table is a rewarding and fulfilling project that allows you to create a unique piece of furniture tailored to your style and needs. By following this step-by-step guide, you’ll gain valuable woodworking skills and produce a beautiful, functional table that can be enjoyed for years to come. Whether you keep it for yourself or give it as a gift, your handmade side table is sure to be a cherished addition to any home. Happy woodworking!
I hope this article on Modern Wood Side Table has been helpful. If you have any further questions, please feel free to leave a comment below.
👉 CLICK HERE to Unlock 16,000+ DIY woodworking plans now
