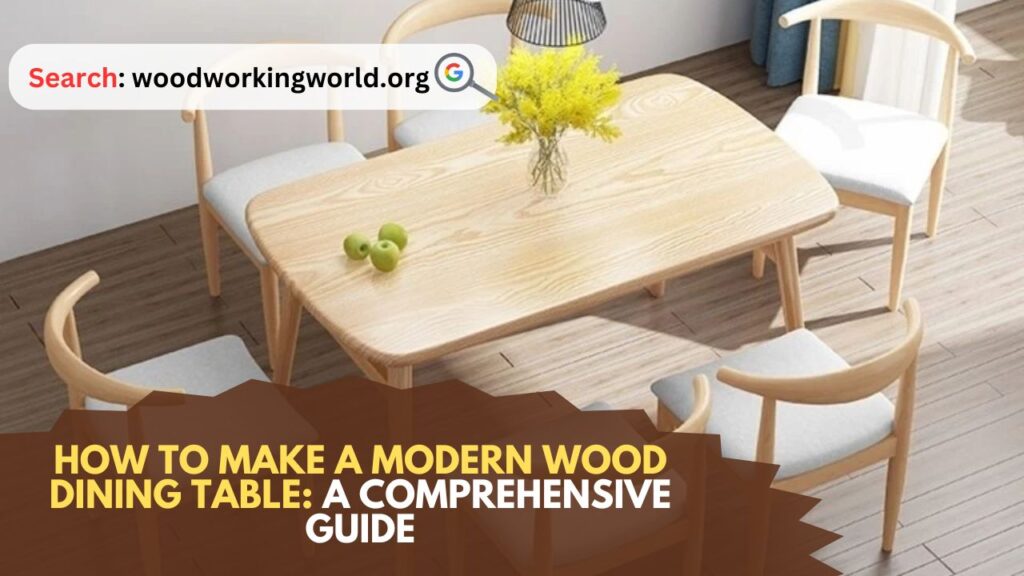
Modern Wood Dining Table: Creating a modern wood dining table is a rewarding woodworking project that combines functionality with sleek, contemporary design. Whether you’re a seasoned woodworker or a beginner looking to dive into the world of furniture making, this guide will walk you through each step of the process, from selecting the right materials to finishing your masterpiece.
How to Make a Modern Wood Dining Table
Materials and Tools You’ll Need to Make a Modern Wood Dining Table
Before you start, gather the following materials and tools:
Materials:
- Wood for the Tabletop: Choose a hardwood like oak, maple, or walnut. These woods are durable and have a beautiful grain that adds character to your table.
- Wood for the Legs and Apron: You can use the same type of wood as the tabletop or a complementary type. For a modern look, consider metal legs or a combination of wood and metal.
- Wood Glue: High-quality wood glue ensures strong joints.
- Wood Screws: These provide extra strength for the legs and apron.
- Sandpaper: Various grits (80, 120, 220) for smoothing the wood.
- Wood Finish: Polyurethane, oil, or lacquer to protect and enhance the wood’s appearance.
Tools:
- Table Saw or Circular Saw: For cutting the wood to size.
- Miter Saw: For precise angled cuts.
- Router: To create decorative edges and joinery.
- Drill and Drill Bits: For making holes for screws and other hardware.
- Clamps: To hold pieces together while the glue dries.
- Measuring Tape and Square: For accurate measurements and ensuring square joints.
- Sander: An orbital sander or hand sanding block.
- Brushes or Rags: For applying the finish.
Step-by-Step Guide to Building Your Modern Wood Dining Table
Step 1: Design and Planning
Start with a clear plan and design. Sketch your table, noting the dimensions and style. A modern dining table typically features clean lines and minimalist aesthetics. Decide on the size of the tabletop, the height of the table, and the design of the legs.
Step 2: Select and Prepare the Wood
Choose your wood carefully. Look for boards that are straight and free of knots or defects. If you’re using hardwood, be prepared for some heavy lifting as these woods are denser.
- Cut the Wood to Size: Using your table saw or circular saw, cut the boards for the tabletop, legs, and apron to the desired dimensions. For a standard dining table, a typical size is 30 inches high, with the tabletop dimensions depending on your space requirements (e.g., 36 inches by 72 inches).
- Joint and Plane the Boards: If the edges of your boards are not perfectly straight, use a jointer to create flat, square edges. Then, run the boards through a planer to ensure they are of uniform thickness.
Step 3: Assemble the Tabletop
- Arrange the Boards: Lay out the boards for the tabletop, arranging them so the grain patterns complement each other.
- Glue the Boards: Apply wood glue to the edges of the boards and clamp them together tightly. Ensure the surface is flat by using cauls or additional clamps across the width.
- Reinforce the Joints: For added strength, consider using biscuits, dowels, or a tongue-and-groove joint. If you’re using biscuits or dowels, mark the positions and cut the slots or holes before applying glue.
- Allow to Dry: Let the glue dry for at least 24 hours.
Step 4: Construct the Base
- Cut the Legs and Apron: Use your miter saw to cut the legs to the desired height and the apron pieces to the correct lengths.
- Join the Apron to the Legs: Create mortise and tenon joints or use pocket screws to attach the apron to the legs. If using pocket screws, drill the holes at an angle and then screw the apron pieces into the legs.
- Assemble the Base: Dry-fit the base components to ensure everything fits correctly before gluing and screwing them together. Once satisfied with the fit, apply wood glue to the joints, clamp, and screw the pieces together.
Step 5: Attach the Tabletop to the Base
- Position the Base: Place the assembled base upside down on the underside of the tabletop.
- Secure the Base: Use screws to attach the apron to the tabletop. Drill pilot holes to prevent the wood from splitting.
- Check for Stability: Ensure the table is stable and all joints are secure. Make any necessary adjustments before proceeding.
Step 6: Sanding
- Rough Sanding: Start with 80-grit sandpaper to smooth out any rough edges and level the surface.
- Medium Sanding: Move to 120-grit sandpaper to refine the surface further.
- Finish Sanding: Use 220-grit sandpaper for a smooth, ready-to-finish surface.
- Edge Sanding: Sand the edges and corners to remove any sharpness.
Step 7: Finishing
- Choose Your Finish: Select a finish that suits your aesthetic and usage needs. Polyurethane offers a durable, glossy finish, while oil finishes enhance the natural beauty of the wood.
- Apply the Finish: Follow the manufacturer’s instructions for application. Generally, you’ll apply multiple coats, allowing each to dry and sanding lightly between coats.
- Final Coat: For the last coat, use a fine grit sandpaper or steel wool for a smooth finish.
Step 8: Final Touches
- Inspect Your Work: Look over the entire table for any rough spots, glue residue, or imperfections.
- Polish and Buff: If desired, polish and buff the table for an extra sheen.
- Add Protective Pads: Attach felt pads to the bottom of the legs to protect your floors.
Tips for Success
- Accuracy Matters: Take your time with measurements and cuts to ensure all pieces fit together perfectly.
- Dry Fit First: Always dry fit pieces before gluing to avoid mistakes.
- Work in a Clean Space: Sawdust and debris can interfere with glue and finishes, so keep your workspace clean.
- Patience with Finishing: Allow ample drying time between coats of finish for the best results.
Conclusion: Modern Wood Dining Table
Building a modern wood dining table is a project that combines creativity with craftsmanship. By following these steps and taking your time with each phase, you can create a stunning piece of furniture that will be a centerpiece in your home for years to come. Not only will you have a functional dining table, but you’ll also have the satisfaction of knowing you built it with your own hands. Enjoy your new table and the memories you’ll create around it!
I hope this article on Modern Wood Dining Table has been helpful. If you have any further questions, please feel free to leave a comment below.
Video
