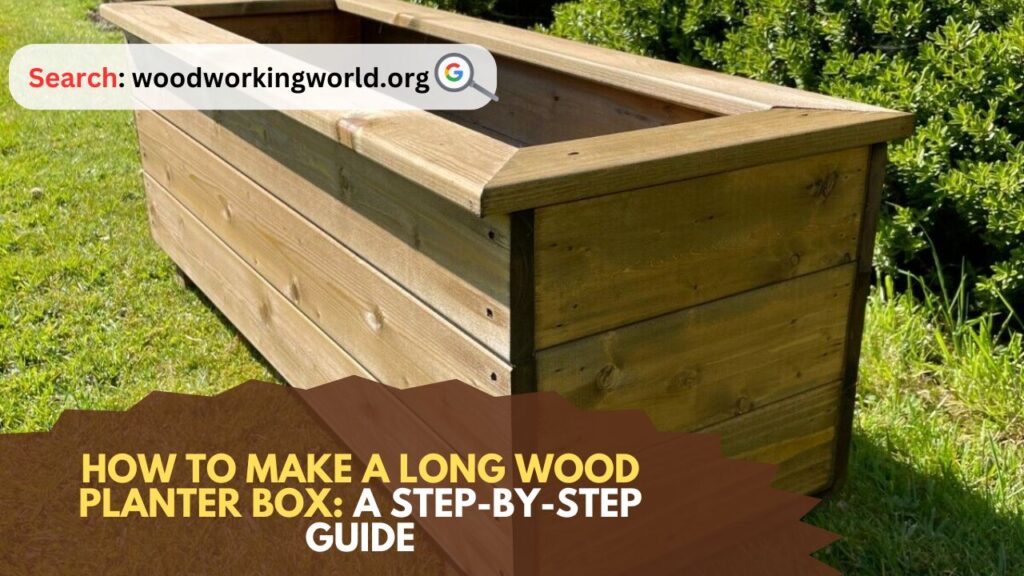
Long Wood Planter Box: A long wood planter box is a fantastic addition to any garden or patio. It allows you to grow flowers, vegetables, or herbs in a contained space, making it ideal for small gardens or urban settings. Building your own planter box is a rewarding DIY project that can be completed in a day. This guide will take you through the process step-by-step, ensuring you end up with a beautiful and functional planter box.
How to Make a Long Wood Planter Box
Materials Needed
Before you start, gather all the necessary materials and tools:
Materials:
- Wood: Cedar or redwood is recommended for its durability and resistance to rot. You’ll need:
- Four 1×6 boards for the sides (length will depend on your desired planter size)
- Two 1×6 boards for the ends
- Two 2×4 boards for the bottom support
- One 1×2 board for the trim
- Screws: 2.5-inch wood screws
- Landscape Fabric: To line the interior of the planter
- Soil: Potting soil or garden soil
- Plants: Flowers, vegetables, or herbs of your choice
- Wood Stain or Paint: (optional) For finishing
Tools:
- Measuring Tape
- Pencil
- Saw: Circular saw or hand saw
- Drill
- Screwdriver
- Staple Gun: For attaching the landscape fabric
- Sandpaper: For smoothing rough edges
- Paintbrush: For applying stain or paint
Step-by-Step Instructions
Step 1: Planning and Measuring
Determine the size of your planter box. A common size is 6 feet long, 2 feet wide, and 1.5 feet high, but you can adjust these dimensions based on your space and needs.
Step 2: Cutting the Wood
Cut your wood to the desired lengths:
- Side Boards: Cut four 1×6 boards to the length of your planter box (e.g., 6 feet).
- End Boards: Cut four 1×6 boards to the width of your planter box (e.g., 2 feet).
- Bottom Supports: Cut two 2×4 boards to the width of your planter box (e.g., 2 feet).
- Trim: Cut the 1×2 board to the perimeter dimensions of your planter box.
Step 3: Assembling the Sides
- Create the Long Sides: Lay two of the long side boards flat on the ground. Place the other two long boards on top, aligning the edges. Screw them together using 2.5-inch wood screws, spacing the screws about 6 inches apart.
- Create the Short Sides: Repeat the same process for the short sides.
Step 4: Attaching the Sides
- Form the Box: Stand the long sides up and position the short sides between them to form a rectangle. Ensure the corners are square.
- Secure the Corners: Drill pilot holes to prevent the wood from splitting, then screw the sides together at the corners.
Step 5: Adding the Bottom Supports
- Position the Supports: Place the two 2×4 boards inside the box, laying them flat along the bottom edges of the short sides. These will support the weight of the soil and plants.
- Attach the Supports: Screw the supports to the side boards from the outside, ensuring they are level.
Step 6: Attaching the Bottom Boards
- Measure and Cut: Measure the length and width of the bottom opening of your planter box. Cut additional 1×6 boards to fit this space.
- Install the Bottom: Lay the cut boards across the bottom supports, leaving a small gap between each board for drainage. Screw them into the supports from above.
Step 7: Installing the Trim
- Measure and Cut: Measure the top edges of your planter box and cut the 1×2 trim boards to fit.
- Attach the Trim: Secure the trim boards along the top edges of the planter box, overlapping the corners. This adds a finished look and extra stability.
Step 8: Sanding and Finishing
- Smooth the Edges: Use sandpaper to smooth any rough edges or surfaces, especially where you cut the wood.
- Apply Stain or Paint: If desired, apply a wood stain or paint to protect the wood and enhance its appearance. Allow it to dry completely before proceeding.
Step 9: Lining the Planter Box
- Cut the Landscape Fabric: Measure and cut pieces of landscape fabric to line the inside of the planter box. This will help retain soil while allowing water to drain.
- Attach the Fabric: Use a staple gun to secure the fabric to the inside walls of the planter box, covering the bottom and sides.
Step 10: Filling with Soil and Planting
- Add Soil: Fill the planter box with potting soil or garden soil, leaving a few inches of space at the top.
- Plant Your Garden: Plant your flowers, vegetables, or herbs according to their specific needs. Water thoroughly after planting.
Tips for Success
- Wood Selection: Use rot-resistant wood like cedar or redwood for longevity. Avoid treated lumber if you plan to grow edible plants, as chemicals can leach into the soil.
- Drainage: Ensure proper drainage by leaving small gaps between the bottom boards and using landscape fabric.
- Maintenance: Periodically check the planter box for any signs of wear or damage. Reapply stain or paint as needed to maintain its appearance and durability.
Conclusion: Long Wood Planter Box
Building a long wood planter box is a rewarding project that enhances your gardening experience and adds beauty to your outdoor space. By following this step-by-step guide, you can create a sturdy and attractive planter box that will provide a perfect home for your plants. Enjoy the satisfaction of growing your own flowers, vegetables, or herbs in a planter box that you built with your own hands.
I hope this article on Long Wood Planter Box has been helpful. If you have any further questions, please feel free to leave a comment below.
Video
