How to Make a Large Wood Planter Box: A Step-by-Step Guide (Updated 2026)
Want to add a bold, functional centerpiece to your garden or patio? A large wood planter box not only provides ample space for your favorite plants but also brings a rustic, handcrafted charm to any outdoor area. Building one yourself may seem daunting, but with the right guidance, it’s a rewarding and achievable project.
In this step-by-step guide, we’ll walk you through everything you need to know to make a large wood planter box—from selecting the best wood and tools to assembling, finishing, and maintaining it—so you can create a durable, beautiful planter that enhances your outdoor space for years to come.
👉 CLICK HERE to Unlock 16,000+ DIY woodworking plans now
How to Make a Large Wood Planter Box
Materials and Tools Needed
Before diving into the construction process, gather the following materials and tools:
Materials
- Wood: Choose rot-resistant wood like cedar, redwood, or pressure-treated pine. For a large planter box, you’ll need the following dimensions:
- Four pieces of 2×12 lumber, each 4 feet long (for the sides)
- Two pieces of 2×12 lumber, each 2 feet long (for the ends)
- One piece of 1×6 lumber, 4 feet long (for the top trim)
- Screws: 3-inch galvanized screws for assembly
- Liner: Landscaping fabric or plastic liner to protect the wood from soil moisture
- Soil: High-quality potting soil suitable for your plants
Tools
- Saw: Circular saw or miter saw for cutting wood
- Drill: Power drill with bits for screws
- Measuring Tape: To ensure accurate measurements
- Level: To ensure the planter box is level during assembly
- Sanding Block: For smoothing rough edges
- Safety Gear: Safety glasses and gloves
👉 CLICK HERE to Unlock 16,000+ DIY woodworking plans now
Step-by-Step Instructions
Step 1: Cutting the Wood
Start by cutting your wood pieces to the required lengths. Measure and mark the wood carefully to ensure accuracy. Use a circular saw or miter saw to make clean cuts. You’ll need:
- Four pieces of 2×12 lumber, each 4 feet long (sides)
- Two pieces of 2×12 lumber, each 2 feet long (ends)
- One piece of 1×6 lumber, 4 feet long (top trim)
Step 2: Sanding the Edges
After cutting the wood, sand the edges and surfaces to remove splinters and rough spots. This will not only make the assembly process easier but also ensure a polished final product.
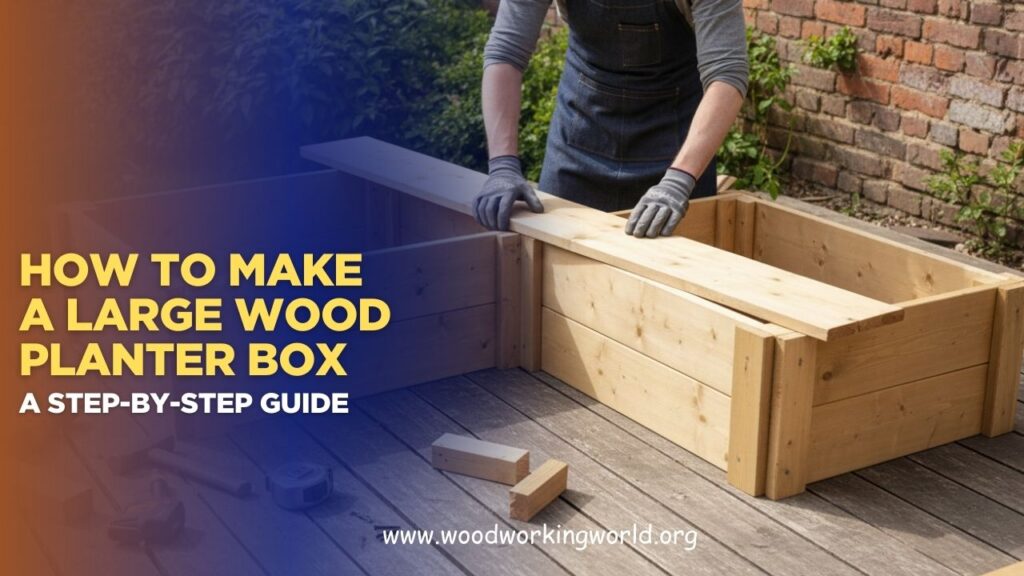
Step 3: Assembling the Sides and Ends
Lay out the four side pieces and two end pieces on a flat surface. Arrange them into a rectangular shape with the ends fitting inside the sides. This will form the basic structure of your planter box.
Using your drill, pre-drill holes at the ends of the side pieces to prevent the wood from splitting. Secure the side pieces to the end pieces using 3-inch galvanized screws. Make sure the corners are square and the edges are flush. Use a level to ensure the sides are even.
🛠️ Ted’s 16,000 Woodworking Plans – Why You’ll Love It


Step 4: Attaching the Bottom
Depending on the size of your planter box, you may choose to add a bottom. If you plan to place the planter box on a flat surface, a bottom is not necessary. However, if you want a raised planter box, you’ll need to add a bottom.
Cut additional pieces of wood to fit the bottom of your planter box. Lay them inside the assembled frame and attach them using screws. Make sure to leave small gaps between the bottom boards to allow for drainage.
Step 5: Adding the Top Trim
To give your planter box a finished look, add a top trim using the 1×6 lumber. Measure and cut the trim pieces to fit around the top edge of the planter box. Attach the trim pieces using screws, making sure they are flush with the top edge of the box.
Step 6: Adding a Liner
To protect the wood from soil moisture and extend the life of your planter box, add a liner. You can use landscaping fabric or plastic liner. Cut the liner to fit inside the planter box, covering the bottom and sides. Secure the liner in place with staples or small nails.
Step 7: Filling with Soil
Now that your planter box is assembled and lined, it’s time to fill it with soil. Choose a high-quality potting soil that is suitable for the plants you intend to grow. Fill the planter box with soil, leaving a few inches of space at the top for watering.
Step 8: Planting
With the planter box filled with soil, you can now plant your chosen flowers, vegetables, or herbs. Arrange the plants according to their spacing requirements and water them thoroughly after planting.
Tips for Success
- Choose the Right Wood: Opt for rot-resistant wood like cedar or redwood to ensure the longevity of your planter box.
- Pre-Drill Holes: Always pre-drill holes before inserting screws to prevent the wood from splitting.
- Use a Level: Ensure the sides and bottom of the planter box are level during assembly for a professional look.
- Add Drainage Holes: If you include a bottom, make sure to leave gaps between the boards or drill drainage holes to prevent waterlogging.
- Protect the Wood: Applying a wood sealer or stain can provide additional protection against the elements.
👉 CLICK HERE to Unlock 16,000+ DIY woodworking plans now
Conclusion: Large Wood Planter Box
Building a large wood planter box is a satisfying project that can enhance the beauty of your outdoor space. By following these step-by-step instructions, you’ll create a durable and attractive planter box that can house a variety of plants. Whether you’re growing flowers, vegetables, or herbs, your handmade planter box will be a focal point in your garden or patio. Happy gardening!
I hope this article on Large Wood Planter Box has been helpful. If you have any further questions, please feel free to leave a comment below.
👉 CLICK HERE to Unlock 16,000+ DIY woodworking plans now
