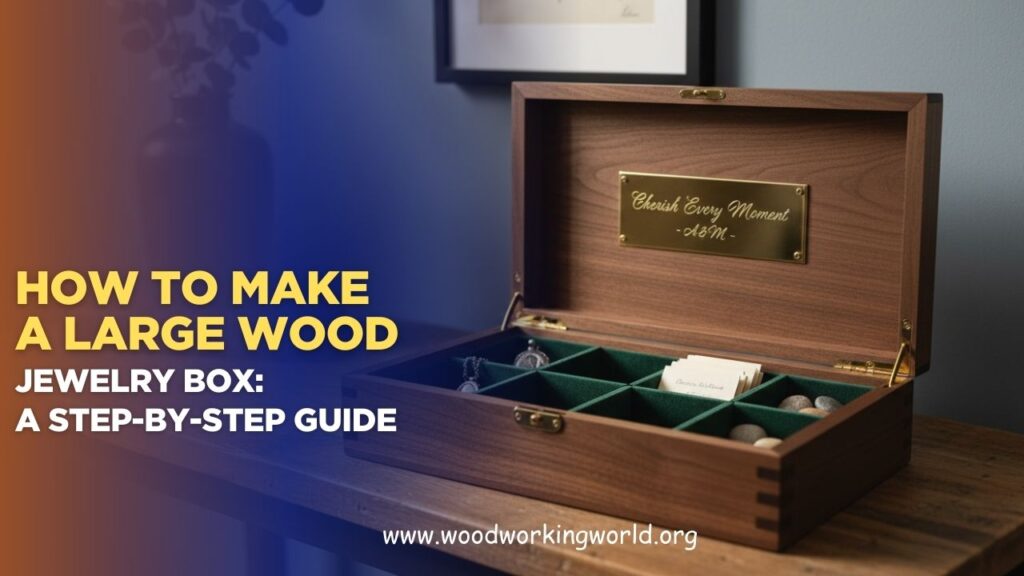
How to Make a Large Wood Jewelry Box: A Step-by-Step Guide
Creating a large wood jewelry box is a rewarding woodworking project that combines functionality with craftsmanship. A handcrafted jewelry box can be a treasured heirloom, a perfect gift, or a beautiful addition to your own collection.
This guide will walk you through the process of making a large wood jewelry box, from selecting materials to applying the final finish.
👉 CLICK HERE to Unlock 16,000+ DIY woodworking plans now
How to Make a Large Wood Jewelry Box
Materials and Tools Needed to Make a Large Wood Jewelry Box
Before you begin, gather the necessary materials and tools:
Materials:
- Hardwood boards (e.g., oak, maple, cherry) for the box and dividers
- Plywood or solid wood for the bottom panel
- Wood glue
- Hinges and latch
- Sandpaper (various grits)
- Wood stain or finish
- Soft cloth or foam brush for applying the finish
Tools:
- Table saw or circular saw
- Miter saw or hand saw
- Router with bits
- Clamps
- Drill with bits
- Chisels
- Tape measure or ruler
- Square
- Pencil
- Safety gear (goggles, ear protection, dust mask)
👉 CLICK HERE to Unlock 16,000+ DIY woodworking plans now
Step 1: Design and Planning
Start by deciding on the dimensions of your jewelry box. A typical large jewelry box might be around 18 inches wide, 12 inches deep, and 6 inches high, but you can adjust these dimensions to suit your needs. Sketch your design on paper, including details such as the number of compartments and any decorative elements.
Step 2: Cutting the Wood
- Cut the Main Pieces: Cut the hardwood boards to size for the four sides of the box. For an 18x12x6 inch box, you will need two pieces that are 18 inches long (front and back) and two pieces that are 12 inches long (sides), all 6 inches high.
- Cut the Bottom Panel: Cut a piece of plywood or solid wood for the bottom panel. It should be slightly smaller than the outer dimensions of the box to fit inside the assembled sides.
- Cut the Top Panel: If you want the top of the box to have a decorative edge, cut a piece of wood for the lid that matches the dimensions of the base, plus any overhang you desire for the decorative edge.
Step 3: Assembling the Box
- Join the Sides: Using wood glue and clamps, join the side pieces together to form the frame of the box. Ensure that the joints are square and allow the glue to dry completely.
- Attach the Bottom Panel: Once the frame is dry, attach the bottom panel. You can use wood glue and screws or nails for added strength. If you use screws or nails, countersink them and fill the holes with wood filler.
- Create the Lid: If you are adding a decorative edge to the lid, use a router to shape the edges. Attach the lid to the box with hinges, ensuring that it opens and closes smoothly.
Step 4: Adding Dividers and Compartments
- Plan the Interior Layout: Decide on the arrangement of compartments inside the box. Measure and cut small pieces of hardwood to serve as dividers.
- Install the Dividers: Use wood glue to attach the dividers inside the box. Clamp them in place and allow the glue to dry. For added strength, you can also use small finishing nails or screws.
- Optional Features: Consider adding features such as ring rolls, padded compartments, or drawers for added functionality.
Step 5: Sanding and Finishing
- Sand the Box: Start with coarse-grit sandpaper (around 80 grit) to smooth out any rough edges and surfaces. Progress to finer grits (120, 220) until the wood feels smooth to the touch.
- Apply the Finish: Choose a finish that enhances the beauty of the wood. Options include stains, varnishes, oils, or lacquers. Apply the finish with a soft cloth or foam brush, following the manufacturer’s instructions. Allow the finish to dry completely between coats, and sand lightly with fine-grit sandpaper between coats for a smooth finish.
- Polish: Once the final coat is dry, you can polish the box with a soft cloth to bring out the shine.
Step 6: Adding Hardware
- Install the Hinges: Attach the hinges to the lid and the back of the box. Pre-drill the holes to avoid splitting the wood, and use screws to secure the hinges in place.
- Add a Latch or Lock: If desired, install a latch or lock on the front of the box. This will not only secure your jewelry but also add a decorative touch.
- Felt Lining: Consider lining the compartments with felt to protect your jewelry. Cut pieces of felt to fit the compartments and attach them with a thin layer of glue.
Step 7: Final Touches
- Inspect Your Work: Carefully inspect the box for any rough spots, glue residue, or imperfections. Make any necessary touch-ups.
- Personalize: You can personalize the box by adding a nameplate, engraving, or other decorative elements.
- Test the Functionality: Ensure that the lid opens and closes smoothly, the compartments are secure, and the finish is smooth and free of streaks or bubbles.
Tips and Tricks
- Choose Quality Wood: The quality of the wood will greatly affect the final appearance of your jewelry box. Select hardwoods with a fine grain for a more elegant look.
- Take Your Time: Rushing through the project can lead to mistakes. Take your time to measure, cut, and assemble each piece carefully.
- Safety First: Always wear safety gear, such as goggles and ear protection, when using power tools. Follow all safety guidelines for the tools and materials you are using.
- Practice Joints: If you are new to woodworking, practice making joints on scrap wood before working on your jewelry box. This will help you gain confidence and improve your skills.
Conclusion: How to Make a Large Wood Jewelry Box
Making a large wood jewelry box is a rewarding project that allows you to showcase your woodworking skills while creating a beautiful and functional piece. With careful planning, attention to detail, and a bit of patience, you can create a stunning jewelry box that will be cherished for years to come. Whether you are making it for yourself or as a gift, the end result will be a testament to your craftsmanship and creativity. Happy woodworking!
👉 CLICK HERE to Unlock 16,000+ DIY woodworking plans now
