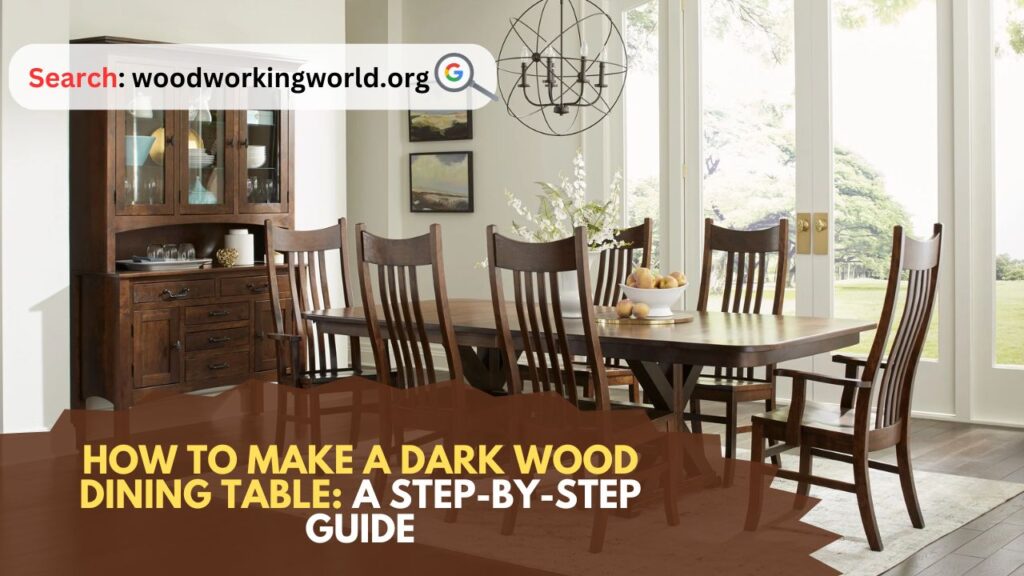
Dark Wood Dining Table: Creating a dark wood dining table from scratch can be an immensely satisfying project, combining craftsmanship with creativity to produce a piece that will be the centerpiece of your dining room. This guide will take you through each step of the process, ensuring that you end up with a beautiful, sturdy, and functional dining table.
How to Make a Dark Wood Dining Table
Materials and Tools You Will Need to Make a Dark Wood Dining Table
Before you begin, make sure you have all the necessary materials and tools. Here’s a list to get you started:
Materials:
- Dark wood (such as walnut, mahogany, or dark-stained oak)
- Wood glue
- Wood screws
- Wood stain (if not using naturally dark wood)
- Wood finish (polyurethane, lacquer, or wax)
- Sandpaper (various grits)
- Wood filler
Tools:
- Measuring tape
- Circular saw or table saw
- Miter saw
- Jigsaw
- Drill and drill bits
- Screwdriver
- Clamps
- Orbital sander or sanding block
- Paintbrushes or rags for staining and finishing
- Safety goggles and gloves
Step 1: Planning and Design
Start by designing your table. Consider the size and shape that will best fit your dining area. A typical dining table is about 30 inches high, but the length and width can vary based on your space and needs. Draw a detailed plan, including dimensions and the layout of the table legs, apron, and tabletop.
Step 2: Selecting and Preparing the Wood
Choose high-quality dark wood for your table. If you are using wood that is not naturally dark, you will need to stain it later. Make sure the wood is dry and free of knots or defects that could weaken your table.
Cut the wood to the required sizes:
- Tabletop planks: These should be cut to the desired length and width.
- Table legs: Typically, 4 legs of equal length, around 29 inches each.
- Apron pieces: These will connect the legs to the tabletop and should be cut to fit the dimensions of your table.
Step 3: Assembling the Tabletop
Lay out the tabletop planks on a flat surface, arranging them in the desired order. Apply wood glue to the edges and clamp them together tightly. Allow the glue to dry completely, usually for 24 hours. Once dry, sand the surface smooth, starting with a coarse grit and progressing to a finer grit.
Step 4: Building the Base
Constructing the Apron:
Cut the apron pieces to size and join them together to form a rectangle. Use wood screws and glue at the joints for extra strength. Ensure the corners are square by checking with a carpenter’s square.
Attaching the Legs:
Attach the table legs to the inside corners of the apron using wood screws and glue. Make sure the legs are aligned correctly and that the table is level. For added stability, you can use corner braces at each leg.
Step 5: Attaching the Tabletop to the Base
Position the assembled base on the underside of the tabletop. Secure the apron to the tabletop using wood screws, ensuring that the screws are evenly spaced. Be careful not to screw through the top of the table.
Step 6: Sanding
Sand the entire table, starting with a medium grit sandpaper and finishing with a fine grit. This will prepare the wood for staining and finishing, giving you a smooth, even surface.
Step 7: Staining the Wood
If you are using wood that is not naturally dark, now is the time to apply the wood stain. Choose a high-quality wood stain in your desired shade. Apply the stain with a brush or rag, following the grain of the wood. Allow the stain to penetrate for a few minutes, then wipe off any excess with a clean cloth. Let the stain dry completely, which can take several hours or overnight.
Step 8: Applying the Finish
Once the stain is dry, apply a wood finish to protect the table and enhance its appearance. There are several options available:
- Polyurethane: Provides a durable, glossy finish that is water-resistant.
- Lacquer: Dries quickly and offers a smooth, professional-looking finish.
- Wax: Gives a natural, matte finish but requires regular maintenance.
Apply the finish according to the manufacturer’s instructions, usually with a brush or cloth. Allow the finish to dry completely, and apply additional coats if necessary, sanding lightly between coats for a smooth finish.
Step 9: Final Touches
Inspect the table for any imperfections or rough spots. Touch up these areas with sandpaper and additional stain or finish if needed. Ensure all screws are tight and the table is stable.
Step 10: Enjoy Your New Dining Table
Congratulations! You have successfully built a dark wood dining table. Place it in your dining room and enjoy the satisfaction of using a piece of furniture you crafted with your own hands.
Tips for Success
- Take your time: Rushing the process can lead to mistakes. Allow sufficient time for each step, especially for glue and finish to dry.
- Use quality materials: Investing in good wood and finishes will result in a more beautiful and durable table.
- Practice safety: Always wear safety goggles and gloves when working with power tools and chemicals.
Troubleshooting Common Issues
- Warped Wood: Ensure your wood is properly dried and acclimated to your work environment before starting. Use clamps to keep pieces straight during gluing.
- Uneven Stain: Sand the wood thoroughly before staining, and apply the stain evenly, wiping off excess promptly.
- Wobbly Table: Check that all joints are tight and the legs are even. Adding corner braces can increase stability.
Maintenance and Care
To keep your dark wood dining table looking its best:
- Clean regularly: Wipe the table with a soft, damp cloth to remove dust and spills. Avoid harsh chemicals that can damage the finish.
- Protect the surface: Use coasters, placemats, and tablecloths to protect the table from scratches and heat damage.
- Reapply finish: Depending on the type of finish you used, you may need to reapply it every few years to maintain the table’s appearance and protection.
Conclusion: Dark Wood Dining Table
Building a dark wood dining table is a rewarding project that combines practicality with craftsmanship. By following these detailed steps, you can create a stunning and durable piece of furniture that will be the heart of many family meals and gatherings. Enjoy the process and take pride in your creation!
I hope this article on Dark Wood Dining Table has been helpful. If you have any further questions, please feel free to leave a comment below.
Video
