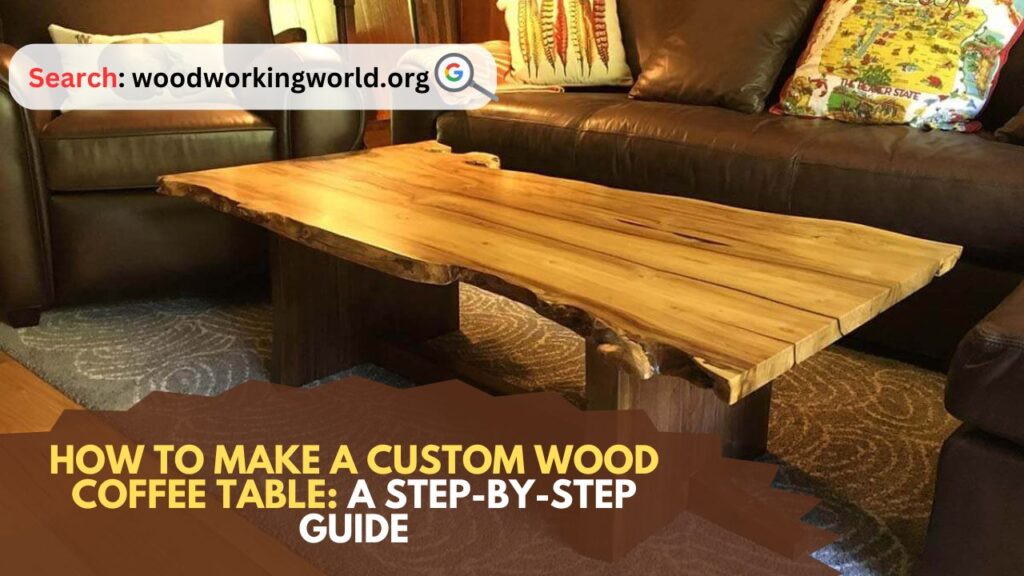
Custom Wood Coffee Table: Creating a custom wood coffee table can be a rewarding and fulfilling project, whether you’re an experienced woodworker or a novice looking to try your hand at a new hobby. A well-crafted coffee table can be a beautiful centerpiece in your living room, adding both functionality and aesthetic appeal. In this guide, we’ll walk you through the process of making your own custom wood coffee table from start to finish.
How to Make a Custom Wood Coffee Table
Materials and Tools You Will Need
Materials:
- Wood: Choose high-quality hardwood like oak, maple, walnut, or cherry for durability and appearance.
- Table Legs: Pre-made wooden legs or you can craft your own.
- Wood Screws: For assembling the table frame and attaching the legs.
- Wood Glue: For additional bonding strength.
- Sandpaper: Various grits for smoothing the wood.
- Wood Stain or Paint: For finishing the table.
- Polyurethane Finish: For protecting the wood.
- Clamps: To hold pieces together while the glue dries.
Tools:
- Measuring Tape: For accurate measurements.
- Circular Saw or Table Saw: For cutting the wood to size.
- Miter Saw: For precise angle cuts.
- Drill and Bits: For making screw holes.
- Orbital Sander: For sanding the wood surfaces.
- Chisels: For detailed work and joinery.
- Brushes or Rags: For applying stain or paint.
- Safety Gear: Safety glasses, gloves, and a dust mask.
Step-by-Step Instructions
Step 1: Design Your Table
Start by sketching a design for your coffee table. Decide on the dimensions based on the space where you plan to place the table. Standard coffee table dimensions are typically around 48 inches long, 24 inches wide, and 18 inches high, but you can adjust these according to your needs.
Consider the style you want: modern, rustic, farmhouse, or something else. This will influence your choice of wood and finishing techniques.
Step 2: Select and Prepare the Wood
Choose the wood for your tabletop and legs. For a rustic look, you might opt for reclaimed wood. For a sleek, modern look, go with a hardwood like walnut.
Preparing the Wood:
- Measure and Mark: Measure and mark the wood pieces according to your design dimensions.
- Cut the Wood: Use a circular saw or table saw to cut the wood to size. Ensure all cuts are straight and precise.
- Joint the Edges: If you have access to a jointer, use it to create smooth edges for gluing. Alternatively, use a hand plane.
Step 3: Assemble the Tabletop
- Arrange the Wood Planks: Lay out the wood planks for the tabletop, arranging them in the desired order.
- Apply Wood Glue: Apply wood glue along the edges of the planks.
- Clamp the Planks Together: Use clamps to hold the planks together while the glue dries. Wipe off any excess glue that oozes out.
- Allow to Dry: Let the glue dry completely, typically overnight.
Step 4: Sand the Tabletop
Once the glue is dry, remove the clamps and sand the tabletop:
- Coarse Sanding: Start with a coarse grit sandpaper (80-grit) to level the surface and remove any rough spots.
- Fine Sanding: Progress to finer grits (120, 220) to achieve a smooth finish.
Step 5: Prepare and Attach the Legs
Preparing the Legs:
- Cut the Legs: If making your own legs, cut the wood to the desired length. Use a miter saw for precise cuts.
- Shape the Legs: If desired, shape the legs using a chisel or router for a more decorative look.
Attaching the Legs:
- Position the Legs: Position the legs at the corners or the desired spots under the tabletop.
- Drill Pilot Holes: Drill pilot holes for the screws to prevent the wood from splitting.
- Attach the Legs: Use wood screws and glue to attach the legs securely to the tabletop. Clamp and let the glue dry as needed.
Step 6: Sand the Entire Table
With the legs attached, give the entire table a final sanding. Focus on smoothing any remaining rough spots and ensuring a cohesive finish between the tabletop and legs.
Step 7: Apply Finish
Staining or Painting:
- Clean the Surface: Wipe down the table with a damp cloth to remove any dust.
- Apply Stain or Paint: Using a brush or rag, apply the wood stain or paint evenly. Follow the grain of the wood for the best results. Allow to dry completely.
Sealing with Polyurethane:
- Apply Polyurethane: Once the stain or paint is dry, apply a coat of polyurethane finish to protect the wood. Use a brush to apply thin, even coats.
- Sand Between Coats: Lightly sand between coats with fine-grit sandpaper for a smooth finish.
- Apply Additional Coats: Apply 2-3 coats, allowing each coat to dry thoroughly before applying the next.
Step 8: Final Assembly and Inspection
- Check Stability: Ensure the table is stable and all screws and joints are secure.
- Touch-Up: Touch up any areas that need additional stain, paint, or finish.
Tips for a Successful Project
- Take Your Time: Rushing can lead to mistakes. Take your time with each step, especially the sanding and finishing.
- Safety First: Always wear safety gear when cutting, sanding, and finishing wood.
- Practice Cuts: If you’re new to woodworking, practice your cuts on scrap wood before cutting your final pieces.
- Test Stain Colors: Test stain colors on a scrap piece of wood to ensure you like the color before applying it to your table.
- Ask for Help: Don’t hesitate to ask for help or advice from more experienced woodworkers or local woodworking clubs.
Conclusion: Custom Wood Coffee Table
Building a custom wood coffee table is a fulfilling project that allows you to create a piece of furniture that fits your style and space perfectly. With careful planning, quality materials, and attention to detail, you can craft a beautiful and functional coffee table that will be the centerpiece of your living room for years to come.
Remember, the key to a successful woodworking project is patience and precision. Take your time to measure accurately, cut carefully, and finish meticulously. Happy woodworking!
I hope this article on Custom Wood Coffee Table has been helpful. If you have any further questions, please feel free to leave a comment below.
Video
