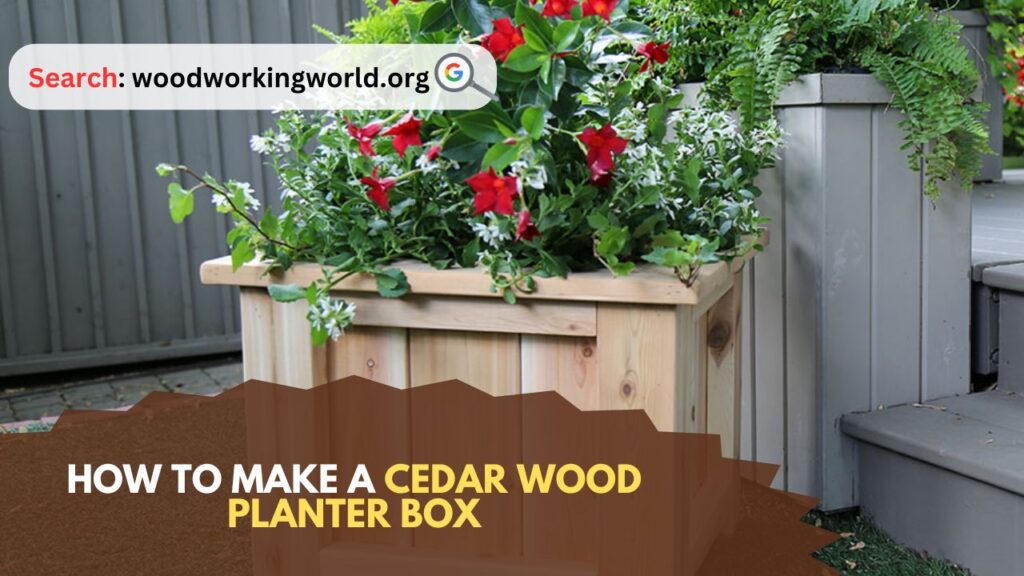
Cedar Wood Planter Box: Creating a cedar wood planter box is a rewarding project that combines functionality with aesthetic appeal. Cedar is an excellent choice for outdoor projects due to its natural resistance to decay and insects. In this guide, we’ll walk you through the steps to build a beautiful and durable cedar planter box that will enhance your garden, patio, or balcony.
How to Make a Cedar Wood Planter Box
Materials and Tools Needed
Materials:
- Cedar boards (1×6 or 1×8)
- Cedar 2x2s for corner supports
- Exterior wood screws (1 1/2″ and 2 1/2″)
- Wood glue (optional)
- Landscape fabric or plastic liner
- Potting soil
- Plants or seeds
Tools:
- Measuring tape
- Pencil
- Speed square
- Circular saw or miter saw
- Drill and drill bits
- Screwdriver bit or impact driver
- Clamps (optional)
- Sandpaper (120-grit)
- Safety glasses
- Hearing protection
Step-by-Step Instructions
1. Planning and Measurements
Before you start cutting, decide on the size of your planter box. Common dimensions for a planter box are 2 feet long, 1 foot wide, and 1 foot high, but you can adjust these measurements to fit your space and needs.
Example dimensions:
- Length: 24 inches
- Width: 12 inches
- Height: 12 inches
2. Cutting the Wood
Using your measurements, cut the cedar boards to the following lengths:
- Two pieces for the long sides: 24 inches each
- Two pieces for the short sides: 12 inches each
- Four pieces for the bottom slats: 12 inches each (for a 1-foot wide box)
- Four corner supports from the 2x2s: 12 inches each
Pro Tip: Sand the edges of the cut pieces with 120-grit sandpaper to smooth out any rough spots and splinters.
3. Assembling the Sides
Start by assembling the two long sides of the planter box. Place one of the cedar boards flat on your work surface. Position two of the corner supports at each end of the board, ensuring they are flush with the edges and bottom.
Pre-drill pilot holes through the cedar board and into the corner supports to prevent the wood from splitting. Attach the corner supports to the board using 2 1/2-inch exterior wood screws. Repeat this process for the other long side.
Next, attach the short sides to the corner supports, completing the rectangular frame of the planter box. Pre-drill and use 2 1/2-inch screws to secure the short sides to the corner supports.
Pro Tip: Use clamps to hold the pieces together while you drill and screw them in place. This will make the assembly easier and more precise.
4. Installing the Bottom Slats
Lay the planter box frame upside down. Evenly space the four bottom slats across the bottom of the frame. Pre-drill pilot holes and attach the slats to the bottom of the planter using 1 1/2-inch exterior wood screws. The gaps between the slats allow for drainage, which is essential for healthy plant growth.
Pro Tip: If you plan to place the planter box on a deck or patio, consider adding small rubber feet to the bottom corners to allow for airflow and prevent moisture buildup underneath.
5. Adding the Liner
To extend the life of your planter box and keep the soil in place, add a liner. You can use landscape fabric or plastic sheeting for this purpose. Cut the liner to fit the inside of the planter box, making sure it covers the bottom and sides.
Staple or tack the liner to the top edges of the planter box, ensuring it is secure and won’t shift when you add soil. If you’re using plastic sheeting, poke a few holes in the bottom to allow for drainage.
Pro Tip: If you want a more environmentally friendly option, consider using untreated burlap as a liner. It will eventually decompose but will last long enough to protect the wood and keep the soil contained.
6. Finishing Touches
Now that your planter box is assembled and lined, give it a final sanding to smooth out any rough spots. If desired, you can apply a coat of exterior wood sealant to enhance the natural beauty of the cedar and provide extra protection against the elements. However, this step is optional, as cedar is naturally resistant to decay.
Planting Your Cedar Planter Box
With your planter box complete, it’s time to fill it with soil and plants. Here are some steps to follow for successful planting:
- Add Potting Soil: Fill the planter box with high-quality potting soil, leaving about an inch of space from the top to prevent overflow when watering.
- Plant Selection: Choose plants that suit your climate and the amount of sunlight the planter box will receive. Consider using a mix of flowers, herbs, or small vegetables for a diverse and attractive display.
- Planting: Dig small holes in the soil for your plants, place them in the holes, and gently pat the soil around the roots. Be sure to space the plants according to their recommended spacing requirements.
- Watering: Water the plants thoroughly after planting to help them establish their roots. Going forward, water the plants regularly, keeping the soil consistently moist but not waterlogged.
- Maintenance: Check your plants regularly for signs of pests or disease and remove any dead or damaged foliage. Fertilize the plants as needed to promote healthy growth.
Tips for Success
- Choosing Cedar: When selecting cedar boards, look for pieces that are straight and free from large knots. This will make the assembly process easier and result in a sturdier planter box.
- Protecting the Wood: While cedar is naturally resistant to decay, applying a UV-resistant wood finish can help maintain its appearance over time, especially if the planter box will be exposed to direct sunlight.
- Seasonal Maintenance: Depending on your climate, you may need to move the planter box indoors during harsh winter months to protect it from extreme cold and moisture.
- Customizing the Design: Feel free to get creative with your planter box design. You can add decorative trim, paint or stain the wood, or even build boxes in various sizes to create a tiered garden display.
Conclusion: Cedar Wood Planter Box
Building a cedar wood planter box is a fulfilling DIY project that offers both practical and aesthetic benefits. With its natural resistance to decay and insects, cedar is an ideal material for outdoor planters. By following the steps outlined in this guide, you can create a beautiful and durable planter box that will enhance your garden or outdoor space.
Whether you’re a seasoned DIY enthusiast or a beginner looking to try your hand at woodworking, this project is a great way to develop your skills and enjoy the satisfaction of creating something with your own hands. So gather your materials and tools, and get started on your cedar wood planter box today!
I hope this article on Cedar Wood Planter Box has been helpful. If you have any further questions, please feel free to leave a comment below.
Video
