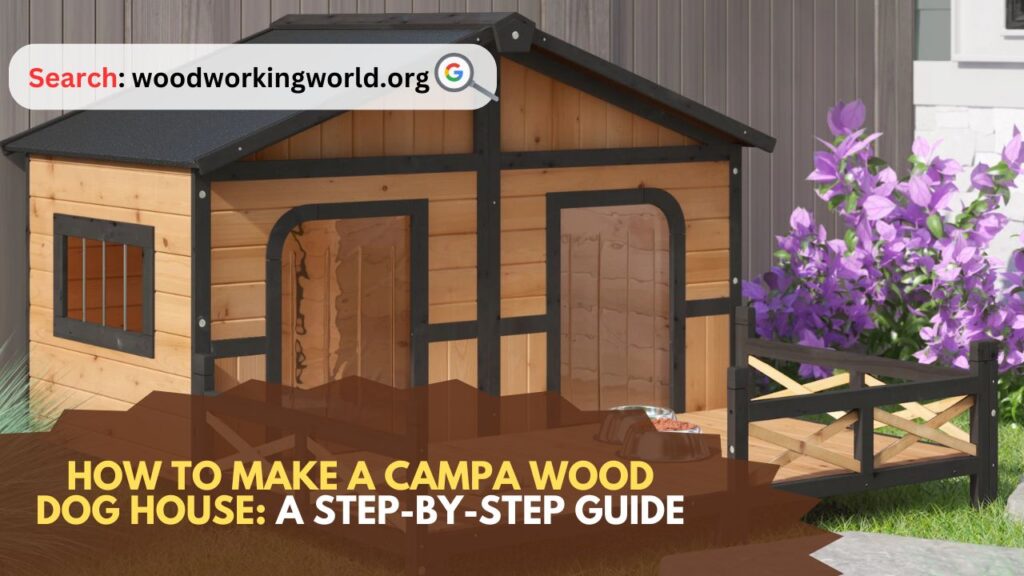
Campa Wood Dog House: Creating a dog house out of Campa wood is a rewarding project that provides your canine companion with a comfortable and durable shelter. Campa wood, known for its strength and resistance to decay, is an excellent choice for outdoor structures. In this comprehensive guide, we’ll walk you through the process of building a sturdy and stylish dog house that will keep your pet safe and happy.
How to Make a Campa Wood Dog House
Materials and Tools Needed to Make a Campa Wood Dog House
Materials:
- Campa wood planks (1-inch thickness)
- Plywood (for the roof)
- Wood screws
- Nails
- Wood glue
- Hinges (for the roof, if you want it to be removable)
- Paint or wood sealant (optional, for finishing)
- Insulation material (optional, for extreme weather conditions)
- Sandpaper
- Roofing material (optional, for added protection)
Tools:
- Measuring tape
- Circular saw or handsaw
- Drill
- Screwdriver
- Hammer
- Carpenter’s square
- Paintbrush (if painting or sealing)
- Safety gear (gloves, goggles, mask)
Step-by-Step Instructions
Step 1: Plan and Design
Before you begin, decide on the size of the dog house based on your dog’s breed and size. The interior should be large enough for your dog to stand up, turn around, and lie down comfortably. A typical dog house for a medium-sized dog might have dimensions around 24 inches wide, 30 inches deep, and 36 inches high.
Draw a rough sketch of your design, including all dimensions. This will help you visualize the final product and guide your measurements and cuts.
Step 2: Gather and Prepare Materials
Measure and cut the Campa wood planks according to your design. You will need pieces for the base, four walls, and the roof. Ensure all cuts are straight and even for a professional-looking finish. Sand the edges of each piece to remove splinters and rough spots.
Cut List:
- Base: 1 piece (24″ x 30″)
- Side walls: 2 pieces (24″ x 36″)
- Front and back walls: 2 pieces (30″ x 36″)
- Roof: 2 pieces of plywood (30″ x 18″ each)
Step 3: Build the Base
Lay out the base piece on a flat surface. This will be the foundation of your dog house. Ensure it is level and stable. If you are using insulation, you can place it on the underside of the base before attaching the walls.
Step 4: Construct the Walls
Start with the side walls. Attach them to the base using wood screws and wood glue for added strength. Ensure they are perpendicular to the base and secure. Use a carpenter’s square to check the angles.
Next, attach the front and back walls to the base and the side walls. The front wall should have an entrance cut out for your dog. A typical entrance might be 12 inches wide and 18 inches high, but adjust this according to your dog’s size. Secure all walls with screws and wood glue.
Step 5: Add the Roof
The roof can be a simple flat roof or a pitched roof for better water runoff. For a pitched roof, cut the front and back walls with a peak in the center, then attach the two plywood roof pieces to create the slope.
Attach the roof pieces to the top of the walls using hinges if you want the roof to be removable for cleaning or maintenance. Otherwise, secure the roof with screws and wood glue. If you live in an area with heavy rainfall, consider adding roofing material to protect the dog house from water damage.
Step 6: Finish the Dog House
Once the structure is complete, sand all surfaces to remove any rough spots or splinters. Apply a coat of paint or wood sealant to protect the wood from the elements. If you choose to paint, use a non-toxic, pet-safe paint.
You can also add insulation to the inside walls and roof if you live in an area with extreme temperatures. This will help keep your dog comfortable in both hot and cold weather.
Tips for a Better Dog House
- Ventilation: Ensure the dog house has proper ventilation to keep it cool in the summer. You can drill small holes near the top of the walls or incorporate a small window.
- Elevation: Elevate the dog house slightly off the ground using small blocks or legs. This helps prevent moisture from seeping in and keeps the house warmer in winter.
- Bedding: Add a soft bed or blanket inside the dog house for added comfort. Choose materials that are easy to clean and resistant to moisture.
- Location: Place the dog house in a shaded area to protect it from direct sunlight and extreme weather. Ensure it is on level ground and not prone to flooding.
Maintenance and Care
Regular maintenance will prolong the life of your dog house and keep it in good condition. Here are some tips:
- Cleaning: Clean the interior of the dog house regularly to remove dirt, hair, and debris. If the roof is removable, take it off and clean inside thoroughly.
- Inspection: Periodically inspect the dog house for any signs of damage, such as cracks, loose screws, or rot. Repair any issues promptly to prevent further damage.
- Repainting: If you painted or sealed the wood, reapply a fresh coat every few years to maintain protection against the elements.
Conclusion: How to Make a Campa Wood Dog House
How to Make a Campa Wood Dog House: Building a Campa wood dog house is a fulfilling project that results in a sturdy and attractive shelter for your pet. By following this step-by-step guide, you can create a customized dog house that meets your dog’s needs and complements your outdoor space. With the right materials, tools, and a bit of craftsmanship, you’ll provide your furry friend with a comfortable and durable home.
Remember to prioritize safety throughout the building process, using appropriate protective gear and following all instructions carefully. Enjoy the process, and your dog will surely appreciate the effort you put into creating their new home!
I hope this article on How to Make a Campa Wood Dog House has been helpful. If you have any further questions, please feel free to leave a comment below.
Video
