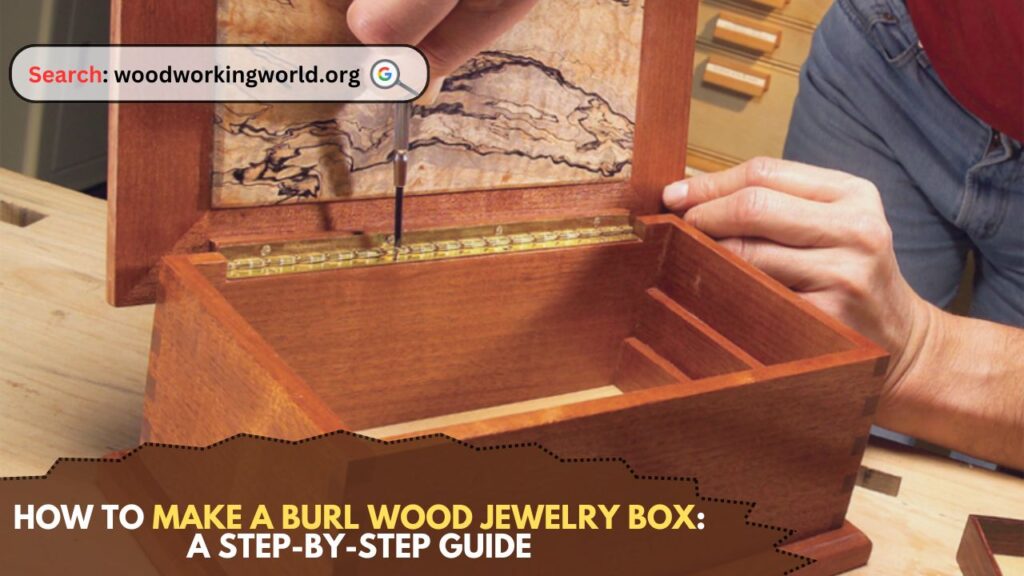
Burl wood is one of nature’s most mesmerizing creations—a swirling, knotted pattern formed when a tree grows in a deformed or stressed way. It’s rare, unique, and when used correctly, it can turn a simple project like a jewelry box into an heirloom-quality masterpiece. If you’ve ever dreamed of building a burl wood jewelry box that stands out in both beauty and craftsmanship, you’re in the right place.
Whether you’re an experienced woodworker or a passionate beginner, this guide—combined with the resources from Ted’s Woodworking—will walk you through the process step by step.
Why Choose Burl Wood for a Jewelry Box?
Burl wood is not just visually stunning—it’s also surprisingly workable with the right tools and techniques. It offers:
- A one-of-a-kind grain that makes every project unique
- Incredible depth and figure—ideal for small decorative items
- An exotic, luxury feel, perfect for gifts, resale, or personal use
Working with burl may seem intimidating, but it’s absolutely achievable—especially if you follow a tested woodworking plan.
Tools and Materials You’ll Need
Here’s a list of essential tools and materials for making your burl wood jewelry box:
Tools:
- Table saw or circular saw
- Router and bits
- Clamps
- Sandpaper (120 to 400 grit)
- Wood glue
- Chisels
- Orbital sander
- Drill and small bits
- Measuring tape and square
- Wood burner (optional for detailing)
- Hinges and latch
- Finishing materials (oil, wax, or lacquer)
Materials:
- Burl wood veneer or solid burl wood for the top (maple, walnut, redwood, or buckeye are popular choices)
- Solid hardwood (for sides and bottom—maple, walnut, or cherry pair well with burl)
- Soft felt (for the lining)
- Thin plywood (for inner dividers if desired)
💡Pro Tip: Ted’s Woodworking includes detailed jewelry box plans that help you skip the trial-and-error process.
Step-by-Step Instructions
Step 1: Plan Your Box Design
Before you cut anything, sketch your design. Decide:
- Dimensions – A common size is 10″ x 6″ x 4″.
- Compartments – Do you want dividers or ring holders?
- Lid Type – Hinged, lift-off, or sliding?
If you want printable plans, diagrams, and measurements, Ted’s Woodworking has several jewelry box blueprints ready to go.
Step 2: Cut Your Wood Pieces
Using your hardwood and burl wood:
- Front and back panels – 10″ x 4″
- Side panels – 6″ x 4″
- Bottom panel – 9.5″ x 5.5″
- Top panel – 10.25″ x 6.25″ (if using overhanging lid design)
Cut your wood pieces with precision using a table saw. Always measure twice, cut once.
Step 3: Prepare the Burl Wood Top
If using veneer, glue it to a hardwood base using contact cement or veneer glue. Clamp and let it cure overnight.
If you’re lucky enough to use solid burl, sand it carefully to avoid tear-out. Start at 120 grit and go up to 400 for a glassy finish.
💡Pro Tip: Burl wood is prone to chipping. Use a sharp blade and take light passes when cutting or routing.
Step 4: Assemble the Box
- Dry-fit the panels using clamps to make sure everything aligns.
- Apply wood glue to the edges and clamp tightly.
- Clean excess glue with a damp rag before it dries.
- Let cure for at least 12 hours.
You can reinforce the joints with corner splines or dowels for extra strength and style.
Step 5: Add the Bottom Panel
Rout a shallow groove 1/4″ from the bottom edge of all four sides (about 1/4″ deep). This is where your bottom panel will slide in.
- Cut the panel to size so it fits snugly inside the groove.
- Apply glue inside the groove and insert the bottom panel.
- Clamp and let dry.
🛠️ Ted’s 16,000 Woodworking Plans – Why You’ll Love It:
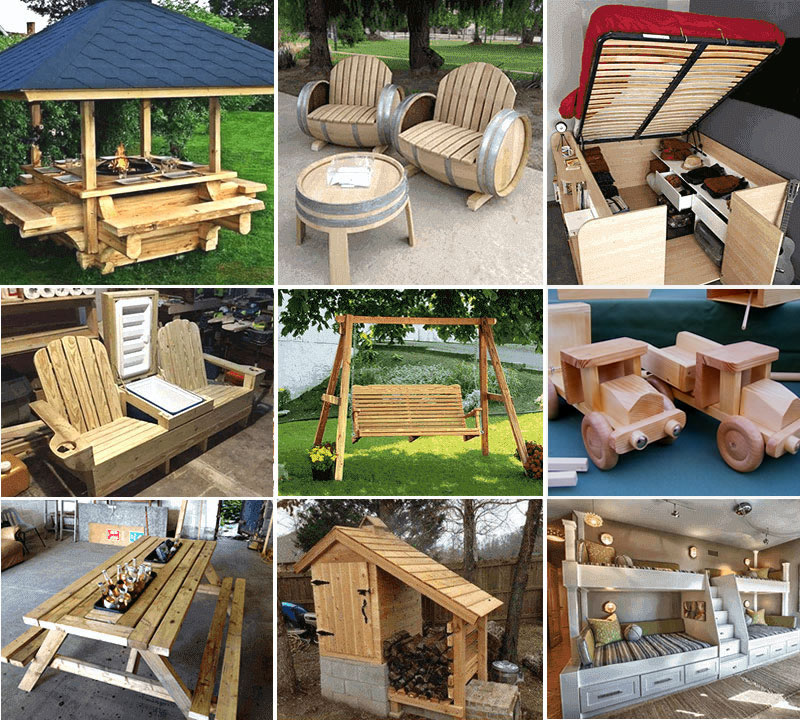
- 📚 16,000+ Ready-to-Build Projects – From small crafts to big furniture!
- ✂️ Step-by-Step Instructions – No guesswork, just follow and build.
- 🧰 Perfect for All Levels – Beginner to expert, everyone’s covered.
- 💰 Turn Projects into Profit – Build & sell your creations easily!
- 🔥 Limited-Time Deal – Grab it now at 90% OFF!


Step 6: Sand Everything Smooth
Once fully assembled, sand the entire box:
- Start with 120 grit and work your way to 400.
- For burl tops, hand-sanding is best to preserve grain clarity.
- Slightly round over the edges using a sanding block or router with a round-over bit.
Step 7: Install Hinges and Latch
Mark where your hinges will go on the back edge and carefully chisel out shallow mortises.
- Use small brass or antique-style hinges.
- Predrill screw holes to prevent splitting.
- Attach your front latch or clasp for secure closure.
For a modern touch, consider hidden magnets instead of a latch.
Step 8: Finish the Box
This is where burl wood truly shines. Choose one of these finishes:
- Tung oil – Penetrates deeply and enhances natural grain
- Wipe-on polyurethane – Adds durable protection
- Shellac or lacquer – High-gloss shine with a classic feel
Apply at least 2–3 coats, lightly sanding between coats with 400-grit paper.
Step 9: Add the Interior Lining
Cut and glue soft felt or velvet into the inside of the box. You can also:
- Create ring slots with foam and fabric
- Add small wooden dividers
- Use a removable tray for layered storage
Bonus Tips for Working with Burl
- Stabilize if needed: Some burl has voids. Use epoxy resin to fill cracks.
- Highlight grain: A wipe of mineral spirits before finishing reveals the natural pattern.
- Try contrasting woods: Pair burl tops with dark walnut or cherry sides for dramatic contrast.
Make It Easier with Ted’s Woodworking Plans
Want to skip the guesswork?
👉 Click here for 16,000+ woodworking plans from Ted’s Woodworking—including detailed jewelry box blueprints, cutting guides, material lists, and tool recommendations.
These plans are:
- Beginner-friendly
- Designed by professionals
- Printable and easy to follow
- Perfect for monetizing your hobby or gifting handmade boxes
Whether you’re crafting a one-off gift or launching a side hustle, Ted’s Woodworking helps you build smarter, faster, and with more confidence.
Final Thoughts
Creating a burl wood jewelry box is more than just a DIY project—it’s an experience in craftsmanship. With the right guidance and materials, you can craft a stunning, functional piece that lasts generations.
So, grab your tools, choose your favorite burl, and let your creativity flow. And remember…
✅ Start with a plan
✅ Work with care
✅ Finish with pride
And if you want to build more masterpieces like this, don’t forget to check out:
👉 Click here to unlock 16,000+ DIY woodworking plans now