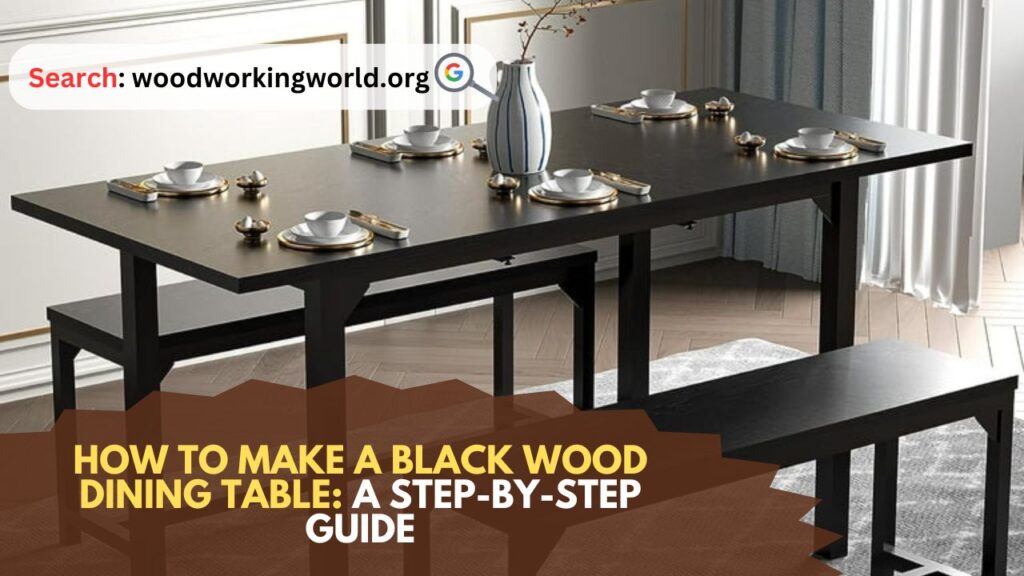
Black Wood Dining Table: Creating your own black wood dining table is a rewarding project that allows you to customize your furniture to perfectly fit your space and style. This guide will walk you through the entire process, from selecting materials to applying the final finish. Whether you’re a seasoned woodworker or a DIY enthusiast, you’ll find this project both challenging and satisfying.
How to Make a Black Wood Dining Table
Materials and Tools You’ll Need to Make a Black Wood Dining Table
Materials:
- Solid wood planks (oak, maple, or pine are good options)
- Black wood stain
- Wood glue
- Wood screws
- Sandpaper (various grits)
- Wood filler
- Clear polyurethane finish
Tools:
- Measuring tape
- Circular saw or table saw
- Power drill
- Clamps
- Orbital sander or hand sander
- Paintbrushes or rags for staining
- Safety gear (gloves, goggles, dust mask)
Step 1: Planning and Design
Before you start cutting and assembling, it’s essential to have a clear plan. Decide on the dimensions of your table. A standard dining table is around 30 inches high, with a length and width that suits your dining area. For a medium-sized dining table, dimensions of 72 inches long and 36 inches wide are common.
Sketch your design, including the table top, legs, and any additional features like aprons (horizontal supports beneath the table top).
Step 2: Selecting and Preparing the Wood
Choose high-quality wood planks for your table. Solid hardwoods like oak, maple, or walnut are durable and provide a beautiful finish. Pine is a more affordable option but might be less durable.
Cutting the Wood
- Tabletop: Cut your planks to the desired length and width. If you’re using multiple planks for the tabletop, ensure they fit together snugly.
- Legs: Cut four pieces to the same length for the table legs. A standard height for table legs is about 29 inches to achieve a total table height of 30 inches.
- Aprons: Cut four aprons that will connect the legs. The length of the aprons should be slightly shorter than the tabletop length and width to fit between the legs.
Sanding
Sand all the wood pieces using progressively finer grits of sandpaper (starting with 80 grit and finishing with 220 grit) to achieve a smooth surface. Pay special attention to the edges and corners.
Step 3: Assembling the Tabletop
Dry Fit
Lay out the tabletop planks on a flat surface and dry fit them to ensure they fit together well. Adjust as necessary.
Glue and Clamp
Apply wood glue to the edges of the planks and clamp them together tightly. Ensure the surface is flat and even. Wipe away any excess glue with a damp cloth. Allow the glue to dry according to the manufacturer’s instructions, typically 24 hours.
Reinforce
For added strength, you can reinforce the joints with wood screws. Drill pilot holes and drive the screws through the underside of the tabletop.
Step 4: Constructing the Base
Assembling the Legs and Aprons
- Drill Pocket Holes: Drill pocket holes at the ends of each apron piece using a pocket hole jig.
- Attach Aprons to Legs: Apply wood glue to the ends of the aprons and attach them to the legs using wood screws through the pocket holes. Ensure that the aprons are flush with the top of the legs.
Attaching the Base to the Tabletop
- Position the Base: Place the assembled base upside down on the underside of the tabletop.
- Secure with Screws: Drill pilot holes through the aprons into the tabletop and secure with wood screws.
Step 5: Sanding and Preparing for Stain
Filling Gaps
Fill any gaps or holes with wood filler. Allow it to dry completely, then sand smooth.
Final Sanding
Perform a final sanding of the entire table with 220 grit sandpaper to ensure a smooth surface.
Step 6: Staining the Table
Choosing a Stain
Select a high-quality black wood stain. Test the stain on a scrap piece of wood to ensure it achieves the desired color.
Applying the Stain
- Prepare the Area: Work in a well-ventilated area and protect your workspace with drop cloths.
- Apply Stain: Using a brush or rag, apply the stain in the direction of the wood grain. Allow it to penetrate the wood for the time recommended by the manufacturer.
- Wipe Excess: Wipe off excess stain with a clean cloth.
- Repeat: Apply additional coats as needed to achieve the desired depth of color, allowing each coat to dry thoroughly.
Step 7: Finishing the Table
Applying a Protective Finish
- Choose a Finish: Select a clear polyurethane finish to protect the wood and give it a nice sheen. Matte, satin, or gloss finishes are available depending on your preference.
- Apply Finish: Apply the polyurethane with a brush, following the wood grain. Allow it to dry according to the manufacturer’s instructions.
- Sand Between Coats: Lightly sand between coats with fine-grit sandpaper (320 grit) to ensure a smooth finish. Wipe away dust with a clean cloth.
- Final Coat: Apply a final coat of polyurethane and allow it to cure completely.
Step 8: Final Touches
Inspect and Touch Up
Inspect the table for any imperfections. Touch up any spots as needed with additional stain or finish.
Attach Felt Pads
Attach felt pads to the bottom of the table legs to protect your floors.
Enjoy Your New Table
Move your new black wood dining table into its place and enjoy your beautiful, handcrafted piece of furniture.
Conclusion: Black Wood Dining Table
- Take Your Time: Rushing can lead to mistakes. Take your time with each step to ensure quality craftsmanship.
- Safety First: Always wear safety gear when cutting, sanding, and staining. Work in a well-ventilated area to avoid inhaling fumes.
- Test Stains and Finishes: Always test stains and finishes on a scrap piece of wood to ensure you achieve the desired look.
- Keep It Level: Ensure your table is level during assembly. Use a level to check that the tabletop and legs are even.
- Maintenance: To keep your table looking its best, periodically dust and clean it with a damp cloth. Avoid harsh chemicals that can damage the finish.
By following this guide, you’ll create a stunning black wood dining table that not only adds elegance to your dining space but also gives you the satisfaction of a job well done. Happy woodworking!
I hope this article on Black Wood Dining Table has been helpful. If you have any further questions, please feel free to leave a comment below.
Video
