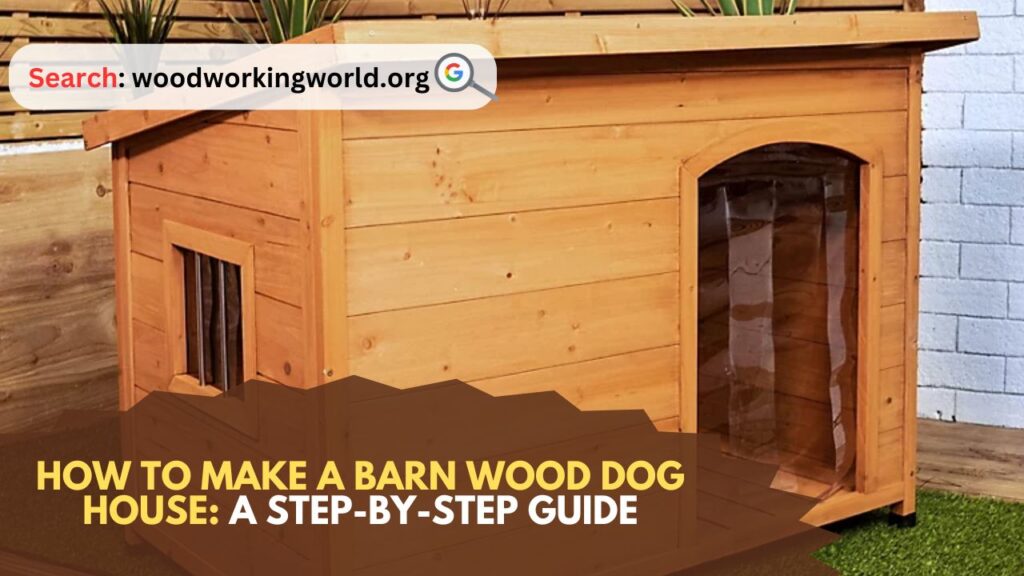
Barn Wood Dog House: Building a barn wood dog house is a wonderful way to provide a cozy and rustic home for your beloved pet. Not only does it offer a durable and aesthetically pleasing shelter, but it also gives you the opportunity to repurpose old barn wood, contributing to a sustainable and eco-friendly project. This comprehensive guide will walk you through the steps to create a barn wood dog house, ensuring your furry friend has a comfortable and stylish abode.
How to Make a Barn Wood Dog House
Materials Needed to Make a Barn Wood Dog House
Before you begin, gather the following materials:
- Reclaimed barn wood
- Plywood
- 2×4 lumber
- Nails or screws
- Wood glue
- Exterior wood paint or sealant
- Roofing material (e.g., shingles or metal roofing)
- Insulation (optional)
- Hinges (for the roof)
- Measuring tape
- Saw
- Hammer or drill
- Sandpaper
- Paintbrushes
Step 1: Planning and Designing
Determine the Size
The size of the dog house should be proportionate to the size of your dog. A general rule of thumb is to ensure the dog house is large enough for your dog to stand up, turn around, and lie down comfortably. Measure your dog’s height, length, and width, and add a few inches to each measurement to determine the interior dimensions.
Create a Blueprint
Sketch a simple blueprint of your dog house. The design should include the base, four walls, a sloped roof, and an entrance. You can customize the design with additional features like windows or a porch, but keep it straightforward if you’re a beginner.
Step 2: Preparing the Barn Wood
Selecting the Wood
Choose barn wood that is free of rot, excessive splitting, and insect damage. The wood should be sturdy enough to provide a solid structure.
Cleaning and Sanding
Clean the barn wood to remove dirt, debris, and old nails. Use sandpaper to smooth out any rough edges and surfaces, ensuring the wood is safe for your dog. Sanding also helps the wood absorb paint or sealant better.
Cutting the Wood
Using your blueprint, measure and cut the barn wood to the required dimensions. Ensure precision in your measurements to avoid gaps and misalignment during assembly.
Step 3: Building the Base
Constructing the Frame
Create a rectangular frame using 2×4 lumber. The frame should match the dimensions of the dog house base. Secure the joints with wood glue and nails or screws.
Adding the Floor
Cut a piece of plywood to fit the frame and attach it securely using nails or screws. This will serve as the floor of the dog house.
Step 4: Building the Walls
Framing the Walls
Construct the frames for the four walls using 2×4 lumber. The front wall should include an opening for the entrance. Use wood glue and nails or screws to assemble the frames.
Attaching the Barn Wood
Attach the barn wood planks to the frames, starting from the bottom and working your way up. Overlap the planks slightly to ensure there are no gaps. Secure each plank with nails or screws.
Cutting Out the Entrance
Once the front wall is complete, cut out the entrance using a saw. Sand the edges to smooth them out.
Step 5: Assembling the Dog House
Attaching the Walls to the Base
Position the four walls on the base and secure them using nails or screws. Ensure the walls are aligned correctly and the structure is stable.
Adding Insulation (Optional)
If you live in an area with extreme weather conditions, consider adding insulation to the walls. Cut insulation panels to fit between the wall frames and secure them in place.
Reinforcing the Structure
Add additional 2×4 supports to the corners and middle of the walls for extra stability. Secure them with nails or screws.
Step 6: Building and Attaching the Roof
Constructing the Roof Frame
Create a frame for the roof using 2×4 lumber. The roof should have a slight slope to allow rainwater to run off.
Adding the Barn Wood
Attach the barn wood planks to the roof frame, overlapping them to ensure there are no gaps. Secure each plank with nails or screws.
Attaching the Roof to the Dog House
Attach the roof to the dog house using hinges. This allows you to lift the roof for easy cleaning and maintenance.
Adding Roofing Material
Cover the barn wood roof with shingles or metal roofing to protect it from the elements. Secure the roofing material with nails or screws.
Step 7: Finishing Touches
Painting or Sealing
Apply an exterior wood paint or sealant to protect the barn wood from moisture, pests, and UV damage. Choose a pet-safe product and apply it according to the manufacturer’s instructions.
Adding Trim and Decorations
Add trim around the edges of the dog house and the entrance for a polished look. You can also add decorative elements like a nameplate, windows, or a small porch.
Ensuring Comfort
Place a soft, weather-resistant mat or bedding inside the dog house to keep your dog comfortable. Ensure the interior is free of splinters and sharp edges.
Step 8: Maintenance and Care
Regular Inspections
Regularly inspect the dog house for any signs of damage or wear. Check for loose nails, rotting wood, or leaks in the roof. Repair any issues promptly to maintain the structural integrity and safety of the dog house.
Cleaning
Clean the dog house periodically to keep it hygienic for your pet. Remove any bedding, debris, and dirt. You can use a mild soap and water solution to clean the interior and exterior, ensuring it is thoroughly rinsed and dried before allowing your dog back inside.
Seasonal Adjustments
Depending on the climate, you may need to make seasonal adjustments to the dog house. In colder months, add extra insulation or a heated mat. In hotter months, ensure the dog house is in a shaded area and consider adding ventilation holes to keep it cool.
Conclusion: How to Make a Barn Wood Dog House
Building a barn wood dog house is a rewarding project that combines craftsmanship with sustainability. By following this step-by-step guide, you can create a beautiful and functional shelter for your dog, providing them with a comfortable and secure home. Not only will your pet appreciate their new abode, but you’ll also enjoy the satisfaction of completing a DIY project with your own hands. Whether you’re a seasoned woodworker or a beginner, this barn wood dog house will be a testament to your dedication and care for your furry friend.
I hope this article on How to Make a Barn Wood Dog House has been helpful. If you have any further questions, please feel free to leave a comment below.
Video
