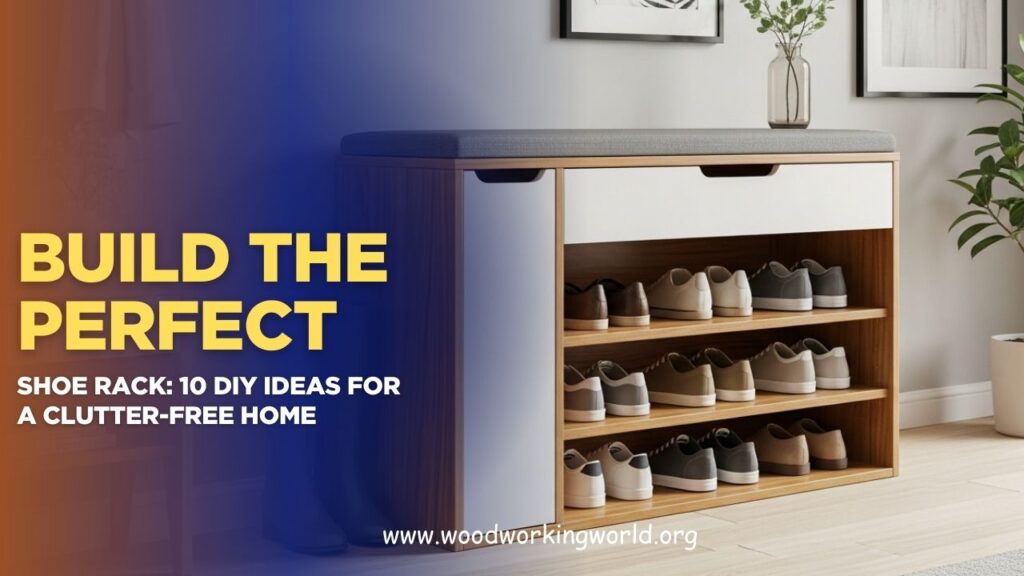
Build the Perfect Shoe Rack: 10 DIY Ideas for a Clutter-Free Home (Even If You Rent!)
Tired of tripping over shoes in the hallway or seeing piles take over your closet? Keeping footwear organized can feel impossible, especially if you rent and can’t make permanent changes to your space. But with a little creativity, you don’t need to sacrifice style or storage — you can build a shoe rack that fits your home perfectly.
In “Build the Perfect Shoe Rack: 10 DIY Ideas for a Clutter-Free Home (Even If You Rent!)”, we’ll share practical, renter-friendly DIY projects that transform your shoe storage. From compact entryway racks to clever vertical and hidden storage solutions, these ideas help you reclaim space, keep shoes organized, and enhance your home’s style — all without drilling into walls or spending a fortune.
👉 CLICK HERE to Unlock 16,000+ DIY woodworking plans now
1. The Entryway Saver
Perfect for: Tight spaces and front-door clutter
This narrow rack fits snugly by your front door, organizing 6–10 pairs without taking up too much room. No more shoes getting kicked around!
💡 Build it from pine or MDF and customize with hooks or a small shelf above for keys.
➡️ Find Ted’s exact plan for this in the “small storage” section—super beginner-friendly.
👉 CLICK HERE to Unlock 16,000+ DIY woodworking plans now
2. The Bench & Rack Combo
Perfect for: Mudrooms, bedrooms, and multitaskers
Sit down, put your shoes on, and store them underneath—genius!
✔️ 2-in-1 functionality
✔️ Customizable for boots, baskets, or even drawers
💡 Ted’s Woodworking includes multiple bench rack hybrids with complete cut lists and visual guides.
3. The Floating Shoe Rack
Perfect for: Renters or minimalists
Use adhesive brackets or no-drill supports to mount lightweight wood planks on your wall. Your shoes “float” off the ground with zero damage.
💡 Ideal for sneakers, flats, or sandals.
➡️ Ted’s Woodworking plans can be adapted easily for floating shelves, including shoe display variations.
4. The Crate Stack System
Perfect for: Flexible layouts and growing families
Stack or stagger wooden crates for a rustic, modular shoe rack that moves when you do.
✔️ Great for renters
✔️ Easy to expand, rearrange, or paint
💡 Ted’s has several crate designs with assembly instructions perfect for beginners.
✅ Why DIYers Are Obsessed with Ted’s Woodworking
Let’s pause for a second…
Why is Ted’s Woodworking the #1 resource for anyone who wants to build a shoe rack (or anything else) from scratch?
Because most online tutorials are either incomplete or too advanced.
Ted gives you:
- ✅ 16,000+ proven plans with crystal-clear steps
- ✅ No guesswork—diagrams, tools, materials, and cutting instructions included
- ✅ Perfect for beginners—no power tools or prior experience needed
- ✅ Designed for renters & homeowners—modular, no-drill, and space-saving options
- ✅ Massive savings—build a $120 shoe rack for $15 in materials
5. The Under-Bed Pull-Out
Perfect for: Tiny bedrooms and hidden storage
A flat wooden drawer with casters slides neatly under your bed and keeps your shoes organized and dust-free.
💡 Add dividers to separate pairs by season or family member.


6. The Kids’ Cubby Shoe Shelf
Perfect for: Families and school morning chaos
Each child gets their own cubby! This color-coded or labeled rack helps everyone stay organized—and makes clean-up fun.
✔️ Customize size per child
✔️ Add a top shelf for backpacks or hats
💡 Find kid-friendly shelf plans in Ted’s collection—easy enough to build in a single afternoon.
7. The Sneaker Display Wall
Perfect for: Collectors and sneakerheads
Use floating ledges or angled shelves to showcase your shoes like art. Ideal for bedrooms, game rooms, or walk-in closets.
💡 LED backlighting adds a premium look for under $20 extra.
➡️ Ted’s Woodworking has display shelf blueprints you can tweak into an eye-catching sneaker shrine.
8. The Rolling Shoe Cart
Perfect for: Apartments and tiny closets
A mobile shoe rack on wheels lets you roll your collection out when you need it—and tuck it away when you don’t.
💡 Add handles or a top tray for accessories.
➡️ Ted’s provides mobile cart designs with material lists and beginner-level diagrams.
9. The Boot-Friendly Tower
Perfect for: Tall boots and high heels
This tall, open-shelf design includes higher clearance between levels, making it perfect for big footwear.
✔️ Add a coat rack or mirror to complete your entryway setup
💡 Ted’s has multi-tiered tower rack plans that are easy to modify by shoe type.
10. The Rustic Pallet Rack
Perfect for: Farmhouse lovers and upcyclers
Turn a salvaged pallet into a multi-row shoe organizer. Add legs, stain it, or leave it raw for a charming, rustic vibe.
💡 Costs nearly nothing and takes under 2 hours to build.
➡️ Ted’s includes detailed pallet-based furniture plans—even for total beginners.
🛠️ DIY Shoe Rack Tips for a Smooth Build
Before you start sawing or screwing, keep these pro tips in mind:
- Use lightweight woods like pine or plywood—easier to cut and move
- Measure your space before selecting a plan
- Use wood glue and screws for extra strength
- Add felt pads or wheels if you’ll be moving it around
- Finish with paint, stain, or sealant for a polished look
👉 CLICK HERE to Unlock 16,000+ DIY woodworking plans now
Final Word: Your Shoes Deserve Better
Don’t let clutter rule your home. Whether you’re storing 5 pairs or 50, you can build a shoe rack that fits your space, your style, and your life—without wasting money or guessing your way through it.
✅ With Ted’s Woodworking, you’ll finally have the plan, the confidence, and the skills to organize your home like a pro.
✅ Build a simple rack this weekend—or dive into a custom build that turns heads.
✅ No matter your space or skill level, Ted has a plan for you.
Start with your perfect shoe rack—and never trip over a pair again.
👉 CLICK HERE to Unlock 16,000+ DIY woodworking plans now
