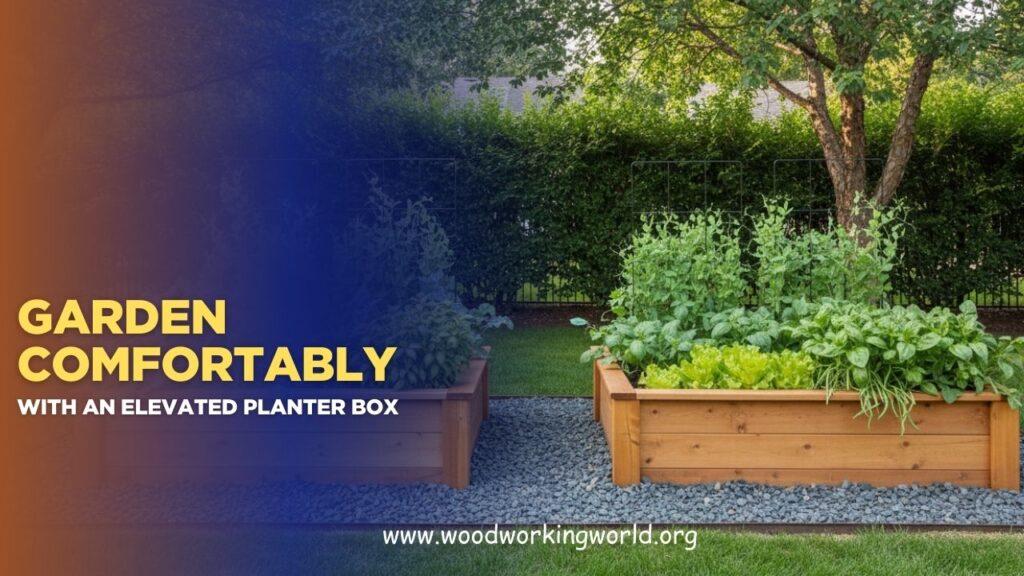
Garden Comfortably with an Elevated Planter Box (Updated 2026)
Gardening is an enjoyable hobby that allows individuals to connect with nature, grow fresh produce, and enhance the beauty of their homes. However, traditional ground-level gardening can sometimes be physically taxing, especially for those with mobility issues, back problems, or limited space.
An elevated planter box is the perfect solution to alleviate these challenges, offering comfort, accessibility, and functionality.
👉 CLICK HERE to Unlock 16,000+ DIY woodworking plans now
Benefits of an Elevated Planter Box
Before diving into the step-by-step guide, let’s take a moment to understand the advantages of using an elevated planter box for gardening.
1. Ergonomically Friendly
Elevated planter boxes allow you to garden without having to bend down or kneel, reducing strain on your back, knees, and joints. This is particularly beneficial for seniors, individuals with arthritis, or anyone experiencing physical discomfort while gardening.
2. Space-Saving
If you live in an apartment or a place with limited garden space, elevated planters are a great option. They can be placed on balconies, patios, or decks, allowing you to grow a wide variety of plants without taking up much ground space.
3. Better Soil Drainage
Unlike traditional ground-level gardening, elevated planter boxes typically offer better drainage. The height of the box allows excess water to escape easily, preventing the soil from becoming waterlogged. This is especially important for plants that require well-drained soil.
4. Pest Protection
Raised planters make it harder for pests like slugs, snails, and certain animals to reach your plants. Elevated planters can also be designed with barriers to further protect your plants.
5. Aesthetic Appeal
An elevated planter box can add beauty and structure to your garden or patio. Whether you’re growing vegetables, herbs, or flowers, these planters add a stylish touch to your outdoor space.
6. Easy Access
Since elevated planters are typically at waist height, they make it easier to access your plants for maintenance, watering, and harvesting, reducing the need for bending and reaching.
👉 CLICK HERE to Unlock 16,000+ DIY woodworking plans now
Step-by-Step Process to Build Your Elevated Planter Box
Building your own elevated planter box is a rewarding project that can be done with a few basic tools and materials. Follow this simple step-by-step guide to create your own raised garden bed.
Materials Needed
- Wood (Cedar, Redwood, or Pine): Choose durable, weather-resistant wood for the frame. Cedar and redwood are great options due to their natural resistance to decay.
- Screws: To secure the pieces of the planter box.
- Drill: For making pilot holes and screwing the wood together.
- Measuring Tape: For precise measurements.
- Saw: To cut the wood to the desired length.
- Wood Sealant: To protect the wood from water damage.
- Landscape Fabric: To line the bottom of the box and promote drainage.
Step 1: Determine the Size and Location
Before cutting any wood, decide where you want to place the elevated planter box and how large you want it to be. A standard size is around 4 feet in length, 2 feet in width, and 3 feet in height, but you can adjust these dimensions based on your available space and planting needs.
Tip: Consider the type of plants you plan to grow. Shallow-rooted plants like herbs or flowers require less depth, while deep-rooted vegetables may need more soil depth.
Step 2: Cut the Wood
Measure and cut your wood pieces according to the desired dimensions. You will need:
- Four side pieces (two long and two short)
- Four legs (these should be the height of your elevated planter box)
- A bottom support piece (optional, depending on the design)
For example, if your planter box will be 4 feet long and 2 feet wide, cut two pieces of wood to 4 feet and two pieces to 2 feet. Then, cut four pieces for the legs, each 3 feet long.
Step 3: Assemble the Box Frame
Start by laying out the four sides of the planter box on a flat surface. Attach the short sides to the long sides using screws to form a rectangular frame.
Use a drill to create pilot holes, then screw the pieces together. Ensure that the corners are square, as this will help with the overall stability of the planter box.
Step 4: Attach the Legs
Once the frame is assembled, attach the four legs to the corners of the box. If you’re using a bottom support piece, attach it to the underside of the box to add extra stability. Use screws to secure the legs firmly in place.
Tip: Ensure that the legs are evenly spaced to prevent wobbling.
Step 5: Line the Box with Landscape Fabric
To prevent soil from escaping through the bottom of the box, line the inside of the planter with landscape fabric. Staple or secure the fabric along the sides and bottom of the box. This also promotes drainage and prevents weeds from growing into the box.


Step 6: Apply Wood Sealant
Apply a protective wood sealant to the outside of the box to protect it from the elements. Cedar and redwood are naturally resistant to weather damage, but applying a sealant will prolong the life of the wood.
Step 7: Fill the Box with Soil
Fill the planter box with a high-quality soil mix appropriate for the types of plants you plan to grow. Ensure that the soil is evenly distributed and compacted to prevent air pockets.
Step 8: Plant and Enjoy
Now that your planter box is ready, it’s time to plant! Choose plants that are suitable for your growing zone and the amount of sunlight the planter will receive.
Tip: Consider companion planting for better growth and pest control. For example, planting basil next to tomatoes can help deter pests.
Material Comparison: Wood vs. Other Materials
When selecting the material for your elevated planter box, several options are available, including wood, metal, plastic, and concrete. Each material has its own advantages and drawbacks. Below is a comparison table to help you make an informed decision.
| Material | Pros | Cons |
|---|---|---|
| Wood | – Natural aesthetic – Easy to work with – Insulates roots better | – Requires maintenance (sealing, staining) – Can rot over time |
| Metal | – Modern look – Durable and long-lasting – Low maintenance | – Can overheat in the sun – Can be expensive |
| Plastic | – Lightweight – Affordable – Resistant to moisture | – Less durable – Can become brittle over time |
| Concrete | – Extremely durable – Provides a modern industrial look | – Heavy – Expensive and difficult to move |
Key Tips for Maximizing Your Elevated Planter Box
To ensure that your elevated planter box lasts for years and promotes healthy plant growth, here are some key tips:
- Drainage: Ensure that there are drainage holes in the bottom of the planter to prevent water from pooling, which could harm your plants.
- Rotating Plants: Rotate plants regularly to ensure all parts of the box receive adequate sunlight.
- Soil Care: Add compost or organic matter to the soil to improve its fertility and support plant growth.
- Watering: Elevated planters tend to dry out faster than ground-level beds, so keep an eye on the moisture levels and water regularly.
Quote on the Benefits of Elevated Planters
“Elevated planters allow us to garden comfortably without the physical strain of bending over or kneeling. They provide an easy solution to gardening in limited spaces and can be a great addition to any home or balcony.”
— Jessica Greenfield, Home Gardening Expert
👉 CLICK HERE to Unlock 16,000+ DIY woodworking plans now
Frequently Asked Questions (FAQ)
1. Can I grow vegetables in an elevated planter box?
Yes, elevated planter boxes are great for growing vegetables. Just ensure the box is deep enough for the root systems of the plants you plan to grow. For example, tomatoes and carrots may require deeper boxes, while herbs and lettuces thrive in shallower containers.
2. How often should I water my elevated planter box?
The frequency of watering depends on several factors, including the type of plants, the size of the box, and the climate. As a general rule, check the soil every few days and water when it feels dry to the touch, making sure it drains well.
3. What type of wood is best for an elevated planter box?
Cedar, redwood, and pine are popular choices. Cedar and redwood are naturally resistant to decay, while pine is more affordable but may require more maintenance. Avoid using treated lumber with harmful chemicals, as these can leach into the soil.
4. How do I protect my elevated planter box from pests?
Consider using a fine mesh or screen to protect the bottom of the box from pests. You can also create physical barriers or place the box on raised platforms to make it harder for pests like rodents to access your plants.
5. Can I leave my elevated planter box outside in the winter?
Yes, elevated planter boxes can be left outside in winter, but it’s important to protect them from extreme cold, especially if you live in areas with harsh winters. Consider covering your plants or moving the box
👉 CLICK HERE to Unlock 16,000+ DIY woodworking plans now
