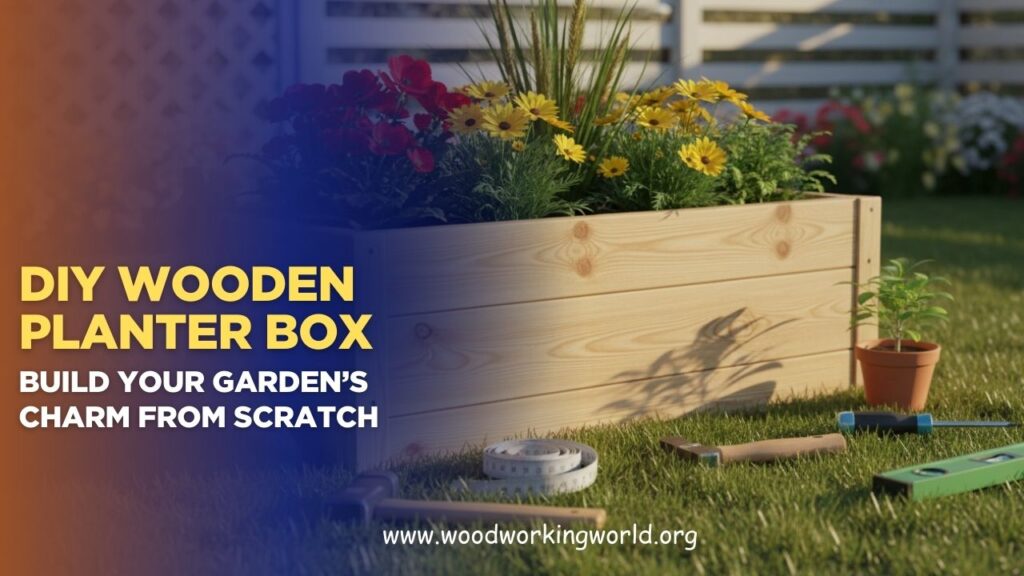
DIY Wooden Planter Box: Build Your Garden’s Charm from Scratch
Crafting a garden that feels warm, personal, and full of natural character? A DIY wooden planter box is gaining attention as a hands-on project that blends creativity with outdoor beauty. Built from scratch, it offers a simple yet stunning way to organize your plants while adding rustic charm to patios, balconies, or backyard spaces. But is building one yourself easier than it seems—and worth the effort?
In this guide, we’ll introduce the joy of constructing your own planter box, the design flexibility it brings, and most importantly—how this DIY upgrade can transform your garden’s charm, one handcrafted detail at a time.
👉 CLICK HERE to Unlock 16,000+ DIY woodworking plans now
Why Build a DIY Wooden Planter Box?
Save Money, Gain Satisfaction
Buying a planter can be pricey—but DIY options cost less and let you control the size, style, and finish.
Customize to Fit Your Space
Tailor the dimensions to your balcony, patio, or garden layout for the perfect fit.
Choose Eco-Friendly Materials
Use reclaimed or untreated wood to keep your project green and safe for edible plants.
Key Takeaway:
A DIY wooden planter box offers a personalized, budget-friendly alternative to store-bought planters with the satisfaction of building it yourself.
👉 CLICK HERE to Unlock 16,000+ DIY woodworking plans now
What You’ll Need to Build a DIY Wooden Planter Box
Materials
- Wood (cedar, redwood, or pressure-treated pine)
- Screws or nails
- Wood glue (optional for extra stability)
- Liner or landscaping fabric
- Sealant or paint (weatherproof and non-toxic)
Tools
- Power drill or screwdriver
- Saw (hand saw or circular)
- Measuring tape
- Sandpaper
- Safety gloves and goggles
Step-by-Step Guide to Building Your DIY Wooden Planter Box
Step 1: Measure and Cut the Wood
Choose your box dimensions. A common size is 36” L x 12” W x 12” H. Cut:
- (2) long side panels
- (2) short end panels
- (1) bottom panel
Step 2: Assemble the Frame
- Use screws and wood glue to attach the sides and ends.
- Make sure corners are flush and square.
Step 3: Attach the Bottom
- Secure the bottom panel inside the frame, leaving small gaps for drainage if no holes are drilled.
Step 4: Add Drainage
- Drill holes in the base or use gravel under the soil to aid water flow.
Step 5: Sand and Seal
- Sand rough edges to avoid splinters.
- Apply an outdoor-safe sealant or paint for weather protection.
Pro Tip: Use a liner or landscape fabric to extend the lifespan of your planter and make cleanup easier.
Best Wood Types for DIY Planter Boxes
Choosing the right wood is essential for outdoor durability:
- Cedar: Naturally rot-resistant and insect-repellent
- Redwood: Premium look and longevity
- Pine (treated): Affordable but should be sealed and lined
- Reclaimed Pallet Wood: Eco-friendly and rustic (be sure it’s heat-treated, not chemically treated)
Key Takeaway:
Use rot-resistant, untreated wood for the safest and most durable DIY wooden planter box.
Styling and Placement Ideas
Where to Place Your Planter
- Patios and porches for flowers or herbs
- Balconies with compact vertical designs
- Garden paths as decorative borders
- Window sills or walls with small mounted boxes
Styling Tips
- Paint or stain in colors that complement your home’s exterior
- Add decorative trim or stenciled designs
- Group multiple boxes in tiers for a layered garden effect


Maintenance Tips for Long-Lasting Results
- Re-seal annually to protect against rain and sun
- Avoid direct soil contact—use liners or landscape fabric
- Rotate plants each season to prevent soil depletion
- Store indoors during winter if the wood is untreated
External Resource: For more wood care advice, check out This Old House’s wood maintenance tips.
Internal Link Suggestion
Want to grow more in less space? Check out our guide on small space container gardening.
👉 CLICK HERE to Unlock 16,000+ DIY woodworking plans now
Conclusion: Start Your Gardening Journey with a DIY Wooden Planter Box
Crafting a DIY wooden planter box is a fun, rewarding way to add greenery and style to your outdoor space. With just a few tools, basic materials, and a free afternoon, you can create a planter box that’s both beautiful and functional—perfect for herbs, flowers, or even veggies.
Ready to Build Your Own?
Gather your supplies, follow our step-by-step guide, and create a custom planter that transforms your space into a personal garden retreat.
👉 CLICK HERE to Unlock 16,000+ DIY woodworking plans now
